1995 Chevrolet Lumina Owner's Manual - Page 170
1995 Chevrolet Lumina Manual
Page 170 highlights
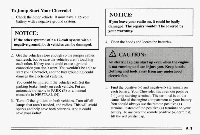
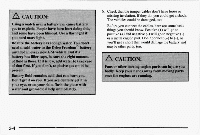
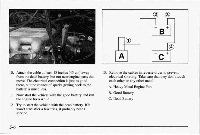
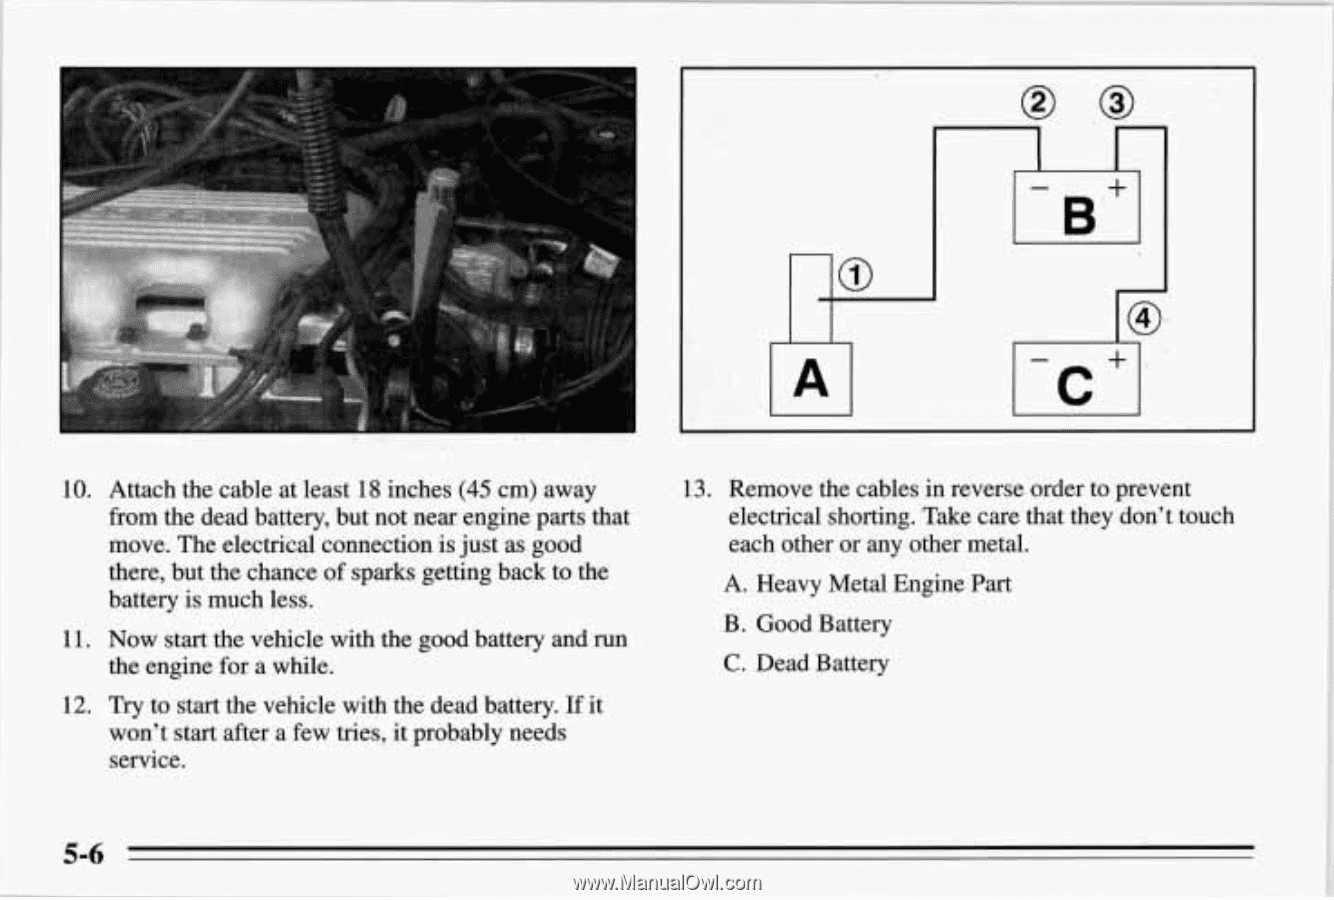
I I 13. Remove the cablesin reverse order to prevent 10. Attach the cable at least 18 inches (45 cm) away electrical shorting. Take that they don't touch care from the dead battery, but not near engine parts that each other or any other metal. move. The electrical connection just as good is there, but the chance sparks getting back to the of A. Heavy Metal Engine P r at battery is much less. B. Good Battery 11. Now start the vehicle with the good battery and run C. Dead Battery the enginefor a while. 12. T y to start the vehicle with the dead battery. r If it won't start after a few tries,probably needs it service. 5-6
-
 1
1 -
2
-
3
-
4
-
5
-
6
-
7
-
8
-
9
-
10
-
11
-
12
-
13
-
14
-
15
-
16
-
17
-
18
-
19
-
20
-
21
-
22
-
23
-
24
-
25
-
26
-
27
-
28
-
29
-
30
-
31
-
32
-
33
-
34
-
35
-
36
-
37
-
38
-
39
-
40
-
41
-
42
-
43
-
44
-
45
-
46
-
47
-
48
-
49
-
50
-
51
-
52
-
53
-
54
-
55
-
56
-
57
-
58
-
59
-
60
-
61
-
62
-
63
-
64
-
65
-
66
-
67
-
68
-
69
-
70
-
71
-
72
-
73
-
74
-
75
-
76
-
77
-
78
-
79
-
80
-
81
-
82
-
83
-
84
-
85
-
86
-
87
-
88
-
89
-
90
-
91
-
92
-
93
-
94
-
95
-
96
-
97
-
98
-
99
-
100
-
101
-
102
-
103
-
104
-
105
-
106
-
107
-
108
-
109
-
110
-
111
-
112
-
113
-
114
-
115
-
116
-
117
-
118
-
119
-
120
-
121
-
122
-
123
-
124
-
125
-
126
-
127
-
128
-
129
-
130
-
131
-
132
-
133
-
134
-
135
-
136
-
137
-
138
-
139
-
140
-
141
-
142
-
143
-
144
-
145
-
146
-
147
-
148
-
149
-
150
-
151
-
152
-
153
-
154
-
155
-
156
-
157
-
158
-
159
-
160
-
161
-
162
-
163
-
164
-
 165
165 -
 166
166 -
 167
167 -
 168
168 -
 169
169 -
 170
170 -
 171
171 -
 172
172 -
 173
173 -
 174
174 -
 175
175 -
176
-
177
-
178
-
179
-
180
-
181
-
182
-
183
-
184
-
185
-
186
-
187
-
188
-
189
-
190
-
191
-
192
-
193
-
194
-
195
-
196
-
197
-
198
-
199
-
200
-
201
-
202
-
203
-
204
-
205
-
206
-
207
-
208
-
209
-
210
-
211
-
212
-
213
-
214
-
215
-
216
-
217
-
218
-
219
-
220
-
221
-
222
-
223
-
224
-
225
-
226
-
227
-
228
-
229
-
230
-
231
-
232
-
233
-
234
-
235
-
236
-
237
-
238
-
239
-
240
-
241
-
242
-
243
-
244
-
245
-
246
-
247
-
248
-
249
-
250
-
251
-
252
-
253
-
254
-
255
-
256
-
257
-
258
-
259
-
260
-
261
-
262
-
263
-
264
-
265
-
266
-
267
-
268
-
269
-
270
-
271
-
272
-
273
-
274
-
275
-
276
-
277
-
278
-
279
-
280
-
281
-
282
-
283
-
284
-
285
-
286
-
287
-
288
-
289
-
290
-
291
-
292
-
293
-
294
-
295
-
296
-
297
-
298
-
299
-
300
-
301
-
302
-
303
-
304
-
305
-
306
-
307
-
308
-
309
-
310
-
311
-
312
-
313
-
314
-
315
-
316
-
317
-
318
-
319
-
320
-
321
-
322
-
323
-
324
 |
 |
10.
11.
12.
Attach
the
cable
at
least
18
inches
(45
cm)
away
from
the
dead
battery,
but
not
near
engine
parts
that
move.
The
electrical
connection
is
just as
good
there,
but
the
chance
of
sparks
getting
back
to
the
battery is much
less.
Now start
the
vehicle
with
the
good
battery
and
run
the
engine
for a
while.
Try
to
start
the
vehicle
with
the
dead
battery.
If it
won’t
start
after
a
few
tries,
it probably
needs
service.
I
I
13.
Remove
the
cables
in reverse
order
to
prevent
electrical
shorting.
Take
care that
they
don’t
touch
each
other
or
any
other
metal.
A.
Heavy
Metal
Engine
Part
B.
Good
Battery
C.
Dead
Battery
5-6