1996 Chevrolet S10 Pickup Owner's Manual - Page 123
1996 Chevrolet S10 Pickup Manual

Page 123 highlights
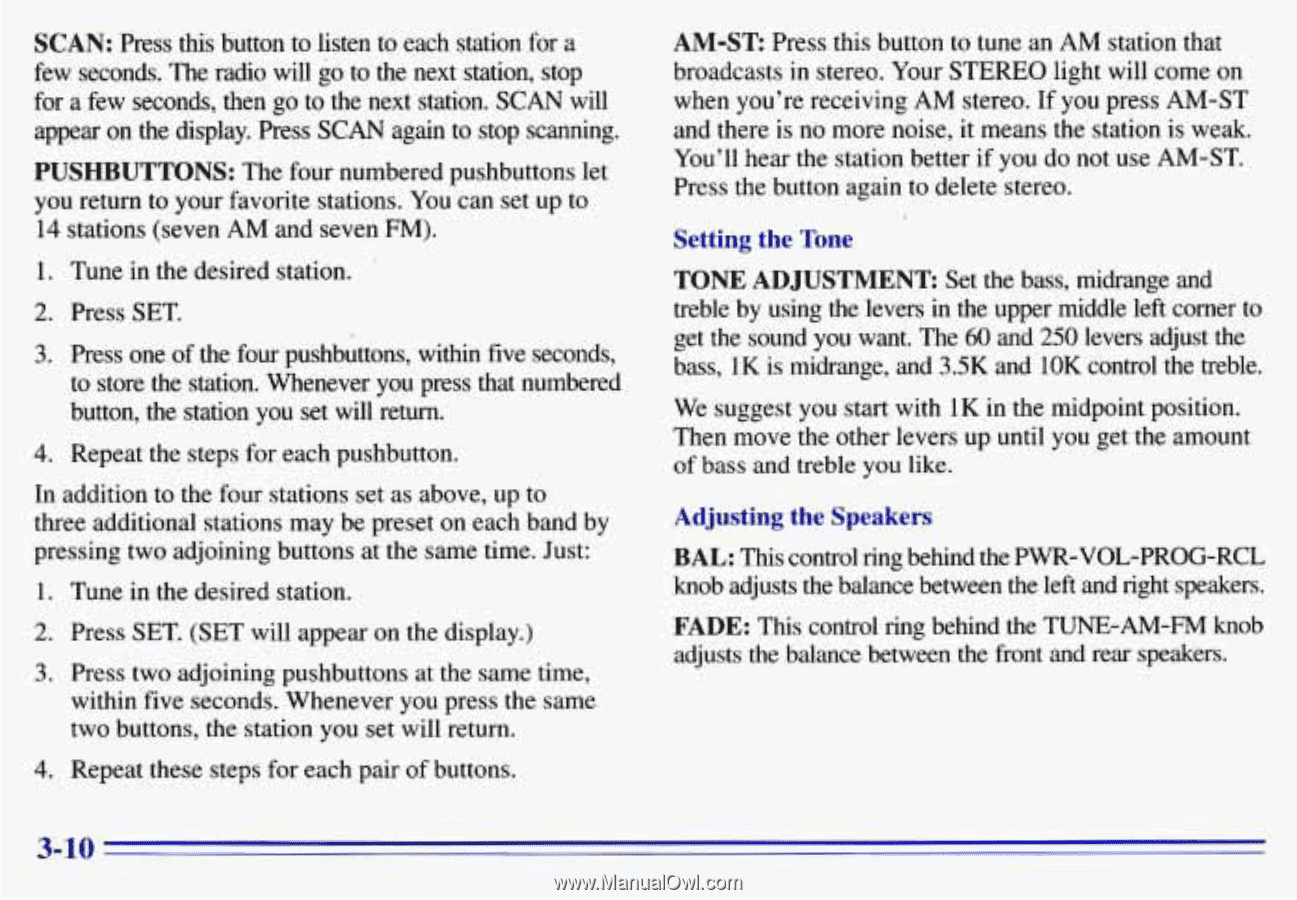
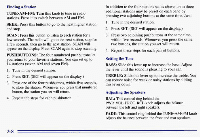
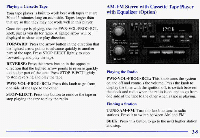
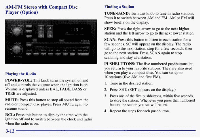
SCAN: Press this button to listen to each station afor few seconds. The radio willgo to the next station, stop the for a few seconds, then go to next station. SCAN will appear on the display. PressSCAN again to stop scanning. PUSHBUTTONS: The four numbered pushbuttons let you return to your favorite stations. You can set up to 14 stations (seven AM and seven FM). AM-ST Press this button to tune AM station that an broadcasts in stereo. Your STEREO light will comeon when you're receiving AM stereo. If you press AM-ST and there isno more noise, it means the station weak. is You'll hearthe station better if you not use AM-ST. do Press the button again to delete stereo. Setting the Tone TONE ADJUSTMENTSet the bass, midrange and treble by using the leversin the upper middle left corner to get the sound you want. The 60 and 250 levers adjust the bass, 1K is midrange, and 3.5K and 10K control the treble. 1. Tune in the desired station. 2. PressSET. 3. Press one of the four pushbuttons, withinfive seconds, to store the station. Whenever you press that numbered We suggest you start with 1K in the midpoint position. button, the station you set will return. Then move the other levers upuntil you get theamount 4. Repeat the steps for each pushbutton. of bass and treble you like. In addition to the four stations set as above, up to Adjusting the Speakers three additional stations may be preset on each band by pressing two adjoining buttons at the same time. Just: BAL: This control ring behind the PWR-VOL-PROG-RCL knob adjusts the balance between the left and right speake 1. Tune in the desired station. FADE: This control ring behind the TUNE-AM-FM knob 2. Press SET. (SET will appear on the display.) adjusts the balance between the front rear speakers. and 3. Press two adjoining pushbuttons at the same time, within five seconds. Whenever you press the same two buttons, thestation you set will return. 4. Repeat these steps foreach pair of buttons. 3-10
-
 1
1 -
2
-
3
-
4
-
5
-
6
-
7
-
8
-
9
-
10
-
11
-
12
-
13
-
14
-
15
-
16
-
17
-
18
-
19
-
20
-
21
-
22
-
23
-
24
-
25
-
26
-
27
-
28
-
29
-
30
-
31
-
32
-
33
-
34
-
35
-
36
-
37
-
38
-
39
-
40
-
41
-
42
-
43
-
44
-
45
-
46
-
47
-
48
-
49
-
50
-
51
-
52
-
53
-
54
-
55
-
56
-
57
-
58
-
59
-
60
-
61
-
62
-
63
-
64
-
65
-
66
-
67
-
68
-
69
-
70
-
71
-
72
-
73
-
74
-
75
-
76
-
77
-
78
-
79
-
80
-
81
-
82
-
83
-
84
-
85
-
86
-
87
-
88
-
89
-
90
-
91
-
92
-
93
-
94
-
95
-
96
-
97
-
98
-
99
-
100
-
101
-
102
-
103
-
104
-
105
-
106
-
107
-
108
-
109
-
110
-
111
-
112
-
113
-
114
-
115
-
116
-
117
-
 118
118 -
 119
119 -
 120
120 -
 121
121 -
 122
122 -
 123
123 -
 124
124 -
 125
125 -
 126
126 -
 127
127 -
 128
128 -
129
-
130
-
131
-
132
-
133
-
134
-
135
-
136
-
137
-
138
-
139
-
140
-
141
-
142
-
143
-
144
-
145
-
146
-
147
-
148
-
149
-
150
-
151
-
152
-
153
-
154
-
155
-
156
-
157
-
158
-
159
-
160
-
161
-
162
-
163
-
164
-
165
-
166
-
167
-
168
-
169
-
170
-
171
-
172
-
173
-
174
-
175
-
176
-
177
-
178
-
179
-
180
-
181
-
182
-
183
-
184
-
185
-
186
-
187
-
188
-
189
-
190
-
191
-
192
-
193
-
194
-
195
-
196
-
197
-
198
-
199
-
200
-
201
-
202
-
203
-
204
-
205
-
206
-
207
-
208
-
209
-
210
-
211
-
212
-
213
-
214
-
215
-
216
-
217
-
218
-
219
-
220
-
221
-
222
-
223
-
224
-
225
-
226
-
227
-
228
-
229
-
230
-
231
-
232
-
233
-
234
-
235
-
236
-
237
-
238
-
239
-
240
-
241
-
242
-
243
-
244
-
245
-
246
-
247
-
248
-
249
-
250
-
251
-
252
-
253
-
254
-
255
-
256
-
257
-
258
-
259
-
260
-
261
-
262
-
263
-
264
-
265
-
266
-
267
-
268
-
269
-
270
-
271
-
272
-
273
-
274
-
275
-
276
-
277
-
278
-
279
-
280
-
281
-
282
-
283
-
284
-
285
-
286
-
287
-
288
-
289
-
290
-
291
-
292
-
293
-
294
-
295
-
296
-
297
-
298
-
299
-
300
-
301
-
302
-
303
-
304
-
305
-
306
-
307
-
308
-
309
-
310
-
311
-
312
-
313
-
314
-
315
-
316
-
317
-
318
-
319
-
320
-
321
-
322
-
323
-
324
-
325
-
326
-
327
-
328
-
329
-
330
-
331
-
332
-
333
-
334
-
335
-
336
-
337
-
338
-
339
-
340
-
341
-
342
-
343
-
344
-
345
-
346
-
347
-
348
-
349
-
350
-
351
-
352
-
353
-
354
-
355
-
356
-
357
-
358
-
359
-
360
-
361
-
362
-
363
-
364
-
365
-
366
-
367
-
368
-
369
-
370
-
371
-
372
-
373
-
374
-
375
 |
 |