2004 Mazda Tribute Owner's Manual - Page 40
2004 Mazda Tribute Manual

Page 40 highlights
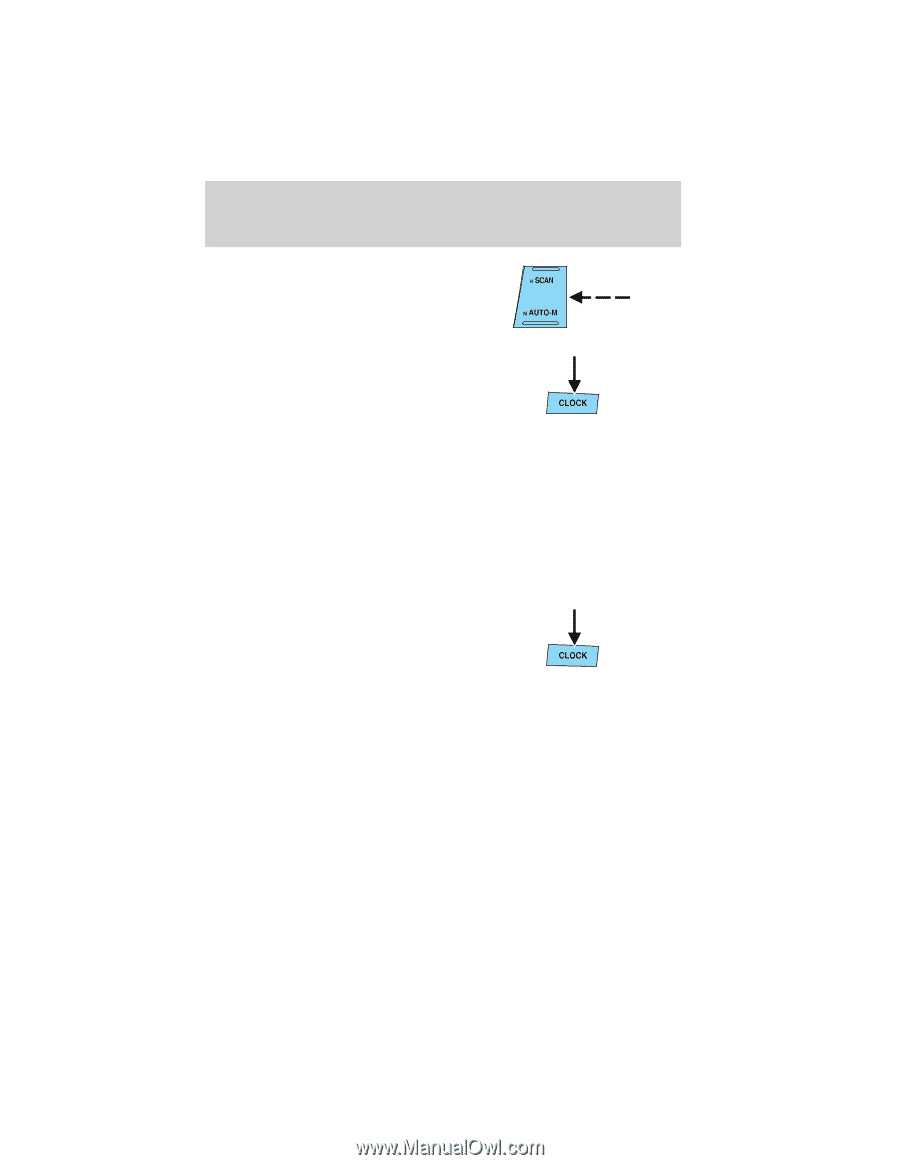
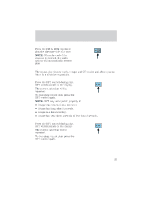
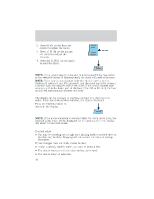
Entertainment Systems 2. Press SCAN on the hour set control to adjust the hours. 3. Press AUTO-M on the minute set control to adjust the minutes. 4. Press the CLOCK control again to start the clock. NOTE: If the power supply to the unit is interrupted (if the fuse blows or the vehicle's battery is disconnected), the clock will need to be reset. NOTE: If the time is not adjusted while the clock's current time is flashing (if neither H nor M is pressed), and the clock control is pressed a second time, the minutes will be set to 00. If the clock's current time setting is within the latter part of the hour (from 30 to 59 min), the hour setting will automatically advance one hour. Changing the display mode The display can be changed to alternate between the clock and the audio. When the clock mode is selected, the time is displayed. Press the CLOCK control to alternate the display. NOTE: If the audio operation is selected while the clock mode is on, the selected audio mode will be displayed for ten seconds, then the display will revert to the clock mode. TROUBLESHOOTING THE CD CHANGER (IF EQUIPPED) If sound skips: • You may be traveling on a rough road, playing badly scratched discs or the disc may be dirty. Skipping will not scratch the discs or damage the player. If your changer does not work, it may be that: • A disc is already loaded where you want to insert a disc. • The disc is inserted with the label surface downward. • The disc is dusty or defective. 40
-
 1
1 -
2
-
3
-
4
-
5
-
6
-
7
-
8
-
9
-
10
-
11
-
12
-
13
-
14
-
15
-
16
-
17
-
18
-
19
-
20
-
21
-
22
-
23
-
24
-
25
-
26
-
27
-
28
-
29
-
30
-
31
-
32
-
33
-
34
-
 35
35 -
 36
36 -
 37
37 -
 38
38 -
 39
39 -
 40
40 -
 41
41 -
 42
42 -
 43
43 -
 44
44 -
 45
45 -
46
-
47
-
48
-
49
-
50
-
51
-
52
-
53
-
54
-
55
-
56
-
57
-
58
-
59
-
60
-
61
-
62
-
63
-
64
-
65
-
66
-
67
-
68
-
69
-
70
-
71
-
72
-
73
-
74
-
75
-
76
-
77
-
78
-
79
-
80
-
81
-
82
-
83
-
84
-
85
-
86
-
87
-
88
-
89
-
90
-
91
-
92
-
93
-
94
-
95
-
96
-
97
-
98
-
99
-
100
-
101
-
102
-
103
-
104
-
105
-
106
-
107
-
108
-
109
-
110
-
111
-
112
-
113
-
114
-
115
-
116
-
117
-
118
-
119
-
120
-
121
-
122
-
123
-
124
-
125
-
126
-
127
-
128
-
129
-
130
-
131
-
132
-
133
-
134
-
135
-
136
-
137
-
138
-
139
-
140
-
141
-
142
-
143
-
144
-
145
-
146
-
147
-
148
-
149
-
150
-
151
-
152
-
153
-
154
-
155
-
156
-
157
-
158
-
159
-
160
-
161
-
162
-
163
-
164
-
165
-
166
-
167
-
168
-
169
-
170
-
171
-
172
-
173
-
174
-
175
-
176
-
177
-
178
-
179
-
180
-
181
-
182
-
183
-
184
-
185
-
186
-
187
-
188
-
189
-
190
-
191
-
192
-
193
-
194
-
195
-
196
-
197
-
198
-
199
-
200
-
201
-
202
-
203
-
204
-
205
-
206
-
207
-
208
-
209
-
210
-
211
-
212
-
213
-
214
-
215
-
216
-
217
-
218
-
219
-
220
-
221
-
222
-
223
-
224
-
225
-
226
-
227
-
228
-
229
-
230
-
231
-
232
-
233
-
234
-
235
-
236
-
237
-
238
-
239
-
240
-
241
-
242
-
243
-
244
-
245
-
246
-
247
-
248
-
249
-
250
-
251
-
252
-
253
-
254
-
255
-
256
 |
 |