1997 Mercury Mountaineer Owner's Manual - Page 48
1997 Mercury Mountaineer Manual
Page 48 highlights
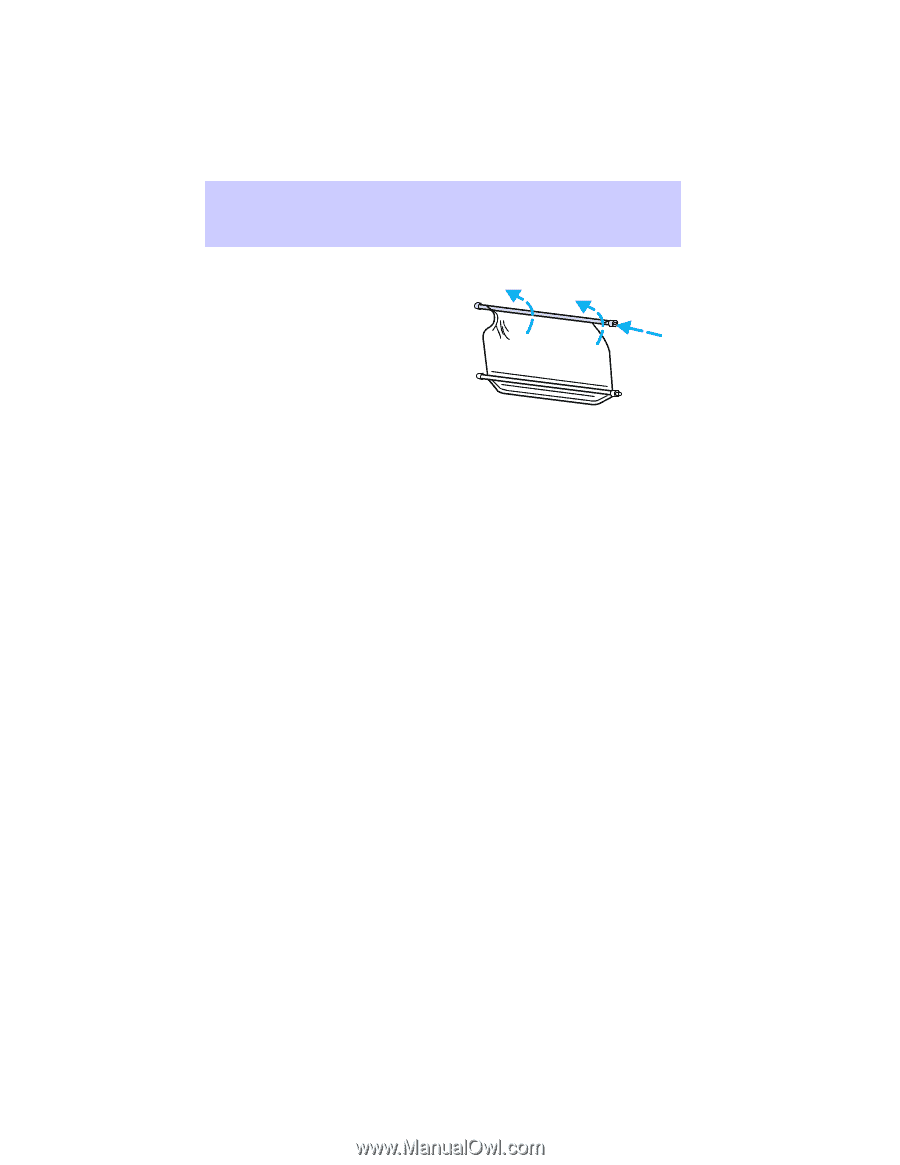
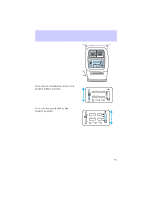
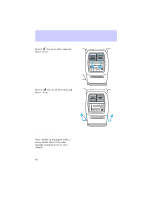
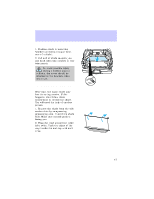
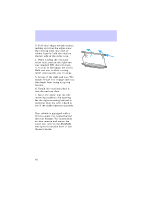
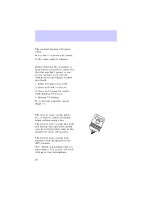
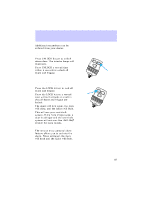
Controls and features 3. Fold vinyl edges towards center, making sure that the edges clear the end cap slots. Use tape or rubber band to hold the vinyl on the left side of the roller tube. 4. While holding the vinyl and roller tube, push in the right end cap (marked RH) about 6.4 mm (1/4 inch) to disengage the clutch. Hold end cap in while turning roller tube towards you 14 times. 5. Let go of the right end cap. The clutch should now engage and stop the shade from losing its spring tension. 6. Unfold the vinyl and place it into the end cap slots. 7. Insert the shade into the side mounting brackets (the opening for the right mounting bracket is narrower than the left). Check to see if the shade operates properly. Spare tire and jack Your vehicle is equipped with a full-size spare tire located behind the rear bumper. For instructions on how remove and mount the spare tire, refer to the Roadside emergencies section later in this Owner's Guide. 48
-
 1
1 -
2
-
3
-
4
-
5
-
6
-
7
-
8
-
9
-
10
-
11
-
12
-
13
-
14
-
15
-
16
-
17
-
18
-
19
-
20
-
21
-
22
-
23
-
24
-
25
-
26
-
27
-
28
-
29
-
30
-
31
-
32
-
33
-
34
-
35
-
36
-
37
-
38
-
39
-
40
-
41
-
42
-
 43
43 -
 44
44 -
 45
45 -
 46
46 -
 47
47 -
 48
48 -
 49
49 -
 50
50 -
 51
51 -
 52
52 -
 53
53 -
54
-
55
-
56
-
57
-
58
-
59
-
60
-
61
-
62
-
63
-
64
-
65
-
66
-
67
-
68
-
69
-
70
-
71
-
72
-
73
-
74
-
75
-
76
-
77
-
78
-
79
-
80
-
81
-
82
-
83
-
84
-
85
-
86
-
87
-
88
-
89
-
90
-
91
-
92
-
93
-
94
-
95
-
96
-
97
-
98
-
99
-
100
-
101
-
102
-
103
-
104
-
105
-
106
-
107
-
108
-
109
-
110
-
111
-
112
-
113
-
114
-
115
-
116
-
117
-
118
-
119
-
120
-
121
-
122
-
123
-
124
-
125
-
126
-
127
-
128
-
129
-
130
-
131
-
132
-
133
-
134
-
135
-
136
-
137
-
138
-
139
-
140
-
141
-
142
-
143
-
144
-
145
-
146
-
147
-
148
-
149
-
150
-
151
-
152
-
153
-
154
-
155
-
156
-
157
-
158
-
159
-
160
-
161
-
162
-
163
-
164
-
165
-
166
-
167
-
168
-
169
-
170
-
171
-
172
-
173
-
174
-
175
-
176
-
177
-
178
-
179
-
180
-
181
-
182
-
183
-
184
-
185
-
186
-
187
-
188
-
189
-
190
-
191
-
192
-
193
-
194
-
195
-
196
-
197
 |
 |