2009 Subaru Forester Owner's Manual - Page 214
2009 Subaru Forester Manual
Page 214 highlights
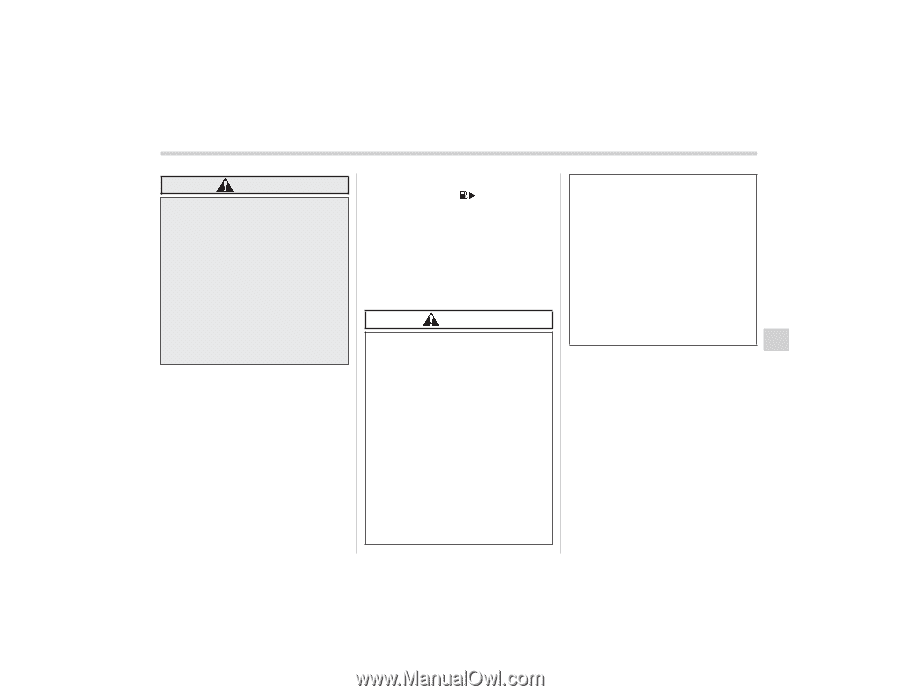
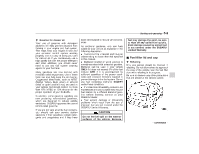
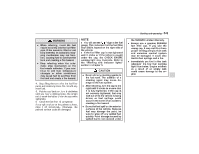
Starting and operating 7-5 WARNING . When refueling, insert the fuel nozzle securely into the fuel filler pipe. If the nozzle is lifted or not fully inserted, its automatic stopping mechanism may not function, causing fuel to overflow the tank and creating a fire hazard. . Stop refueling when the automatic stop mechanism on the fuel nozzle activates. If you continue to add fuel, temperature changes or other conditions may cause fuel to overflow from the tank and create a fire hazard. 4. Stop filling the tank after the fuel filler pump automatically stops. Do not add any more fuel. 5. Put the cap back on, turn it clockwise until you hear a clicking noise. Be certain not to catch the tether under the cap while tightening. 6. Close the fuel filler lid completely. If you spill any fuel on the painted surface, rinse it off immediately. Otherwise, the painted surface could be damaged. NOTE . You will see the " " sign in the fuel gauge. This indicates that the fuel filler door (lid) is located on the right side of the vehicle. . If the fuel filler cap is not tightened until it clicks or if the tether is caught under the cap, the CHECK ENGINE warning light may illuminate. Refer to the "Warning and indicator lights" section in chapter 3. CAUTION . Never add any cleaning agents to the fuel tank. The addition of a cleaning agent may cause damage to the fuel system. . After refueling, turn the cap to the right until it clicks to ensure that it is fully tightened. If the cap is not securely tightened, fuel may leak out while the vehicle is being driven or fuel spillage could occur in the event of an accident, creating a fire hazard. . Do not let fuel spill on the exterior surfaces of the vehicle. Because fuel may damage the paint, be sure to wipe off any spilled fuel quickly. Paint damage caused by spilled fuel is not covered under the SUBARU Limited Warranty. . Always use a genuine SUBARU fuel filler cap. If you use the wrong cap, it may not fit or have proper venting and your fuel tank and emission control system may be damaged. It could also lead to fuel spillage and a fire. . Immediately put fuel in the tank whenever the low fuel warning light illuminates. Engine misfires as a result of an empty tank could cause damage to the engine.
-
 1
1 -
2
-
3
-
4
-
5
-
6
-
7
-
8
-
9
-
10
-
11
-
12
-
13
-
14
-
15
-
16
-
17
-
18
-
19
-
20
-
21
-
22
-
23
-
24
-
25
-
26
-
27
-
28
-
29
-
30
-
31
-
32
-
33
-
34
-
35
-
36
-
37
-
38
-
39
-
40
-
41
-
42
-
43
-
44
-
45
-
46
-
47
-
48
-
49
-
50
-
51
-
52
-
53
-
54
-
55
-
56
-
57
-
58
-
59
-
60
-
61
-
62
-
63
-
64
-
65
-
66
-
67
-
68
-
69
-
70
-
71
-
72
-
73
-
74
-
75
-
76
-
77
-
78
-
79
-
80
-
81
-
82
-
83
-
84
-
85
-
86
-
87
-
88
-
89
-
90
-
91
-
92
-
93
-
94
-
95
-
96
-
97
-
98
-
99
-
100
-
101
-
102
-
103
-
104
-
105
-
106
-
107
-
108
-
109
-
110
-
111
-
112
-
113
-
114
-
115
-
116
-
117
-
118
-
119
-
120
-
121
-
122
-
123
-
124
-
125
-
126
-
127
-
128
-
129
-
130
-
131
-
132
-
133
-
134
-
135
-
136
-
137
-
138
-
139
-
140
-
141
-
142
-
143
-
144
-
145
-
146
-
147
-
148
-
149
-
150
-
151
-
152
-
153
-
154
-
155
-
156
-
157
-
158
-
159
-
160
-
161
-
162
-
163
-
164
-
165
-
166
-
167
-
168
-
169
-
170
-
171
-
172
-
173
-
174
-
175
-
176
-
177
-
178
-
179
-
180
-
181
-
182
-
183
-
184
-
185
-
186
-
187
-
188
-
189
-
190
-
191
-
192
-
193
-
194
-
195
-
196
-
197
-
198
-
199
-
200
-
201
-
202
-
203
-
204
-
205
-
206
-
207
-
208
-
 209
209 -
 210
210 -
 211
211 -
 212
212 -
 213
213 -
 214
214 -
 215
215 -
 216
216 -
 217
217 -
 218
218 -
 219
219 -
220
-
221
-
222
-
223
-
224
-
225
-
226
-
227
-
228
-
229
-
230
-
231
-
232
-
233
-
234
-
235
-
236
-
237
-
238
-
239
-
240
-
241
-
242
-
243
-
244
-
245
-
246
-
247
-
248
-
249
-
250
-
251
-
252
-
253
-
254
-
255
-
256
-
257
-
258
-
259
-
260
-
261
-
262
-
263
-
264
-
265
-
266
-
267
-
268
-
269
-
270
-
271
-
272
-
273
-
274
-
275
-
276
-
277
-
278
-
279
-
280
-
281
-
282
-
283
-
284
-
285
-
286
-
287
-
288
-
289
-
290
-
291
-
292
-
293
-
294
-
295
-
296
-
297
-
298
-
299
-
300
-
301
-
302
-
303
-
304
-
305
-
306
-
307
-
308
-
309
-
310
-
311
-
312
-
313
-
314
-
315
-
316
-
317
-
318
-
319
-
320
-
321
-
322
-
323
-
324
-
325
-
326
-
327
-
328
-
329
-
330
-
331
-
332
-
333
-
334
-
335
-
336
-
337
-
338
-
339
-
340
-
341
-
342
-
343
-
344
-
345
-
346
-
347
-
348
-
349
-
350
-
351
-
352
-
353
-
354
-
355
-
356
-
357
-
358
-
359
-
360
-
361
-
362
-
363
-
364
-
365
-
366
-
367
-
368
-
369
-
370
-
371
-
372
-
373
-
374
-
375
-
376
-
377
-
378
-
379
-
380
-
381
-
382
-
383
-
384
 |
 |