2008 Suzuki Forenza Owner's Manual - Page 186
2008 Suzuki Forenza Manual
Page 186 highlights
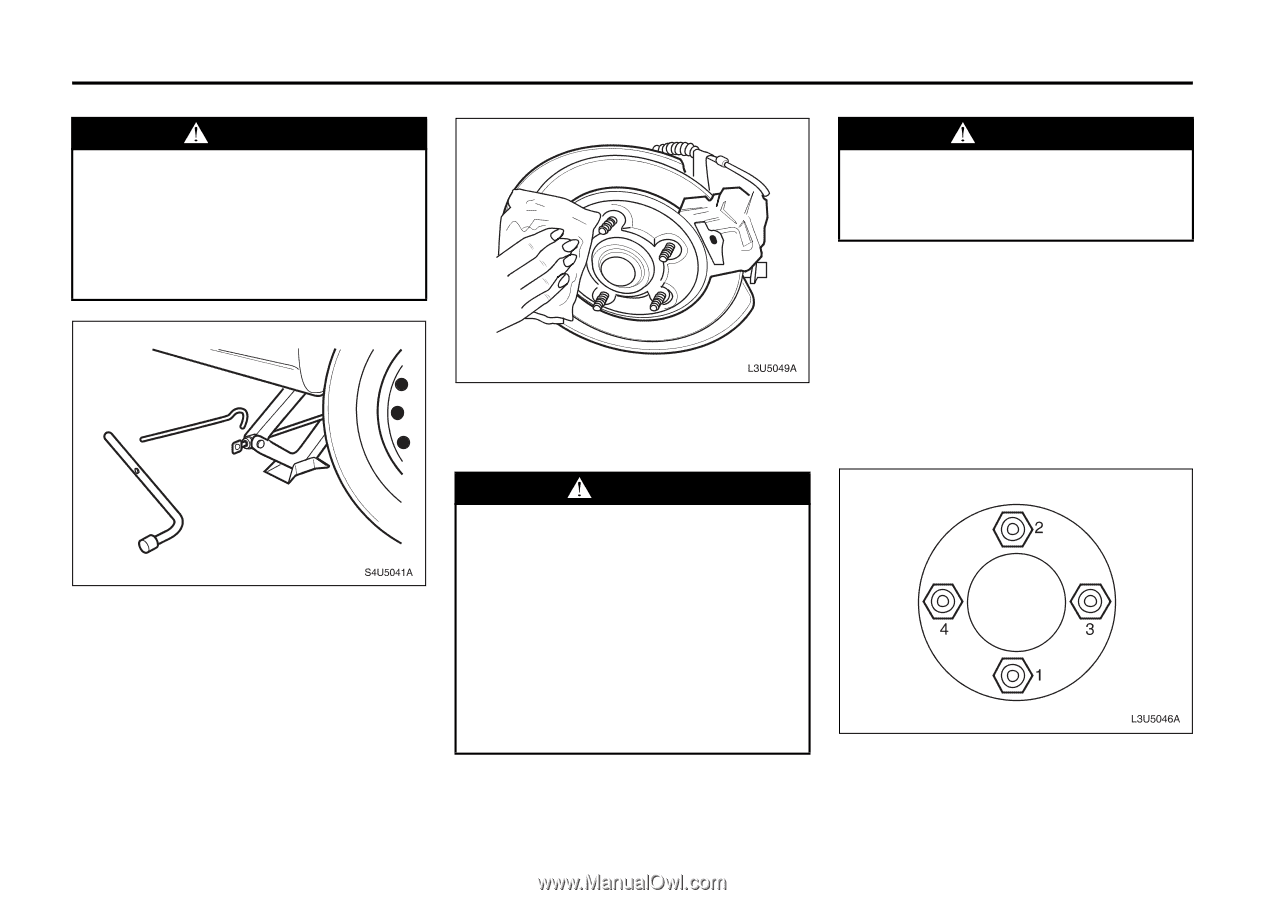
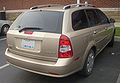
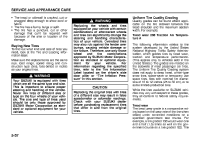
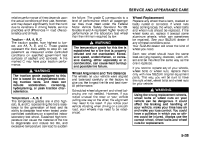
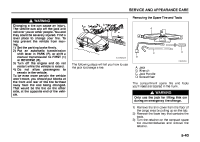
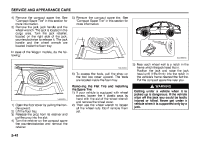
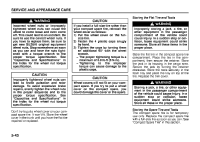
SERVICE AND APPEARANCE CARE WARNING Raising your vehicle with the jack improperly positioned can damage the vehicle and even make the vehicle fall. To help avoid personal injury and vehicle damage, be sure to fit the jack lift head into the proper location before raising the vehicle. WARNING Never use oil or grease on studs or nuts. If you do, the nuts might come loose. Your wheel could fall off, causing a serious accident. 9) Place the compact spare tire on the wheel-mounting surface. 10)Reinstall the wheel nuts with the rounded end of the nuts toward the wheel. Tighten each wheel nut by turning it clockwise with your hand until the wheel is held against the hub. 11)Lower the vehicle by turning the wheel handle counterclockwise. Lower the jack completely. 8) Remove any rust or dirt from the wheel bolts, mounting surfaces and spare wheel. WARNING Rust or dirt on the wheel, or on the parts to which it is fastened, can make the wheel nuts become loose after a time. The wheel could come off and cause an accident. When you change a wheel, remove any rust or dirt from the places where the wheel attaches to the vehicle. In an emergency, you can use a cloth or a paper towel to do this, but be sure to use a scraper or wire brush later, if you need to, to get all the rust or dirt off. 12)Tighten the wheel nuts firmly in a crisscross sequence as shown. 4) Insert the jack handle and the wheel wrench into the jack. 5) Raise the vehicle by turning the jack handle clockwise. Raise the vehicle far enough off the ground so there is enough room for the compact spare tire to fit underneath the wheel well. 6) Remove all of the wheel nuts by turning them counterclockwise. 7) Remove the flat tire. 5-42
-
 1
1 -
2
-
3
-
4
-
5
-
6
-
7
-
8
-
9
-
10
-
11
-
12
-
13
-
14
-
15
-
16
-
17
-
18
-
19
-
20
-
21
-
22
-
23
-
24
-
25
-
26
-
27
-
28
-
29
-
30
-
31
-
32
-
33
-
34
-
35
-
36
-
37
-
38
-
39
-
40
-
41
-
42
-
43
-
44
-
45
-
46
-
47
-
48
-
49
-
50
-
51
-
52
-
53
-
54
-
55
-
56
-
57
-
58
-
59
-
60
-
61
-
62
-
63
-
64
-
65
-
66
-
67
-
68
-
69
-
70
-
71
-
72
-
73
-
74
-
75
-
76
-
77
-
78
-
79
-
80
-
81
-
82
-
83
-
84
-
85
-
86
-
87
-
88
-
89
-
90
-
91
-
92
-
93
-
94
-
95
-
96
-
97
-
98
-
99
-
100
-
101
-
102
-
103
-
104
-
105
-
106
-
107
-
108
-
109
-
110
-
111
-
112
-
113
-
114
-
115
-
116
-
117
-
118
-
119
-
120
-
121
-
122
-
123
-
124
-
125
-
126
-
127
-
128
-
129
-
130
-
131
-
132
-
133
-
134
-
135
-
136
-
137
-
138
-
139
-
140
-
141
-
142
-
143
-
144
-
145
-
146
-
147
-
148
-
149
-
150
-
151
-
152
-
153
-
154
-
155
-
156
-
157
-
158
-
159
-
160
-
161
-
162
-
163
-
164
-
165
-
166
-
167
-
168
-
169
-
170
-
171
-
172
-
173
-
174
-
175
-
176
-
177
-
178
-
179
-
180
-
 181
181 -
 182
182 -
 183
183 -
 184
184 -
 185
185 -
 186
186 -
 187
187 -
 188
188 -
 189
189 -
 190
190 -
 191
191 -
192
-
193
-
194
-
195
-
196
-
197
-
198
-
199
-
200
-
201
-
202
-
203
-
204
-
205
-
206
-
207
-
208
-
209
-
210
-
211
-
212
-
213
-
214
-
215
-
216
-
217
-
218
-
219
-
220
-
221
-
222
-
223
-
224
-
225
-
226
 |
 |