2008 Suzuki XL7 Owner's Manual - Page 16
2008 Suzuki XL7 Manual
Page 16 highlights
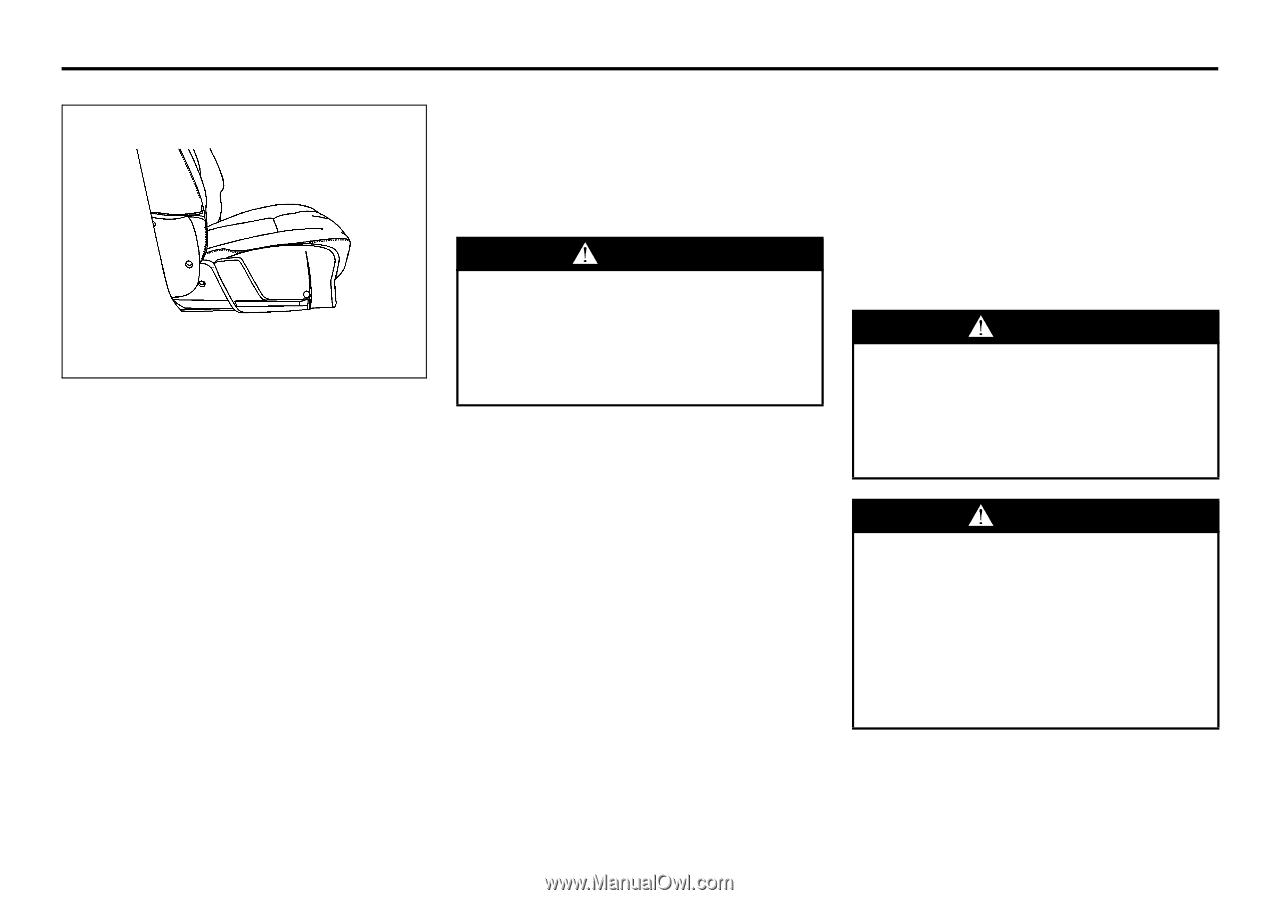
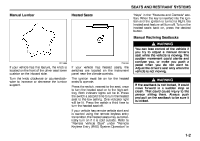
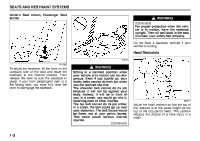
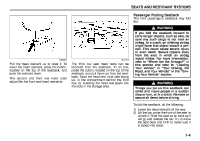
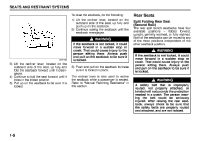
SEATS AND RESTRAINT SYSTEMS To raise the seatback, do the following: 1) Lift the recliner lever, located on the outboard side of the seat, up fully and push up on the seatback. 2) Continue raising the seatback until the seatback re-engages. Rear Seats Split Folding Rear Seat (Second Row) The rear split bench seatbacks have four available positions - folded forward, upright, partially reclined, or fully reclined. Both of the seatbacks can be moved to any of the three positions independent of the other seatback position. WARNING If the seatback is not locked, it could move forward in a sudden stop or crash. That could cause injury to the person sitting there. Always push and pull on the seatback to be sure it is locked. 3) Push and pull on the seatback to make sure it is locked in place. The recliner lever is also used to recline the seatback while a passenger is seated. Refer to "Manual Reclining Seatbacks" in this section. WARNING If the seatback is not locked, it could move forward in a sudden stop or crash. That could cause injury to the person sitting there. Always push and pull on the seatback to be sure it is locked. 1876168 3) Lift the recliner lever, located on the outboard side of the seat, up fully and fold the seatback forward until it disengages. 4) Continue to fold the seat forward until it locks in the folded position. 5) Pull up on the seatback to be sure it is locked. WARNING A safety belt that is improperly routed, not properly attached, or twisted will not provide the protection needed in a crash. The person wearing the belt could be seriously injured. After raising the rear seatback, always check to be sure that the safety belts are properly routed and attached, and are not twisted. 1-5
-
 1
1 -
2
-
3
-
4
-
5
-
6
-
7
-
8
-
9
-
10
-
 11
11 -
 12
12 -
 13
13 -
 14
14 -
 15
15 -
 16
16 -
 17
17 -
 18
18 -
 19
19 -
 20
20 -
 21
21 -
22
-
23
-
24
-
25
-
26
-
27
-
28
-
29
-
30
-
31
-
32
-
33
-
34
-
35
-
36
-
37
-
38
-
39
-
40
-
41
-
42
-
43
-
44
-
45
-
46
-
47
-
48
-
49
-
50
-
51
-
52
-
53
-
54
-
55
-
56
-
57
-
58
-
59
-
60
-
61
-
62
-
63
-
64
-
65
-
66
-
67
-
68
-
69
-
70
-
71
-
72
-
73
-
74
-
75
-
76
-
77
-
78
-
79
-
80
-
81
-
82
-
83
-
84
-
85
-
86
-
87
-
88
-
89
-
90
-
91
-
92
-
93
-
94
-
95
-
96
-
97
-
98
-
99
-
100
-
101
-
102
-
103
-
104
-
105
-
106
-
107
-
108
-
109
-
110
-
111
-
112
-
113
-
114
-
115
-
116
-
117
-
118
-
119
-
120
-
121
-
122
-
123
-
124
-
125
-
126
-
127
-
128
-
129
-
130
-
131
-
132
-
133
-
134
-
135
-
136
-
137
-
138
-
139
-
140
-
141
-
142
-
143
-
144
-
145
-
146
-
147
-
148
-
149
-
150
-
151
-
152
-
153
-
154
-
155
-
156
-
157
-
158
-
159
-
160
-
161
-
162
-
163
-
164
-
165
-
166
-
167
-
168
-
169
-
170
-
171
-
172
-
173
-
174
-
175
-
176
-
177
-
178
-
179
-
180
-
181
-
182
-
183
-
184
-
185
-
186
-
187
-
188
-
189
-
190
-
191
-
192
-
193
-
194
-
195
-
196
-
197
-
198
-
199
-
200
-
201
-
202
-
203
-
204
-
205
-
206
-
207
-
208
-
209
-
210
-
211
-
212
-
213
-
214
-
215
-
216
-
217
-
218
-
219
-
220
-
221
-
222
-
223
-
224
-
225
-
226
-
227
-
228
-
229
-
230
-
231
-
232
-
233
-
234
-
235
-
236
-
237
-
238
-
239
-
240
-
241
-
242
-
243
-
244
-
245
-
246
-
247
-
248
-
249
-
250
-
251
-
252
-
253
-
254
-
255
-
256
-
257
-
258
 |
 |