2009 Suzuki SX4 Owner's Manual - Page 35
2009 Suzuki SX4 Manual
Page 35 highlights
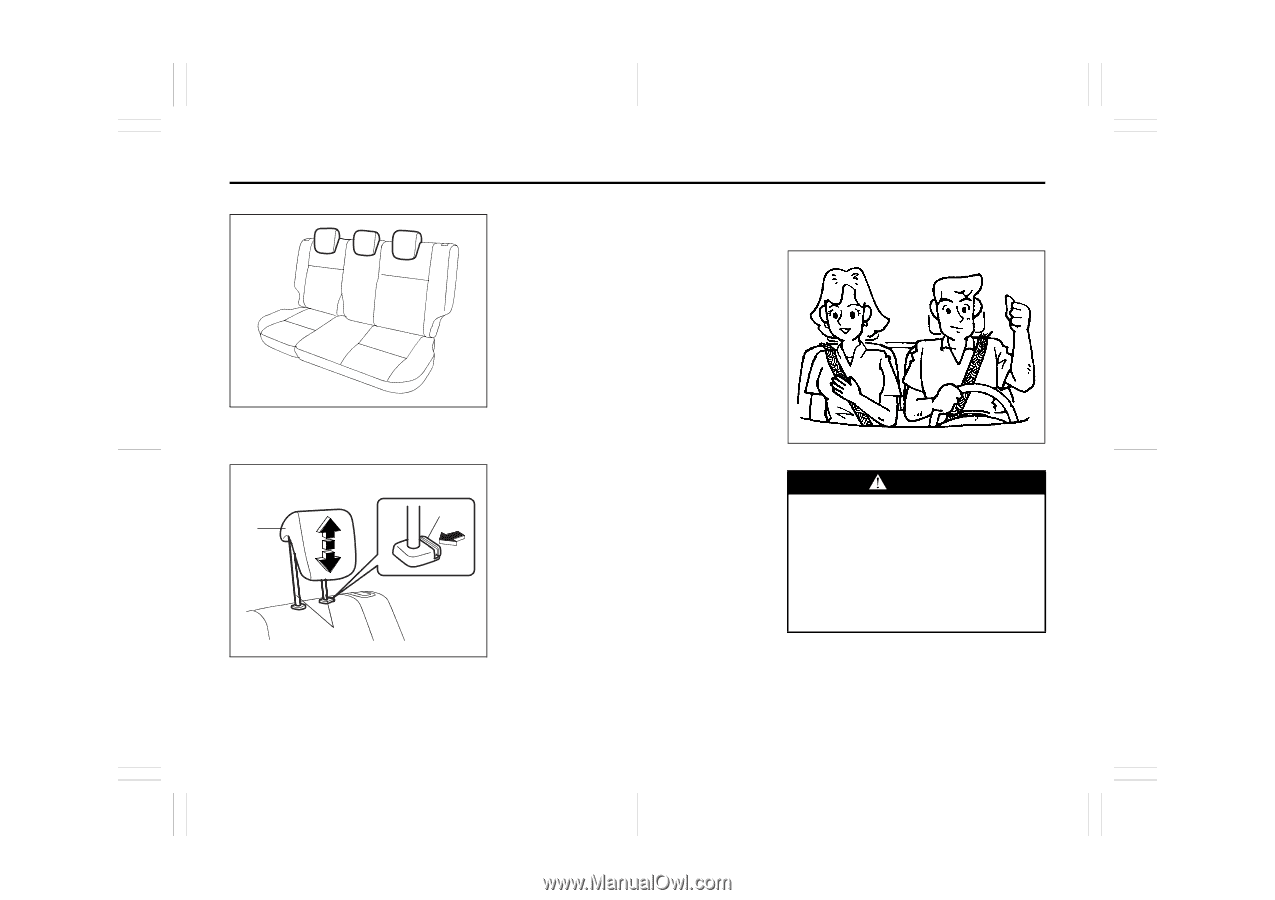
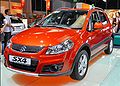
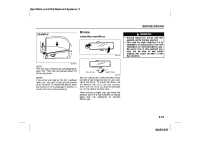
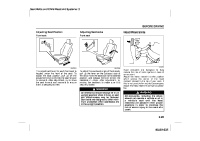
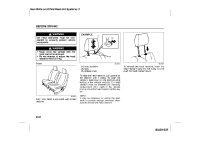
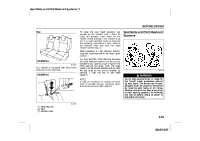
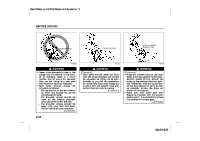
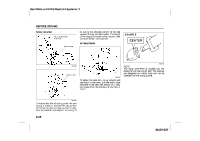
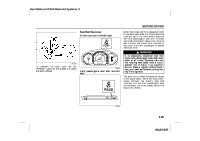
Seat Belts and Child Restraint Systems: 3 BEFORE DRIVING Rear To raise the rear head restraint, pull upward on the restraint until it clicks. To lower the restraint, push down on the restraint while holding in the release knob (3). If a head restraint must be removed (for cleaning, replacement, etc.), push in the release knob and pull the head restraint all the way out. When installing a child restraint system, raise the head restraint to the most upper position. Seat Belts and Child Restraint Systems EXAMPLE 80J2002 Your vehicle is equipped with three head restraints on the rear seat. EXAMPLE (3) (1) For SX4 SEDAN, if the distance between the child restraint system and the anchor bracket is too close to properly tighten the child restraint top strap, lower the head restraint to the lowest position and connect the top strap to the anchor bracket by passing it over the top of the head restraint. NOTE: It may be necessary to recline the seatback to provide enough overhead clearance to remove the head restraint. 65D231 WARNING An air bag supplements, or adds to, the frontal crash protection offered by seat belts. The driver and all passengers must be properly restrained by wearing seat belts at all times, whether or not an air bag is mounted at their seating position, to minimize the risk of severe injury or death in the event of a crash. (2) 80J2005 (1) head restraint (2) bars (3) release knob 2-22 80J22-03E
-
 1
1 -
2
-
3
-
4
-
5
-
6
-
7
-
8
-
9
-
10
-
11
-
12
-
13
-
14
-
15
-
16
-
17
-
18
-
19
-
20
-
21
-
22
-
23
-
24
-
25
-
26
-
27
-
28
-
29
-
 30
30 -
 31
31 -
 32
32 -
 33
33 -
 34
34 -
 35
35 -
 36
36 -
 37
37 -
 38
38 -
 39
39 -
 40
40 -
41
-
42
-
43
-
44
-
45
-
46
-
47
-
48
-
49
-
50
-
51
-
52
-
53
-
54
-
55
-
56
-
57
-
58
-
59
-
60
-
61
-
62
-
63
-
64
-
65
-
66
-
67
-
68
-
69
-
70
-
71
-
72
-
73
-
74
-
75
-
76
-
77
-
78
-
79
-
80
-
81
-
82
-
83
-
84
-
85
-
86
-
87
-
88
-
89
-
90
-
91
-
92
-
93
-
94
-
95
-
96
-
97
-
98
-
99
-
100
-
101
-
102
-
103
-
104
-
105
-
106
-
107
-
108
-
109
-
110
-
111
-
112
-
113
-
114
-
115
-
116
-
117
-
118
-
119
-
120
-
121
-
122
-
123
-
124
-
125
-
126
-
127
-
128
-
129
-
130
-
131
-
132
-
133
-
134
-
135
-
136
-
137
-
138
-
139
-
140
-
141
-
142
-
143
-
144
-
145
-
146
-
147
-
148
-
149
-
150
-
151
-
152
-
153
-
154
-
155
-
156
-
157
-
158
-
159
-
160
-
161
-
162
-
163
-
164
-
165
-
166
-
167
-
168
-
169
-
170
-
171
-
172
-
173
-
174
-
175
-
176
-
177
-
178
-
179
-
180
-
181
-
182
-
183
-
184
-
185
-
186
-
187
-
188
-
189
-
190
-
191
-
192
-
193
-
194
-
195
-
196
-
197
-
198
-
199
-
200
-
201
-
202
-
203
-
204
-
205
-
206
-
207
-
208
-
209
-
210
-
211
-
212
-
213
-
214
-
215
-
216
-
217
-
218
-
219
-
220
-
221
-
222
-
223
-
224
-
225
-
226
-
227
-
228
-
229
-
230
-
231
-
232
-
233
-
234
-
235
-
236
-
237
-
238
-
239
-
240
-
241
-
242
-
243
-
244
-
245
-
246
-
247
-
248
-
249
-
250
-
251
-
252
-
253
-
254
-
255
-
256
-
257
-
258
-
259
-
260
-
261
-
262
-
263
-
264
-
265
-
266
-
267
-
268
-
269
-
270
-
271
-
272
-
273
-
274
-
275
-
276
-
277
-
278
-
279
 |
 |