2007 Suzuki Grand Vitara Owner's Manual - Page 152
2007 Suzuki Grand Vitara Manual
Page 152 highlights
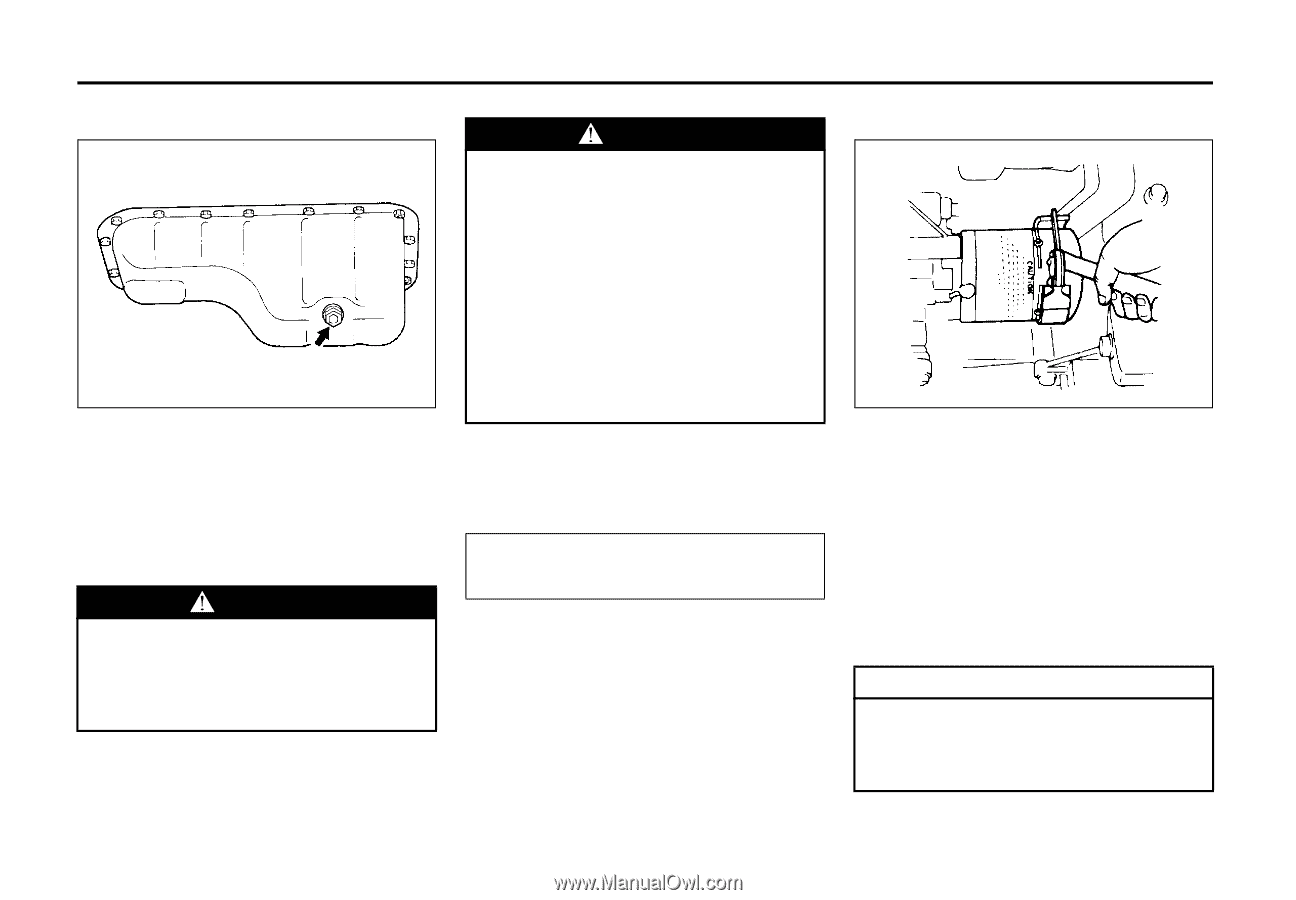
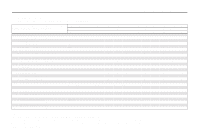
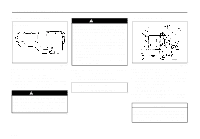
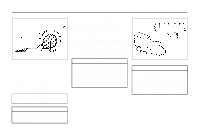
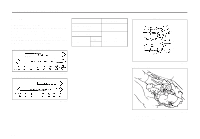
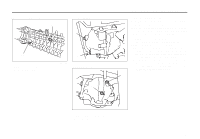
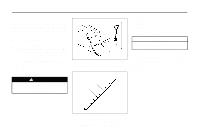
INSPECTION AND MAINTENANCE Changing Engine Oil and Filter WARNING EXAMPLE New and used oil and solvent can be hazardous. Children and pets may be harmed by swallowing new or used oil or solvent. Repeated, prolonged contact with used engine oil may cause skin cancer. Brief contact with used oil or solvent may irritate skin. • Keep new and used oil and solvent away from children and pets. • Wear a long-sleeve shirt and waterproof gloves. • Wash with soap if oil or solvent contacts your skin. 5) Reinstall the drain plug and gasket. Tighten the plug with a wrench to the specified torque. 6) Reinstall the engine under cover. Tightening torque specification 35 Nm (25.3 lb-ft, 3.5 kg-m) Replace the Oil Filter 60G306 60A198 Drain the engine oil while the engine is still warm. 1) Remove the oil filler cap. 2) Remove the engine under cover. 3) Place a drain pan under the drain plug. 4) Using a wrench, remove the drain plug and drain out the engine oil. WARNING The engine oil temperature may be high enough to burn your fingers when the drain plug is loosened. Wait until the drain plug is cool enough to touch with your bare hands. 1) Remove the engine under cover. 2) Using an oil filter wrench, turn the oil filter counterclockwise and remove it. 3) Using a clean rag, wipe off the mounting surface on the engine where the new filter will be seated. 4) Smear a little engine oil around the rubber gasket of the new oil filter. 5) Screw on the new filter by hand until the filter gasket contacts the mounting surface. CAUTION To tighten the oil filter properly, it is important to accurately identify the position at which the filter gasket first contacts the mounting surface. 9-11
-
 1
1 -
2
-
3
-
4
-
5
-
6
-
7
-
8
-
9
-
10
-
11
-
12
-
13
-
14
-
15
-
16
-
17
-
18
-
19
-
20
-
21
-
22
-
23
-
24
-
25
-
26
-
27
-
28
-
29
-
30
-
31
-
32
-
33
-
34
-
35
-
36
-
37
-
38
-
39
-
40
-
41
-
42
-
43
-
44
-
45
-
46
-
47
-
48
-
49
-
50
-
51
-
52
-
53
-
54
-
55
-
56
-
57
-
58
-
59
-
60
-
61
-
62
-
63
-
64
-
65
-
66
-
67
-
68
-
69
-
70
-
71
-
72
-
73
-
74
-
75
-
76
-
77
-
78
-
79
-
80
-
81
-
82
-
83
-
84
-
85
-
86
-
87
-
88
-
89
-
90
-
91
-
92
-
93
-
94
-
95
-
96
-
97
-
98
-
99
-
100
-
101
-
102
-
103
-
104
-
105
-
106
-
107
-
108
-
109
-
110
-
111
-
112
-
113
-
114
-
115
-
116
-
117
-
118
-
119
-
120
-
121
-
122
-
123
-
124
-
125
-
126
-
127
-
128
-
129
-
130
-
131
-
132
-
133
-
134
-
135
-
136
-
137
-
138
-
139
-
140
-
141
-
142
-
143
-
144
-
145
-
146
-
 147
147 -
 148
148 -
 149
149 -
 150
150 -
 151
151 -
 152
152 -
 153
153 -
 154
154 -
 155
155 -
 156
156 -
 157
157 -
158
-
159
-
160
-
161
-
162
-
163
-
164
-
165
-
166
-
167
-
168
-
169
-
170
-
171
-
172
-
173
-
174
-
175
-
176
-
177
-
178
-
179
-
180
-
181
-
182
-
183
-
184
-
185
-
186
-
187
-
188
-
189
-
190
-
191
-
192
-
193
-
194
-
195
-
196
-
197
-
198
-
199
-
200
-
201
-
202
-
203
-
204
-
205
-
206
-
207
-
208
-
209
-
210
-
211
-
212
-
213
-
214
-
215
-
216
 |
 |