2007 Suzuki Grand Vitara Owner's Manual - Page 153
2007 Suzuki Grand Vitara Manual

Page 153 highlights
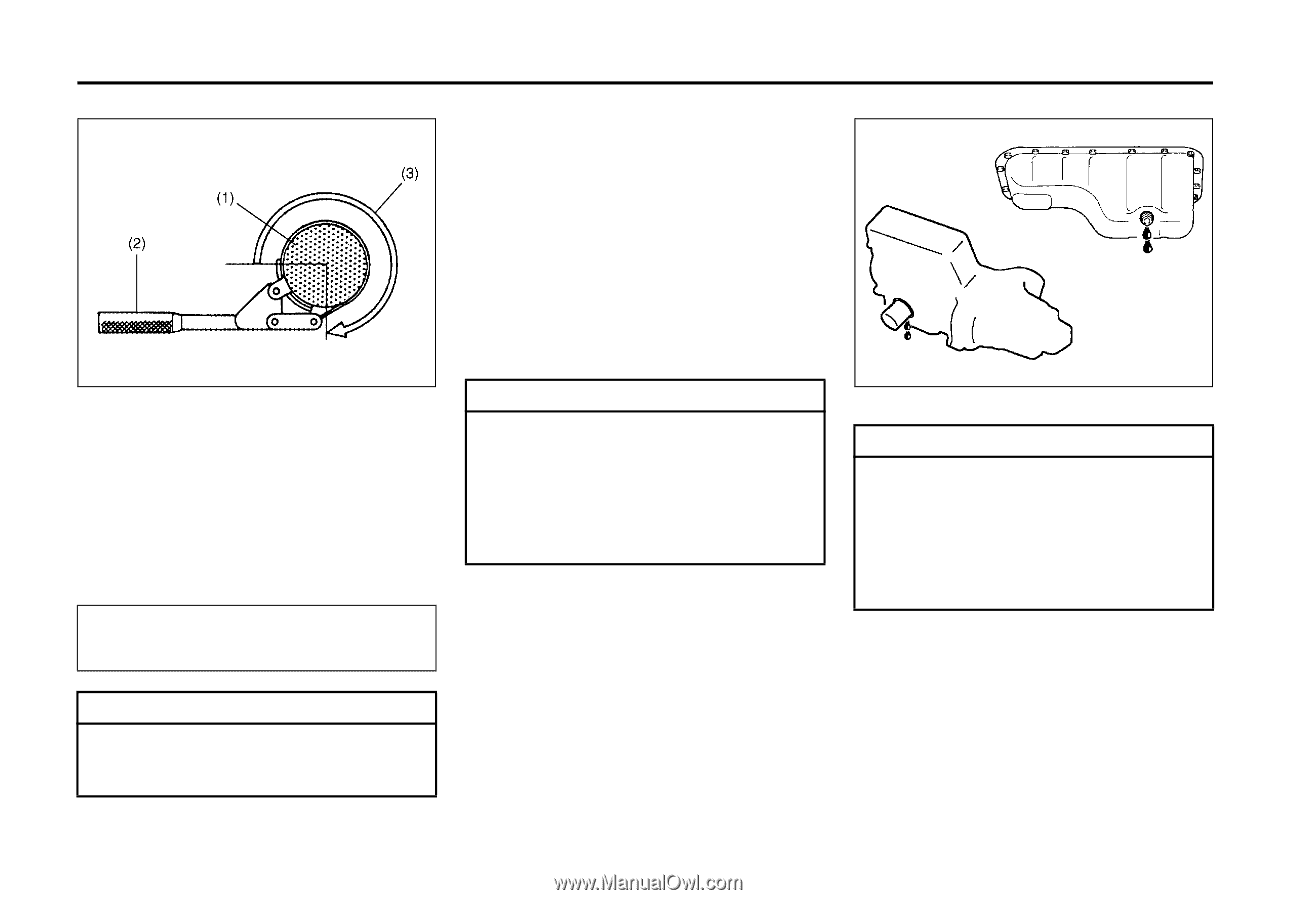
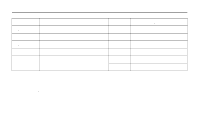
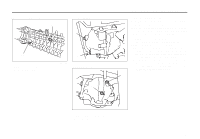
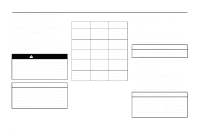
INSPECTION AND MAINTENANCE Refill with Oil and Check for Leaks 1) Pour oil through the filler hole and install the filler cap. For the approximate capacity of the oil, refer to the "Capacities" item in the "SPECIFICATIONS" section. 2) Start the engine and look carefully for leaks at the oil filter and drain plug. Run the engine at various speeds for at least 5 minutes. 3) Stop the engine and wait about 5 minutes. Check the oil level again and add oil if necessary. Check for leaks again. 52D086 EXAMPLE CAUTION When replacing the oil filter, it is recommended that you use a genuine SUZUKI replacement filter. If you use an after-market filter, make sure it is of equivalent quality and carefully follow the manufacturer's instructions and precautions. 83E010 (1) Oil filter (2) Oil filter wrench (3) 3/4 turn 6) Tighten the filter 3/4 turn from the point of contact with the mounting surface (or to the specified torque) using an oil filter wrench. 7) Reinstall the engine under cover. Tightening torque specification 14 Nm (10.1 lb-ft, 1.4 kg-m) CAUTION Oil leaks from around the oil filter or drain plug indicate incorrect installation or gasket damage. If you find any leaks or are not sure that the filter has been properly tightened, have the vehicle inspected by your SUZUKI dealer. CAUTION To prevent oil leakage, make sure that the oil filter is tight, but do not overtighten it. 9-12
-
 1
1 -
2
-
3
-
4
-
5
-
6
-
7
-
8
-
9
-
10
-
11
-
12
-
13
-
14
-
15
-
16
-
17
-
18
-
19
-
20
-
21
-
22
-
23
-
24
-
25
-
26
-
27
-
28
-
29
-
30
-
31
-
32
-
33
-
34
-
35
-
36
-
37
-
38
-
39
-
40
-
41
-
42
-
43
-
44
-
45
-
46
-
47
-
48
-
49
-
50
-
51
-
52
-
53
-
54
-
55
-
56
-
57
-
58
-
59
-
60
-
61
-
62
-
63
-
64
-
65
-
66
-
67
-
68
-
69
-
70
-
71
-
72
-
73
-
74
-
75
-
76
-
77
-
78
-
79
-
80
-
81
-
82
-
83
-
84
-
85
-
86
-
87
-
88
-
89
-
90
-
91
-
92
-
93
-
94
-
95
-
96
-
97
-
98
-
99
-
100
-
101
-
102
-
103
-
104
-
105
-
106
-
107
-
108
-
109
-
110
-
111
-
112
-
113
-
114
-
115
-
116
-
117
-
118
-
119
-
120
-
121
-
122
-
123
-
124
-
125
-
126
-
127
-
128
-
129
-
130
-
131
-
132
-
133
-
134
-
135
-
136
-
137
-
138
-
139
-
140
-
141
-
142
-
143
-
144
-
145
-
146
-
147
-
 148
148 -
 149
149 -
 150
150 -
 151
151 -
 152
152 -
 153
153 -
 154
154 -
 155
155 -
 156
156 -
 157
157 -
 158
158 -
159
-
160
-
161
-
162
-
163
-
164
-
165
-
166
-
167
-
168
-
169
-
170
-
171
-
172
-
173
-
174
-
175
-
176
-
177
-
178
-
179
-
180
-
181
-
182
-
183
-
184
-
185
-
186
-
187
-
188
-
189
-
190
-
191
-
192
-
193
-
194
-
195
-
196
-
197
-
198
-
199
-
200
-
201
-
202
-
203
-
204
-
205
-
206
-
207
-
208
-
209
-
210
-
211
-
212
-
213
-
214
-
215
-
216
 |
 |