2007 Suzuki Grand Vitara Owner's Manual - Page 157
2007 Suzuki Grand Vitara Manual
Page 157 highlights
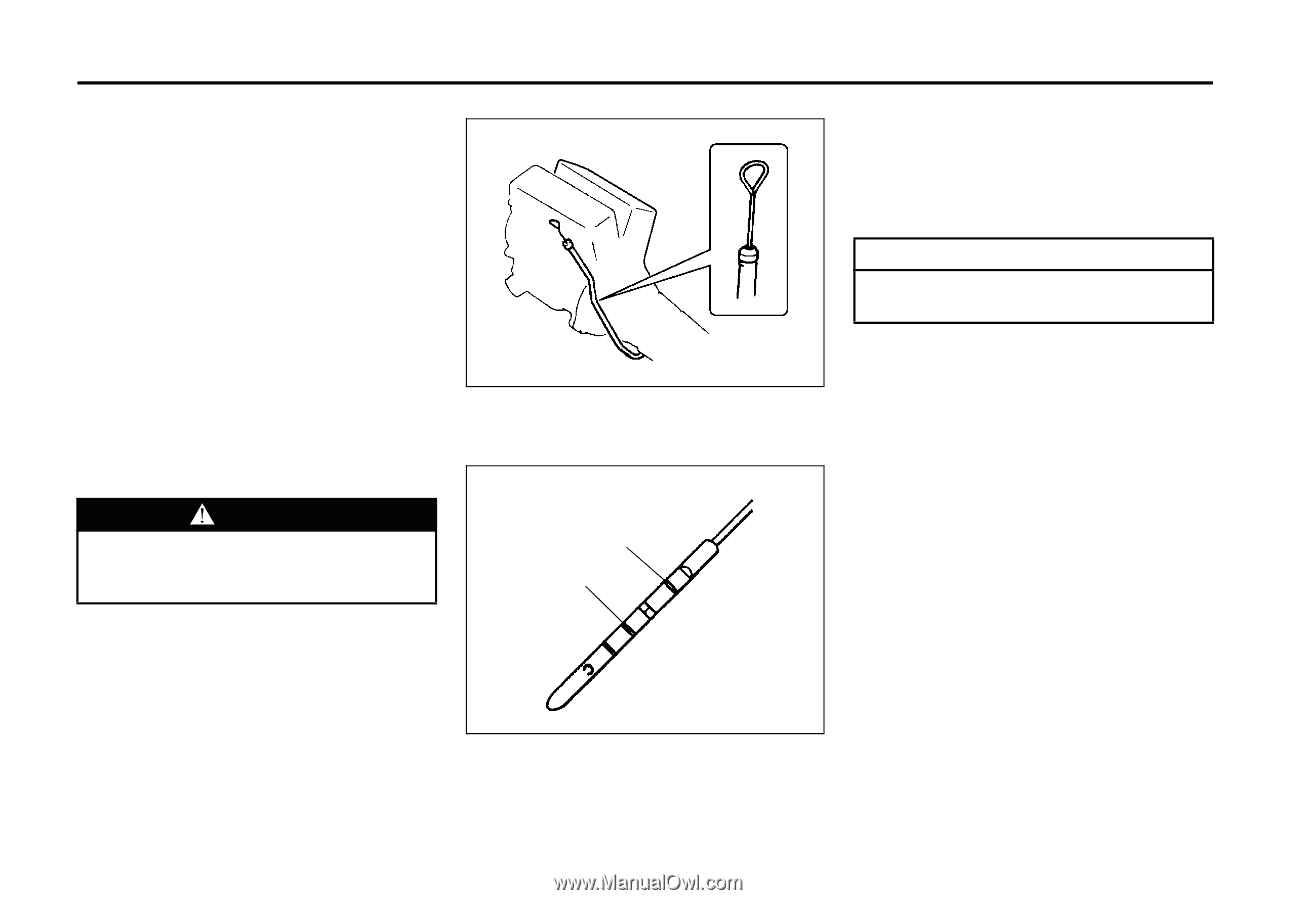
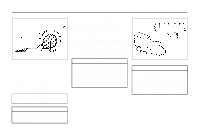
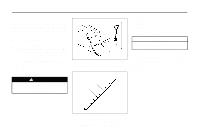
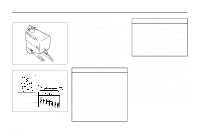
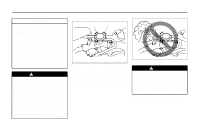
INSPECTION AND MAINTENANCE NOTE: Do not check the fluid level if you have just driven the vehicle for a long time at high speed, if you have driven in city traffic in hot weather, or if the vehicle has been pulling a trailer. Wait until the fluid cools down (about 30 minutes), or the fluid level indication will not be correct. 3) Park your vehicle on level ground. 4) Apply the parking brake and then start the engine in "P" (Park). Let it idle for two minutes and keep it running during the fluid level check. 5) With your foot on the brake pedal, move the gearshift lever through each gear, pausing for about three seconds in each range. Then move it back to the "P" (Park) position. The fluid level should be between the two marks in the "HOT" range on the dipstick. 7) Add just enough specified fluid through the dipstick hole to fill the transmission to the proper level. CAUTION After checking or adding oil, be sure to insert the dipstick securely. Changing Oil 52D032 The handle of the A/T fluid dipstick is colored red for easy identification. Since special procedures, materials and tools are required to change the automatic transmission oil, it is recommended that you trust this job to your authorized SUZUKI dealer. WARNING Be sure to depress the brake pedal when moving the gearshift lever, or the vehicle can move suddenly. FULL HOT LOW HOT 65D109 6) Remove the dipstick, clean it and push it back in until the cap seats. Pull out the dipstick and read the fluid level. 9-16
-
 1
1 -
2
-
3
-
4
-
5
-
6
-
7
-
8
-
9
-
10
-
11
-
12
-
13
-
14
-
15
-
16
-
17
-
18
-
19
-
20
-
21
-
22
-
23
-
24
-
25
-
26
-
27
-
28
-
29
-
30
-
31
-
32
-
33
-
34
-
35
-
36
-
37
-
38
-
39
-
40
-
41
-
42
-
43
-
44
-
45
-
46
-
47
-
48
-
49
-
50
-
51
-
52
-
53
-
54
-
55
-
56
-
57
-
58
-
59
-
60
-
61
-
62
-
63
-
64
-
65
-
66
-
67
-
68
-
69
-
70
-
71
-
72
-
73
-
74
-
75
-
76
-
77
-
78
-
79
-
80
-
81
-
82
-
83
-
84
-
85
-
86
-
87
-
88
-
89
-
90
-
91
-
92
-
93
-
94
-
95
-
96
-
97
-
98
-
99
-
100
-
101
-
102
-
103
-
104
-
105
-
106
-
107
-
108
-
109
-
110
-
111
-
112
-
113
-
114
-
115
-
116
-
117
-
118
-
119
-
120
-
121
-
122
-
123
-
124
-
125
-
126
-
127
-
128
-
129
-
130
-
131
-
132
-
133
-
134
-
135
-
136
-
137
-
138
-
139
-
140
-
141
-
142
-
143
-
144
-
145
-
146
-
147
-
148
-
149
-
150
-
151
-
 152
152 -
 153
153 -
 154
154 -
 155
155 -
 156
156 -
 157
157 -
 158
158 -
 159
159 -
 160
160 -
 161
161 -
 162
162 -
163
-
164
-
165
-
166
-
167
-
168
-
169
-
170
-
171
-
172
-
173
-
174
-
175
-
176
-
177
-
178
-
179
-
180
-
181
-
182
-
183
-
184
-
185
-
186
-
187
-
188
-
189
-
190
-
191
-
192
-
193
-
194
-
195
-
196
-
197
-
198
-
199
-
200
-
201
-
202
-
203
-
204
-
205
-
206
-
207
-
208
-
209
-
210
-
211
-
212
-
213
-
214
-
215
-
216
 |
 |