ASRock M266A R3.0 User Manual - Page 15
BIOS Setup
 |
View all ASRock M266A R3.0 manuals
Add to My Manuals
Save this manual to your list of manuals |
Page 15 highlights
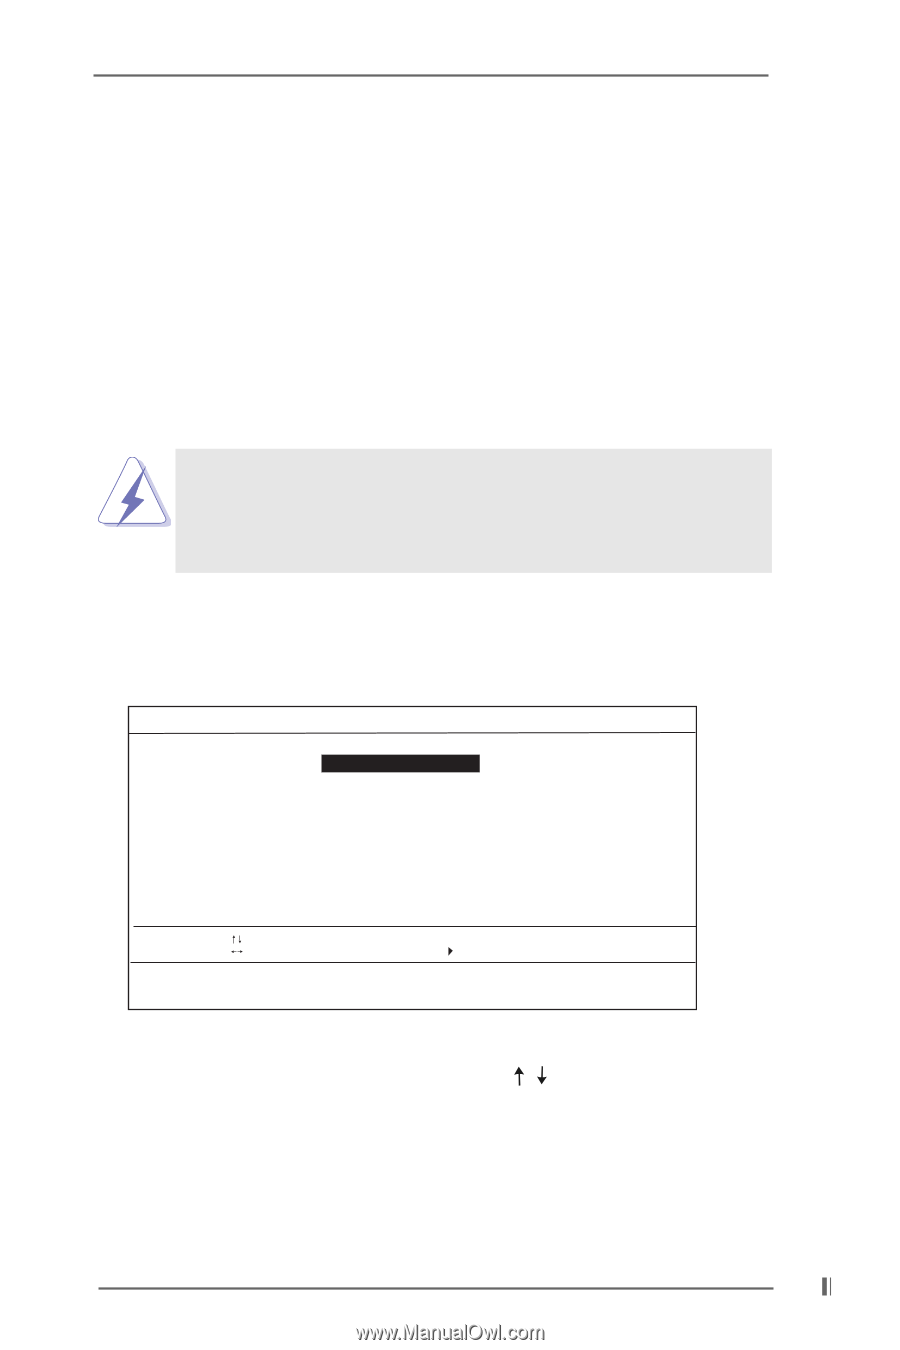
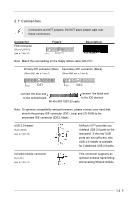
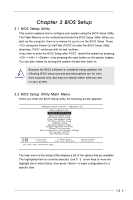
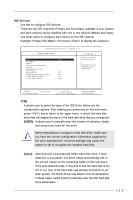
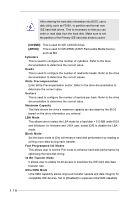
Chapter 3 BIOS Setup 3.1 BIOS Setup Utility This section explains how to configure your system using the BIOS Setup Utility. The Flash Memory on the motherboard stores the BIOS Setup Utility. When you start up the computer, there is a chance for you to run the BIOS Setup. Press during the Power-On-Self-Test (POST) to enter the BIOS Setup Utility, otherwise, POST continues with its test routines. If you wish to enter the BIOS Setup after POST, restart the system by pressing + + , or by pressing the reset button on the system chassis. You can also restart by turning the system off and then back on. Because the BIOS software is constantly being updated, the following BIOS setup screens and descriptions are for refer ence purpose only, and may not exactly match what you see on your screen. 3.2 BIOS Setup Utility Main Menu When you enter the BIOS Setup utility, the following screen appears: AMIBIOS SETUP UTILITY - VERSION 3.31a M266 (A) BIOS P1.50 Standard CMOS Setup Advanced CMOS Setup Advanced Chipset Setup Power Management Setup PCI / Plug and Play Setup Peripheral Setup Hardware Monitor Setup Change Supervisor Password Change User Password Auto Configuration with Optimal Settings Save Savings and Exit Exit Without Saving F1: Help Esc: Exit : Select Item : Select Menu +/-: Change Values Enter: Select Sub-Menu Set Time, Date, Hard Disk Type . . . F9: Setup Defaults F10: Save & Exit The main menu of the Setup Utility displays a list of the options that are available. The highlighted item is currently selected. Use arrow keys to move the highlight bar to select items, then press to make configuration for a specific item. 15
-
 1
1 -
2
-
3
-
4
-
5
-
6
-
7
-
8
-
9
-
 10
10 -
 11
11 -
 12
12 -
 13
13 -
 14
14 -
 15
15 -
 16
16 -
 17
17 -
 18
18 -
 19
19 -
 20
20 -
21
-
22
-
23
-
24
-
25
-
26
-
27
 |
 |