ATI X1300 User Guide - Page 75
Mipmap Detail Level, Adjust the Mipmap detail level
 |
UPC - 727419412872
View all ATI X1300 manuals
Add to My Manuals
Save this manual to your list of manuals |
Page 75 highlights
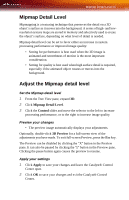
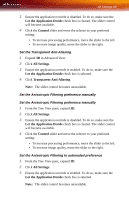
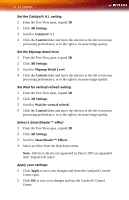
Mipmap Detail Level 67 Mipmap Detail Level Mipmapping is a texturing technique that preserves the detail on a 3D object's surface as it moves into the background. A series of high- and lowresolution texture maps are stored in memory and selectively used to create the object's surface, depending on what level of detail is needed. Mipmap detail level can be set to favor either an increase in system processing performance or improved image quality: • Setting for performance is best used when the 3D image is animated and smoothness of motion is the most important consideration. • Setting for quality is best used when high surface detail is required, especially if the animated object rotates or moves into the background. Adjust the Mipmap detail level Set the Mipmap detail level 1 From the Tree View pane, expand 3D. 2 Click Mipmap Detail Level. 3 Click the Control slider and move the selector to the left to increase processing performance, or to the right to increase image quality. Preview your changes • The preview image automatically displays your adjustments. Optionally, double-click 3D Preview for a full-screen view of the adjustments you have made. To exit full-screen Preview, press the Esc key. The Preview can be disabled by clicking the "X" button in the Preview pane. It can also be paused by clicking the "||" button in the Preview pane. Clicking the pause button again causes the preview to resume. Apply your settings 1 Click Apply to save your changes and leave the Catalyst® Control Center open. 2 Click OK to save your changes and exit the Catalyst® Control Center.
-
 1
1 -
2
-
3
-
4
-
5
-
6
-
7
-
8
-
9
-
10
-
11
-
12
-
13
-
14
-
15
-
16
-
17
-
18
-
19
-
20
-
21
-
22
-
23
-
24
-
25
-
26
-
27
-
28
-
29
-
30
-
31
-
32
-
33
-
34
-
35
-
36
-
37
-
38
-
39
-
40
-
41
-
42
-
43
-
44
-
45
-
46
-
47
-
48
-
49
-
50
-
51
-
52
-
53
-
54
-
55
-
56
-
57
-
58
-
59
-
60
-
61
-
62
-
63
-
64
-
65
-
66
-
67
-
68
-
69
-
 70
70 -
 71
71 -
 72
72 -
 73
73 -
 74
74 -
 75
75 -
 76
76 -
 77
77 -
 78
78 -
 79
79 -
 80
80 -
81
-
82
-
83
-
84
-
85
-
86
-
87
-
88
-
89
-
90
-
91
-
92
-
93
-
94
-
95
-
96
-
97
-
98
-
99
-
100
-
101
-
102
-
103
-
104
-
105
-
106
-
107
-
108
-
109
-
110
-
111
-
112
-
113
-
114
-
115
-
116
-
117
-
118
-
119
-
120
-
121
-
122
-
123
-
124
-
125
-
126
-
127
-
128
-
129
-
130
-
131
-
132
-
133
-
134
-
135
-
136
-
137
-
138
-
139
-
140
-
141
-
142
-
143
-
144
-
145
-
146
-
147
-
148
 |
 |
