Alpine CDE-124SXM Owner's Manual (english) - Page 10
Initial System Start-Up, Adjusting Volume, Setting the Time - clock
 |
UPC - 793276011138
View all Alpine CDE-124SXM manuals
Add to My Manuals
Save this manual to your list of manuals |
Page 10 highlights
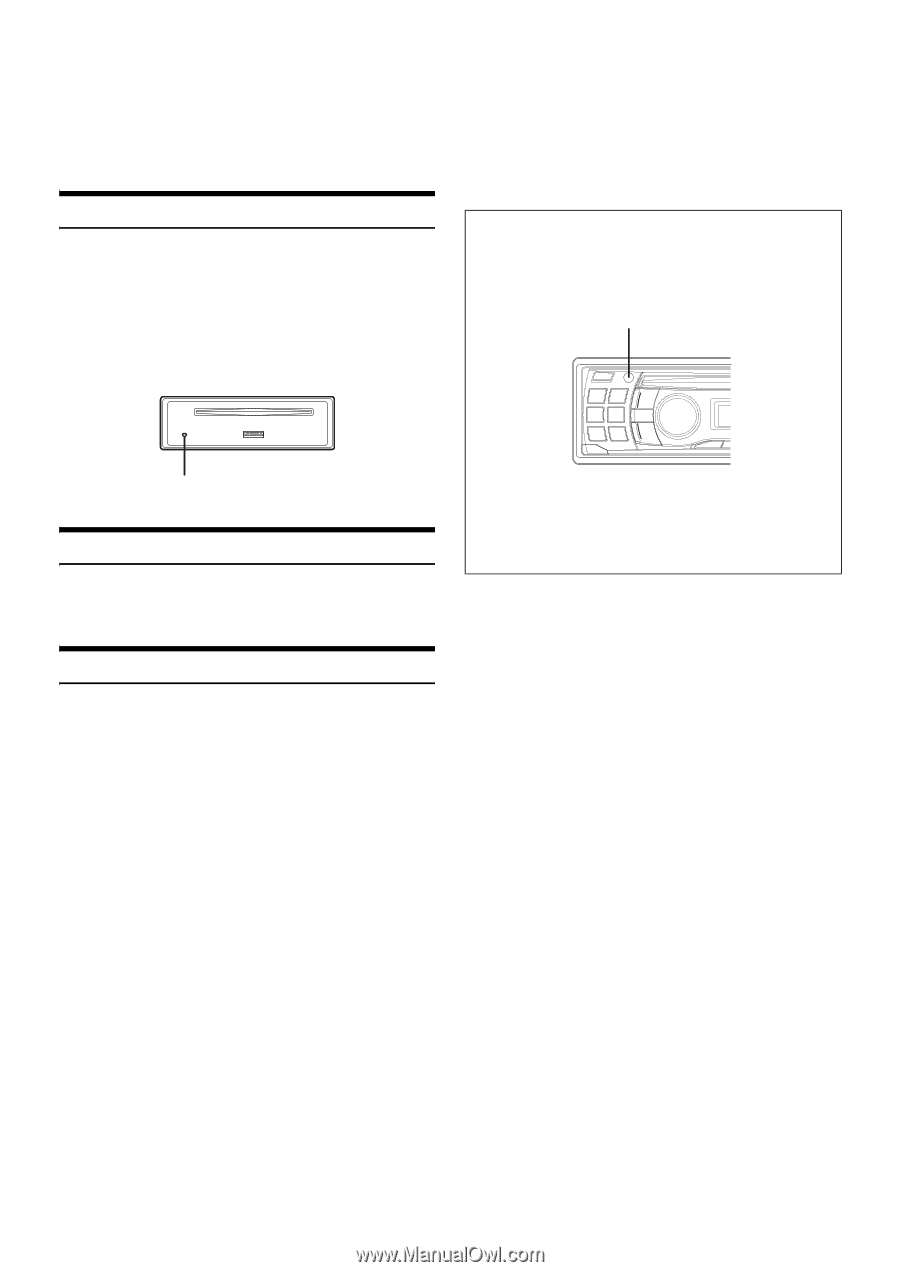
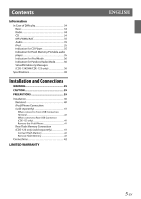
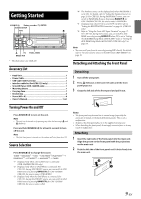
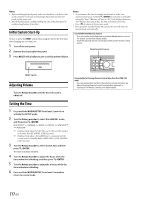
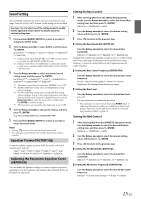
Notes • Before attaching the front panel, make sure that there is no dirt or dust on the connector terminals and no foreign object between the front panel and the main unit. • Attach the front panel carefully, holding the sides of the front panel to avoid pushing buttons by mistake. Initial System Start-Up Be sure to press the RESET switch when using the unit for the first time, after changing the car battery, etc. 1 Turn off the unit power. 2 Remove the detachable front panel. 3 Press RESET with a ballpoint pen or similar pointed object. Notes • To synchronize the clock to another clock/watch or radio time announcement, press and hold ENTER for at least 2 seconds after setting the "hour". Minutes will reset to "00". If the display shows over "30" minutes when you do this, the time will advance one hour. • Press to return to the previous mode. • If no operation is performed for 60 seconds, the unit will return to normal mode automatically. Controllable with Remote Control This unit can be controlled with an optional Alpine remote control. For details, consult your Alpine dealer. Point the optional remote control transmitter at the remote control sensor. Remote control sensor RESET switch Adjusting Volume Turn the Rotary encoder until the desired sound is obtained. Connectable to Steering Remote Control Interface Box (CDE-123 only) You can operate this unit from the vehicle's control unit when an Alpine Steering Remote Control Interface Box (optional) is connected. For details, contact your Alpine dealer. Setting the Time 1 Press and hold AUDIO/SETUP for at least 2 seconds to activate the SETUP mode. 2 Turn the Rotary encoder to select the GENERAL mode, and then press ENTER. BLUETOOTH*1 GENERAL AUDIO DISPLAY SXM SETUP*2 iPod & USB *1 Displayed only when INT MUTE is set to OFF, and the mode is set to other than BT AUDIO. (CDE-123 only) *2 Displayed only when a SiriusXM Tuner is connected and the current source is Satellite Radio (SIRIUSXM). (CDE-124SXM/ CDE-123 only) 3 Turn the Rotary encoder to select CLOCK ADJ, and then press ENTER. The time indication will blink. 4 Turn the Rotary encoder to adjust the hours while the time indication is blinking, and then press ENTER. 5 Turn the Rotary encoder to adjust the minutes while the time indication is blinking. 6 Press and hold AUDIO/SETUP for at least 2 seconds to return to normal mode. 10-EN
-
 1
1 -
2
-
3
-
4
-
 5
5 -
 6
6 -
 7
7 -
 8
8 -
 9
9 -
 10
10 -
 11
11 -
 12
12 -
 13
13 -
 14
14 -
 15
15 -
16
-
17
-
18
-
19
-
20
-
21
-
22
-
23
-
24
-
25
-
26
-
27
-
28
-
29
-
30
-
31
-
32
-
33
-
34
-
35
-
36
-
37
-
38
-
39
-
40
-
41
-
42
-
43
-
44
 |
 |