Alpine INE-S920HD Owner's Manual (english) - Page 50
Adjusting the Crossover Settings (X-OVER), Setting Defeat, Volume Setting
 |
View all Alpine INE-S920HD manuals
Add to My Manuals
Save this manual to your list of manuals |
Page 50 highlights
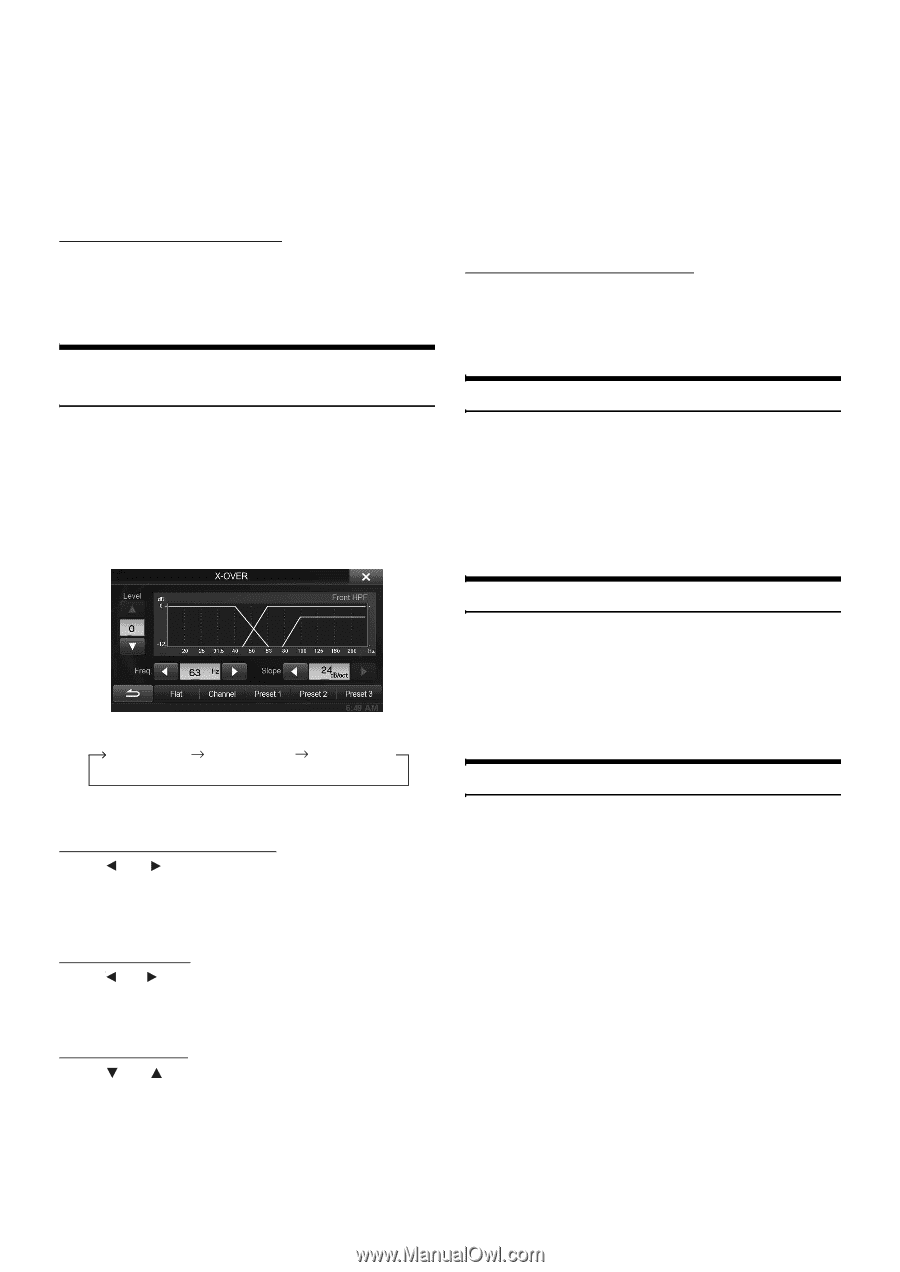
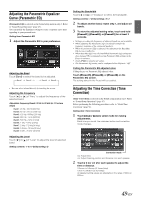
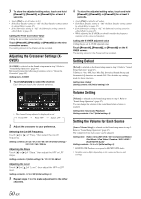
3 To store the adjusted setting value, touch and hold [Preset1], [Preset2], or [Preset3] for at least 2 seconds. • Touch [Flat] to set all values to 0.0. • If the Rear Speaker setting is "Off," the Rear Speaker setting cannot be edited (Refer to page 47). • If the Subwoofer setting is "Off," the Subwoofer setting cannot be edited (Refer to page 47). Calling the Time Correction Value Calling the pre-set time correction value. Touch [Preset1], [Preset2], or [Preset3] on the time correction screen. The setting stored in the Preset will be recalled. Adjusting the Crossover Settings (XOVER) [X-OVER] is selected on the Sound setup menu in step 3. Refer to "Sound Setup Operation" (page 47). Before performing the following procedures, refer to "About the Crossover" (page 52). Setting item: X-OVER 1 Touch [Channel] to select the channel. Each time you touch, the channel switches. 4 To store the adjusted setting value, touch and hold [Preset1], [Preset2], or [Preset3] for at least 2 seconds. • Touch [Flat] to initialize all values. • If the Rear Speaker setting is "Off," the Rear Speaker setting cannot be edited (Refer to page 47). • If the Subwoofer setting is "Off," the Subwoofer setting cannot be edited (Refer to page 47). • While adjusting the X-OVER you should consider the frequency response of the connected speakers. Calling the X-OVER adjusted value Calling the pre-set X-OVER adjusted value. Touch [Preset1], [Preset2], or [Preset3] on the XOVER screen. The setting stored in the Preset will be recalled. Setting Defeat [Defeat] is selected on the Sound setup menu in step 3. Refer to "Sound Setup Operation" (page 47). If Defeat is "On," MX, Bass Max EQ, Download Sound Setting and Parametric EQ functions are turned OFF. This disables any settings made for these functions. Setting item: Defeat Setting content: Off (Initial setting) / On • The channel being adjusted is displayed in red. Front HPF Rear HPF Subw. LPF 2 Adjust the crossover to your preference. Selecting the Cut-Off Frequency Touch [ ] or [ ] of "Freq.," then select the cut-off frequency. Setting contents: 20 / 25 / 31.5 / 40 / 50 / 63 / 80 (Initial setting) / 100 / 125 / 160 / 200 Hz Adjusting the Slope Touch [ ] or [ ] of "Slope," then adjust the HPF or LPF slope. Setting contents: 0 (Initial setting) / 6 / 12 / 18 / 24 dB/oct Adjusting the Level Touch [ ] or [ ] of "Level," then adjust the HPF or LPF level. Setting contents: -12 to 0 dB (Initial setting: 0) 3 Repeat steps 1 to 2 to make adjustment to the other channels. Volume Setting [Volume] is selected on the Sound setup menu in step 3. Refer to "Sound Setup Operation" (page 47). You can change the volume of the sound heard when a button is touched. Setting item: Key Sound Feedback Setting contents: 0 to 7 (Initial setting: 4) Setting the Volume for Each Source [Source Volume Setup] is selected on the Sound setup menu in step 3. Refer to "Sound Setup Operation" (page 47). The volume level for each source can be adjusted. Setting item: Radio / SiriusXM / DVD / CD / Compressed Media / iPod Music / iPod Video / Pandora / AUX / AUX3 / BLUETOOTH Audio* Setting contents: -14 to +14 (Initial setting: 0) * BLUETOOTH Pandora correspond to BLUETOOTH Audio. • Settable source differ depending on the connected device and settings. 50-EN
-
 1
1 -
2
-
3
-
4
-
5
-
6
-
7
-
8
-
9
-
10
-
11
-
12
-
13
-
14
-
15
-
16
-
17
-
18
-
19
-
20
-
21
-
22
-
23
-
24
-
25
-
26
-
27
-
28
-
29
-
30
-
31
-
32
-
33
-
34
-
35
-
36
-
37
-
38
-
39
-
40
-
41
-
42
-
43
-
44
-
 45
45 -
 46
46 -
 47
47 -
 48
48 -
 49
49 -
 50
50 -
 51
51 -
 52
52 -
 53
53 -
 54
54 -
 55
55 -
56
-
57
-
58
-
59
-
60
-
61
-
62
-
63
-
64
-
65
-
66
-
67
-
68
-
69
-
70
-
71
-
72
-
73
-
74
-
75
-
76
-
77
-
78
-
79
-
80
-
81
-
82
-
83
-
84
-
85
-
86
-
87
-
88
-
89
-
90
-
91
-
92
-
93
-
94
-
95
-
96
-
97
-
98
-
99
-
100
-
101
-
102
-
103
-
104
-
105
-
106
-
107
-
108
-
109
-
110
-
111
-
112
-
113
-
114
-
115
-
116
 |
 |