Alpine INE-S920HD Owner's Manual (english) - Page 75
Front Camera Operation, Displaying the Front View Video Manually - install manual
 |
View all Alpine INE-S920HD manuals
Add to My Manuals
Save this manual to your list of manuals |
Page 75 highlights
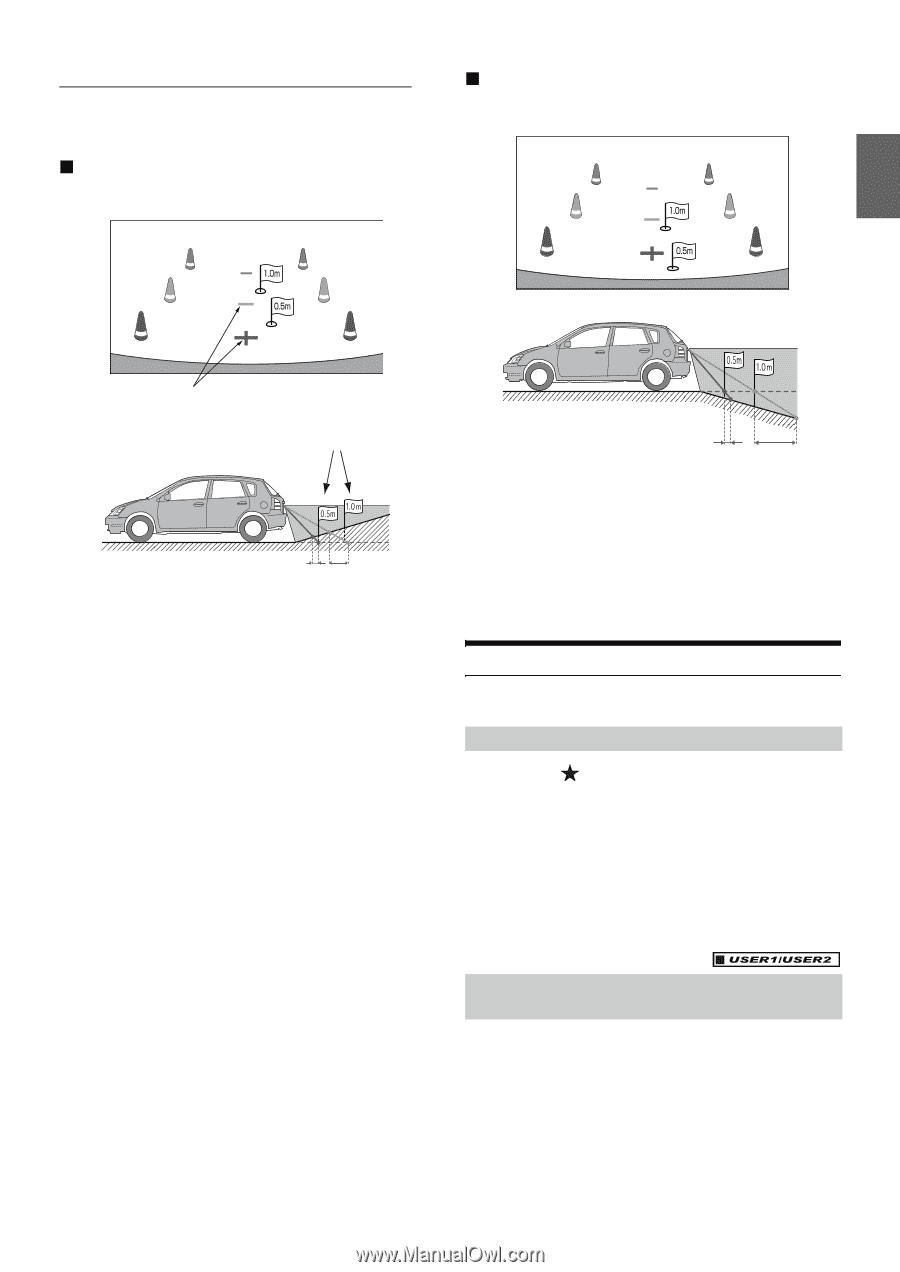
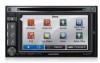
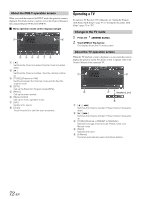
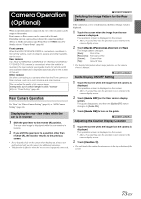
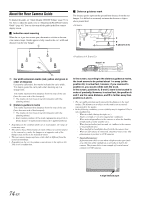
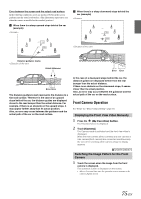
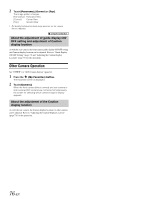
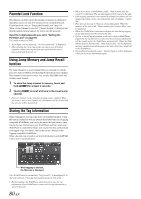
Error between the screen and the actual road surface In the following conditions, errors are produced between the screen guidance and the actual road surface. (The illustrations represent a case when the camera is installed in the standard position.) When there is a steep upward slope behind the car (example) When there is a steep downward slope behind the car (example) Distance guidance marks Actual distances Error Error Error Error The distance guidance mark represents the distance to a flat road surface. Therefore in the case of an upward slope behind the car, the distance guides are displayed closer to the rear bumper than the actual distance. For example, if there is an obstacle on the upward slope, it may appear farther away than its actual position. Also, an error may occur between the guidance and the actual path of the car on the road surface. In the case of a downward slope behind the car, the distance guides are displayed farther from the rear bumper than the actual distance. If there is an obstacle on the downward slope, it seems closer than its actual position. Also, an error may occur between the guidance and the actual path of the car on the road surface. Front Camera Operation Set "Front" for "Direct Camera Setting" (page 61). Displaying the Front View Video Manually 1 Press the (My Favorites) button. The Favorites screen is displayed. 2 Touch [Camera]. The Camera mode is activated and the front view video is displayed. When the front camera (direct camera) and rear camera or side camera (AUX camera) are connected simultaneously, the screen for selecting which camera image to display appears. Switching the Image Pattern for the Front Camera 1 Touch the screen when the image from the front camera is displayed. The operation screen is displayed on the screen. • After a 5-second time-out, the operation screen returns to the camera display screen. 75-EN
-
 1
1 -
2
-
3
-
4
-
5
-
6
-
7
-
8
-
9
-
10
-
11
-
12
-
13
-
14
-
15
-
16
-
17
-
18
-
19
-
20
-
21
-
22
-
23
-
24
-
25
-
26
-
27
-
28
-
29
-
30
-
31
-
32
-
33
-
34
-
35
-
36
-
37
-
38
-
39
-
40
-
41
-
42
-
43
-
44
-
45
-
46
-
47
-
48
-
49
-
50
-
51
-
52
-
53
-
54
-
55
-
56
-
57
-
58
-
59
-
60
-
61
-
62
-
63
-
64
-
65
-
66
-
67
-
68
-
69
-
 70
70 -
 71
71 -
 72
72 -
 73
73 -
 74
74 -
 75
75 -
 76
76 -
 77
77 -
 78
78 -
 79
79 -
 80
80 -
81
-
82
-
83
-
84
-
85
-
86
-
87
-
88
-
89
-
90
-
91
-
92
-
93
-
94
-
95
-
96
-
97
-
98
-
99
-
100
-
101
-
102
-
103
-
104
-
105
-
106
-
107
-
108
-
109
-
110
-
111
-
112
-
113
-
114
-
115
-
116
 |
 |