Alpine IVA W205 Owners Manual - Page 15
Radio
 |
UPC - 093276200588
View all Alpine IVA W205 manuals
Add to My Manuals
Save this manual to your list of manuals |
Page 15 highlights
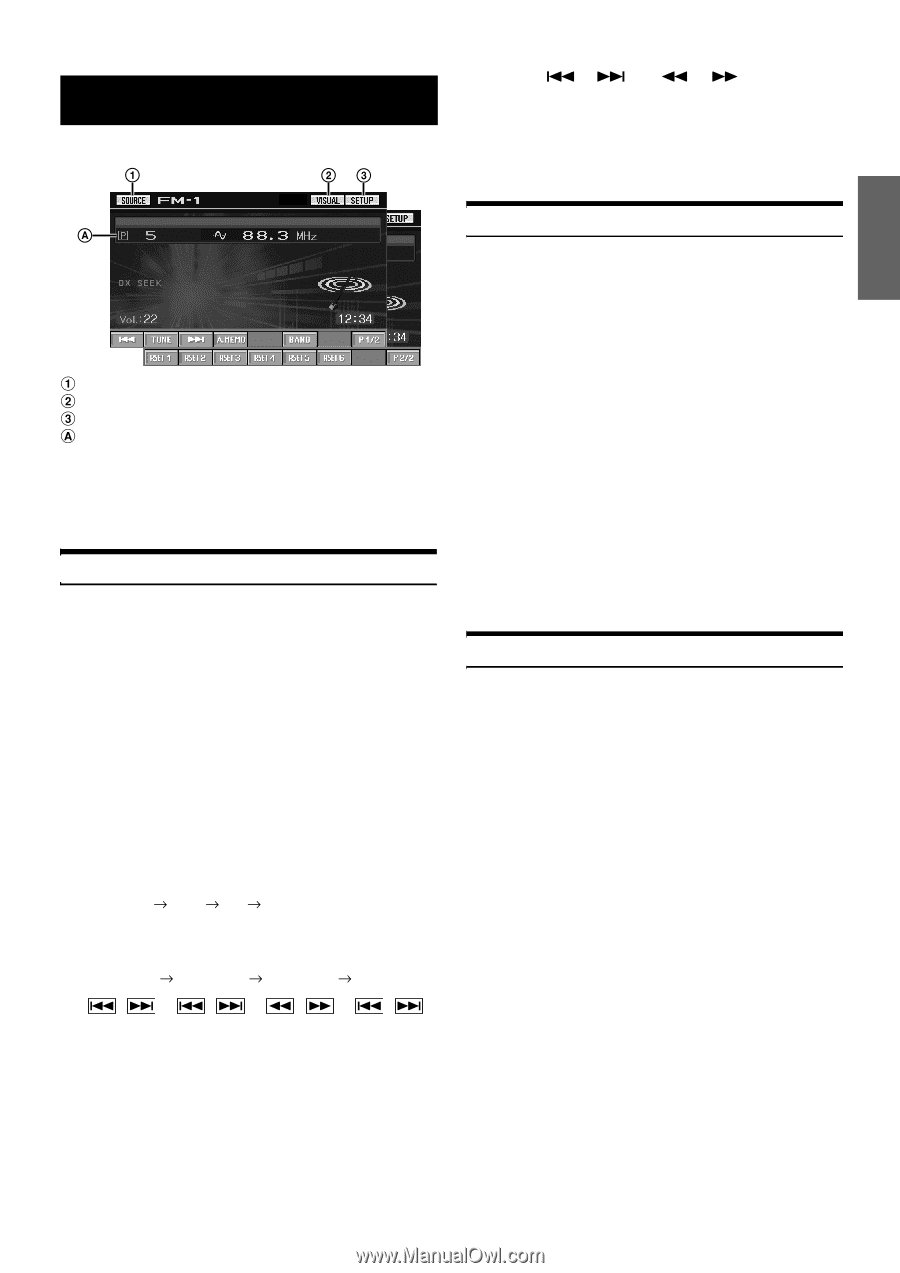
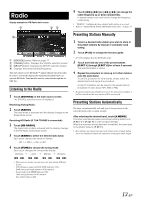
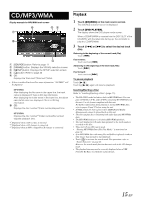
Radio Display example for FM Radio main screen 5 Touch [ ], [ ] or [ ], [ ] to change the radio frequency up or down respectively. In manual mode, touch and hold to change the frequency continuously. • "DIGITAL" is displayed when a digital radio station is received. • Refer to "Digital SEEK Setting (HD Radio mode only)" on page 33. [SOURCE] button: Refer to page 11 [VISUAL] button: Displays the VISUAL selection screen [SETUP] button: Displays the SETUP selection screen Displays the preset number/frequency This unit cannot receive HD Radio™ signals (digital terrestrial radio). In order to activate the digital radio functions described below, an optional HD Radio Tuner module must be connected through the AiNET bus. Listening to the Radio 1 Touch [SOURCE] on the main source screen. The SOURCE selection screen is displayed. Receiving Analog Radio: 2 Touch [RADIO]. The radio mode is activated and the display changes to the Radio Mode screen. Receiving HD Radio (if TUA-T500HD is connected): 2 Touch [HD RADIO]. The digital radio mode is activated and the display changes to the HD Radio Tuner Mode screen. 3 Touch [BAND] to select the desired radio band. Each press changes the bands as follows: FM-1 FM-2 AM FM-1 4 Touch [TUNE] to choose the tuning mode. Each touch changes the tuning mode display. Distance Local Manual Distance Presetting Stations Manually 1 Tune in a desired radio station you wish to store in the preset memory by manual or automatic seek tuning. 2 Touch [P1/2]* to change the function guide. * [P 1/3] is displayed in the HD Radio mode. 3 Touch and hold any one of the preset buttons [P.SET 1] through [P.SET 6] for at least 2 seconds. The selected station is stored. 4 Repeat the procedure to store up to 5 other stations onto the same band. To use this procedure for other bands, simply select the desired band and repeat the procedure. A total of 18 stations can be stored in the preset memory (6 stations for each band; FM1, FM2 or AM). • If a preset memory has already been set in the same preset number, it will be cleared and the new station will be memorized. Presetting Stations Automatically The tuner can automatically seek and store 6 strong stations in the selected band in order of signal strength. After selecting the desired band, touch [A.MEMO]. The tuner automatically seeks and stores 6 strong stations into [P.SET 1] to [P.SET 6] in order of signal strength. When the automatic storing has been completed, the tuner goes to the station stored in [P.SET 1]. • If no stations are stored, the tuner will return to the original station you were listening to before the automatic storing procedure began. • There are two modes you can select for auto tuning, DX and Local: - DX (Distance) mode (with DX SEEK indicator ON); Both strong and weak stations will be tuned in. - Local mode (with SEEK indicator ON); Only strong stations will be tuned in. The initial setting is DX. 13-EN
-
 1
1 -
2
-
3
-
4
-
5
-
6
-
7
-
8
-
9
-
 10
10 -
 11
11 -
 12
12 -
 13
13 -
 14
14 -
 15
15 -
 16
16 -
 17
17 -
 18
18 -
 19
19 -
 20
20 -
21
-
22
-
23
-
24
-
25
-
26
-
27
-
28
-
29
-
30
-
31
-
32
-
33
-
34
-
35
-
36
-
37
-
38
-
39
-
40
-
41
-
42
-
43
-
44
-
45
-
46
-
47
-
48
-
49
-
50
-
51
-
52
-
53
-
54
-
55
-
56
-
57
-
58
-
59
-
60
-
61
-
62
-
63
-
64
-
65
-
66
-
67
-
68
-
69
-
70
-
71
-
72
-
73
-
74
-
75
-
76
-
77
-
78
-
79
-
80
-
81
-
82
-
83
-
84
-
85
-
86
-
87
-
88
-
89
-
90
-
91
-
92
-
93
-
94
-
95
-
96
-
97
-
98
-
99
-
100
-
101
-
102
-
103
-
104
-
105
-
106
-
107
-
108
-
109
-
110
-
111
-
112
-
113
-
114
-
115
-
116
-
117
-
118
-
119
-
120
-
121
-
122
-
123
-
124
-
125
-
126
-
127
-
128
-
129
-
130
-
131
-
132
-
133
-
134
-
135
-
136
-
137
-
138
-
139
-
140
-
141
-
142
-
143
-
144
-
145
-
146
-
147
-
148
-
149
-
150
-
151
-
152
-
153
-
154
-
155
-
156
-
157
-
158
-
159
-
160
-
161
-
162
-
163
-
164
-
165
-
166
-
167
-
168
-
169
-
170
-
171
-
172
-
173
-
174
-
175
-
176
-
177
-
178
-
179
-
180
-
181
-
182
-
183
-
184
-
185
-
186
-
187
-
188
-
189
-
190
-
191
-
192
-
193
-
194
-
195
-
196
-
197
-
198
-
199
-
200
-
201
-
202
-
203
-
204
-
205
-
206
-
207
-
208
-
209
-
210
-
211
-
212
-
213
-
214
-
215
-
216
-
217
-
218
-
219
-
220
-
221
-
222
-
223
-
224
-
225
-
226
-
227
-
228
-
229
-
230
-
231
-
232
-
233
-
234
-
235
-
236
-
237
-
238
 |
 |