Asus A56CB User's Manual for English Edition - Page 92
Updating the BIOS., Advanced > Start Easy, Flash, Exit > Restore Defaults
 |
View all Asus A56CB manuals
Add to My Manuals
Save this manual to your list of manuals |
Page 92 highlights
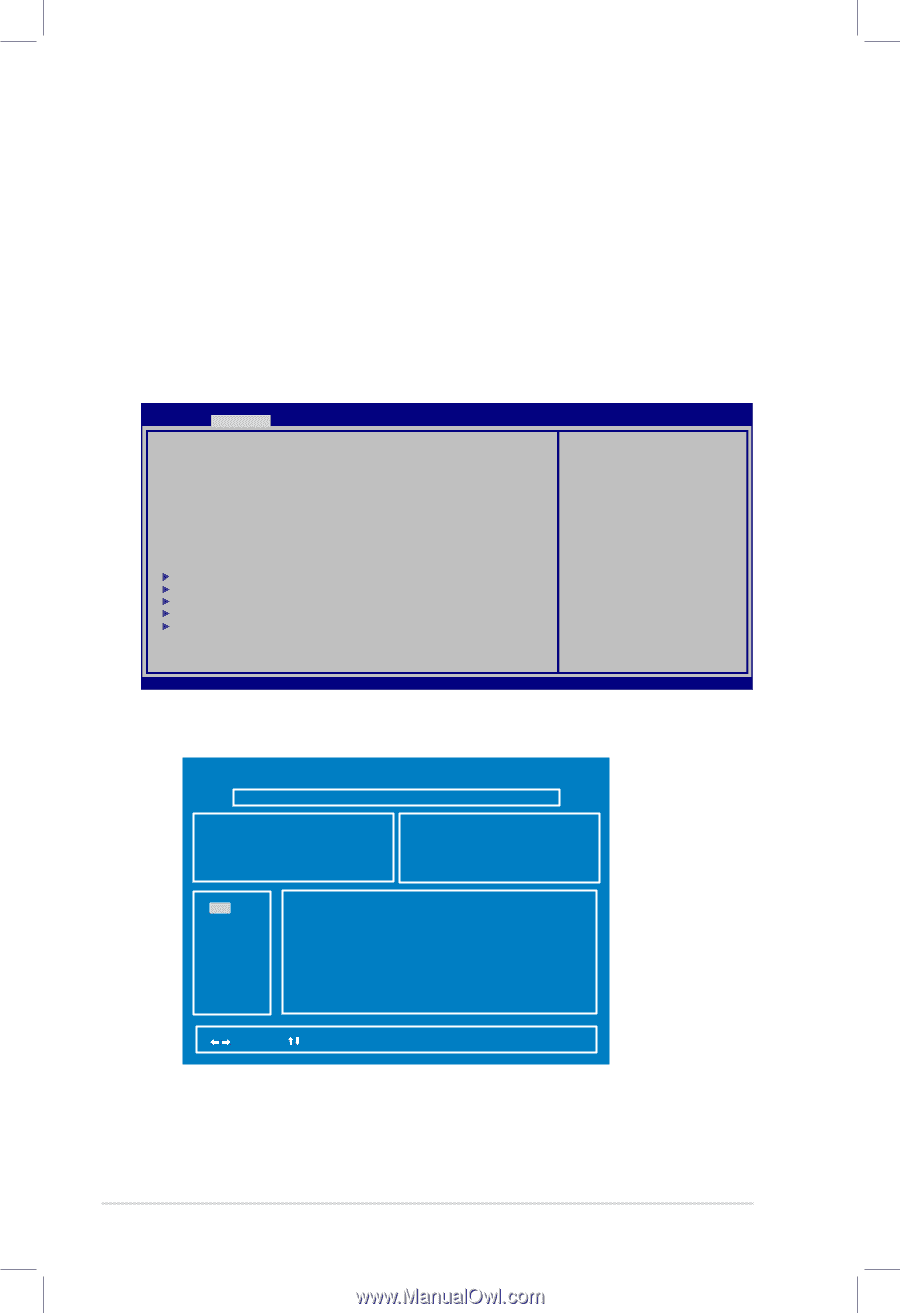
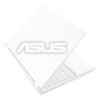
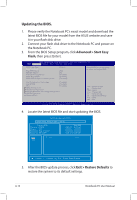
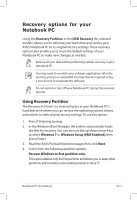
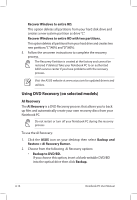
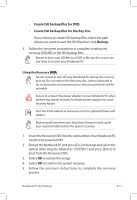
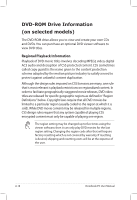
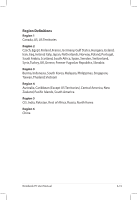
Updating the BIOS. 1. Please verify the Notebook PC's exact model and download the latest BIOS file for your model from the ASUS website and save it in your flash disk drive. 2. Connect your flash disk drive to the Notebook PC and power on the Notebook PC. 3. From the BIOS Setup program, click Advanced > Start Easy Flash, then press [Enter]. Aptio Setup Utility - Copyright (C) 2011 American Megatrends, Inc. �M���a��i�n� Advanced Chipset Boot Security Save & Exit POST Logo Type Start Easy Flash Play POST Sound Speaker Volume Internal Pointing Device Wake On Lid Open ASUS USB Charger+ in battery mode [Static] [No] [4] [Enabled] [Enabled] [Disabled] Press ENTER to run the utility to select and update BIOS. Intel Virtualization Technology [Enabled] Intel AES-NI [Enabled] VT-d [Enabled] SATA Configuration Graphics Configuration Intel (R) Anti-Theft Technology Configuration USB Configuration Network Stack →← : Select Screen ↑↓ : Select Item Enter : Select +/- : Change Opt. F1 : General Help F9 : Optimized Defaults F10 : Save ESC : Exit Version 2.12.1219. Copyright (C) 2011 American Megatrends, Inc. 4. Locate the latest BIOS file and start updating the BIOS. ASUSTek Easy Flash Utility FLASH TYPE: Winbond 25X/Q Series Current BIOS Platform: K56CA Version: 100 Build Date: May 11 2012 Build Time: 09:53:29 New BIOS Platform: Unknown Version: Unknown Build Date: Unknown Build Time: Unknown 0 EFI FS0 FS1 [ ]: Switch [ ] : Choose [q] : Exit [Enter]: Enter/Execute 5. After the BIOS update process, click Exit > Restore Defaults to restore the system to its default settings. A-14 Notebook PC User Manual
-
 1
1 -
2
-
3
-
4
-
5
-
6
-
7
-
8
-
9
-
10
-
11
-
12
-
13
-
14
-
15
-
16
-
17
-
18
-
19
-
20
-
21
-
22
-
23
-
24
-
25
-
26
-
27
-
28
-
29
-
30
-
31
-
32
-
33
-
34
-
35
-
36
-
37
-
38
-
39
-
40
-
41
-
42
-
43
-
44
-
45
-
46
-
47
-
48
-
49
-
50
-
51
-
52
-
53
-
54
-
55
-
56
-
57
-
58
-
59
-
60
-
61
-
62
-
63
-
64
-
65
-
66
-
67
-
68
-
69
-
70
-
71
-
72
-
73
-
74
-
75
-
76
-
77
-
78
-
79
-
80
-
81
-
82
-
83
-
84
-
85
-
86
-
 87
87 -
 88
88 -
 89
89 -
 90
90 -
 91
91 -
 92
92 -
 93
93 -
 94
94 -
 95
95 -
 96
96 -
 97
97 -
98
-
99
-
100
-
101
-
102
-
103
-
104
-
105
-
106
-
107
-
108
-
109
-
110
-
111
-
112
-
113
-
114
-
115
-
116
-
117
-
118
-
119
 |
 |