Asus PA249Q PA249 Series User Guide for English Edition
Asus PA249Q Manual
 |
View all Asus PA249Q manuals
Add to My Manuals
Save this manual to your list of manuals |
Asus PA249Q manual content summary:
- Asus PA249Q | PA249 Series User Guide for English Edition - Page 1
PA249 Series LCD Monitor User Guide - Asus PA249Q | PA249 Series User Guide for English Edition - Page 2
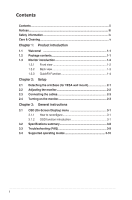
Connecting the cables 2-3 2.4 Turning on the monitor 2-3 Chapter 3: General instructions 3.1 OSD (On-Screen Display) menu 3-1 3.1.1 How to reconfigure 3-1 3.1.2 OSD function introduction 3-1 3.2 Specifications summary 3-8 3.3 Troubleshooting (FAQ 3-9 3.4 Supported operating modes 3-10 ii - Asus PA249Q | PA249 Series User Guide for English Edition - Page 3
operation. This equipment has been tested and found to comply with the with manufacturer's instructions, may cause harmful equipment off and on, the user is encouraged to try to correct cables for connection of the monitor to the graphics card is required for radio noise emissions from Canada. iii - Asus PA249Q | PA249 Series User Guide for English Edition - Page 4
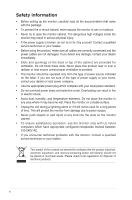
temperature extremes. Do not place the monitor in any area where it may become wet. Place the monitor monitor only with UL listed computers which have appropriate configured receptacles marked between 100-240V AC. • If you encounter technical problems with the monitor, contact a qualified service - Asus PA249Q | PA249 Series User Guide for English Edition - Page 5
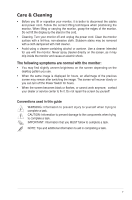
the cord. • Cleaning. Turn your monitor off and unplug the power cord. Clean the monitor surface with a lint-free, non- screen becomes black or flashes, or cannot work anymore, contact your dealer or service center to fix it. Do not repair the screen by yourself! Conventions used in this guide - Asus PA249Q | PA249 Series User Guide for English Edition - Page 6
sources for additional information and for product and software updates. 1. ASUS websites The ASUS websites worldwide provide updated information on ASUS hardware and software products. Refer to http://www.asus.com 2. Optional documentation Your product package may include optional documentation - Asus PA249Q | PA249 Series User Guide for English Edition - Page 7
guide Warranty card Power cord VGA cable DVI cable DisplayPort cable USB 3.0 cable Support CD Cable tie Color Calibration Testing Report Hood (Optional) If any of the above items is damaged or missing, contact your retailer immediately. ASUS PA249 Series LCD Monitor - Asus PA249Q | PA249 Series User Guide for English Edition - Page 8
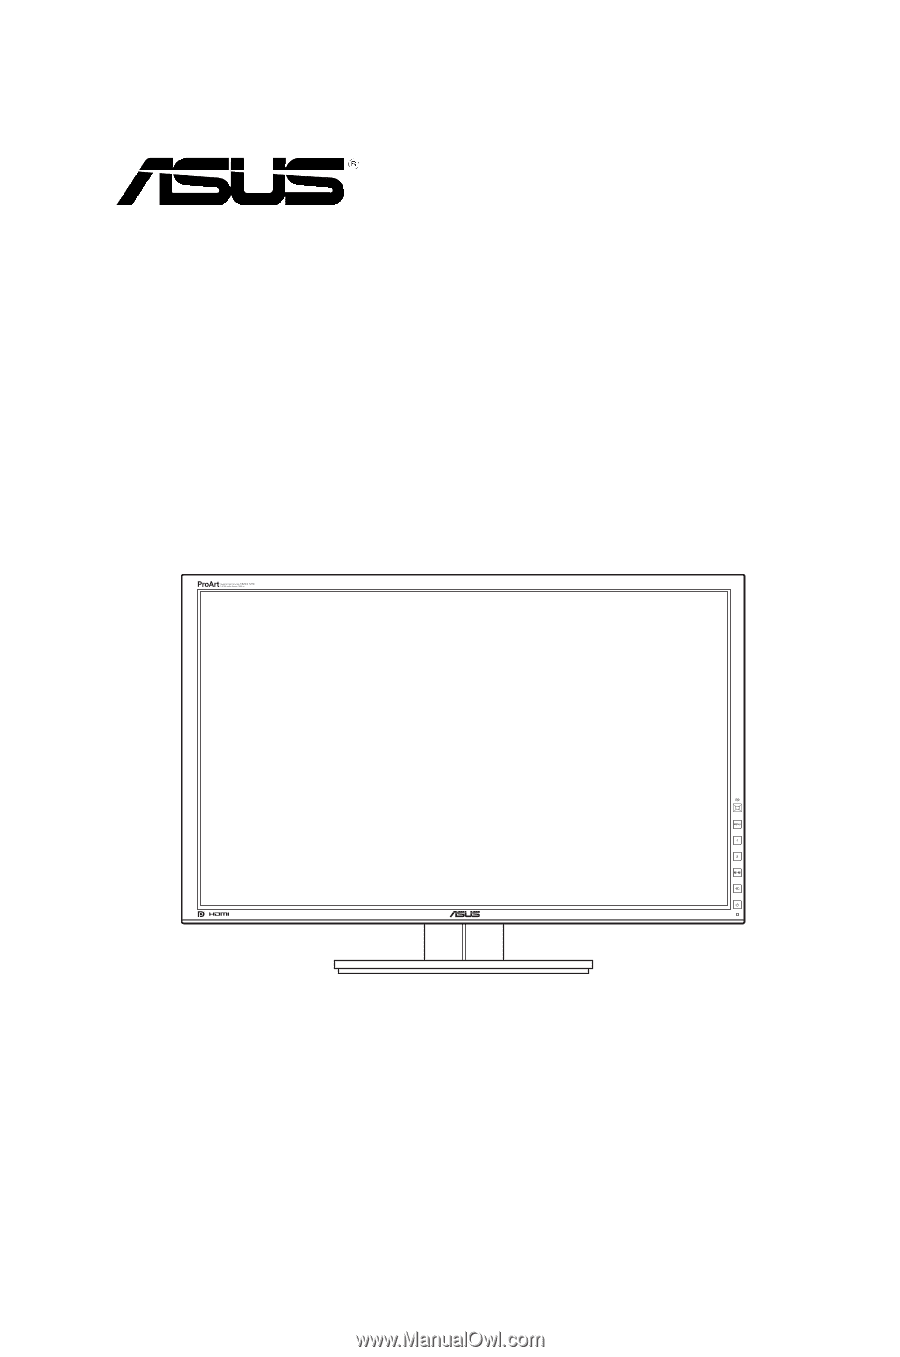
1.3 Monitor introduction 1.3.1 Front view 1 2 3 4 5 6 7 1. QuickFit button: • Activates the QuickFit function designed for alignment. • The QuickFit function contains 7 pages of common grid patterns and paper and photo sizes. (Please refer to 1.3.3 QuickFit Function). • Enacts the selected OSD - Asus PA249Q | PA249 Series User Guide for English Edition - Page 9
the monitor on/off. • The color definition of the power indicator is as the below table. Status White Amber Off Description On Standby mode Off 1.3.2 Back view 12 34 5 6 78 9 10 Rear connectors 1. Power switch. Press the switch to turn on/off power. ASUS PA249 Series LCD Monitor 1-3 - Asus PA249Q | PA249 Series User Guide for English Edition - Page 10
for a DisplayPort compatible device. 4. HDMI port. This port is for connection with an HDMI compatible device. 5. DVI port. This 24-pin port is for PC (Personal Computer) DVI-D digital signal connection. 6. VGA port. This 15-pin port is for PC VGA connection. 7. Earphone jack. 8. USB 3.0 upstream - Asus PA249Q | PA249 Series User Guide for English Edition - Page 11
in real size on the screen. A4 Letter 3. Photo size The various real photo sizes displayed in the QuickFit function provides photographers and other users to accurately view and edit their photos in real size on the screen. Photo 4x6, 3x5, 2x2 Photo 8x10, 5x7 ASUS PA249 Series LCD Monitor 1-5 - Asus PA249Q | PA249 Series User Guide for English Edition - Page 12
1-6 Chapter 1: Product introduction - Asus PA249Q | PA249 Series User Guide for English Edition - Page 13
monitor face down on a table. 2. Use a screwdriver to remove the four screws on the arm (Figure 1), and then detach the arm/base from the monitor (Figure 2). (Figure 1) (Figure 2) We recommend that you cover the table surface with soft cloth to prevent damage to the monitor. ASUS PA249 Series - Asus PA249Q | PA249 Series User Guide for English Edition - Page 14
's height within +/- 10 cm. (Tilt) +20° ~ -5° (Swivel) (Height adjustment) 60° 60° 0° 10cm Pivoting the monitor 1. Lift the monitor to the highest position. 2. Tilt the monitor to its maximum angle. 3. Pivot the monitor clockwise to the angle you need. +20° ~ -5° It is normal that the - Asus PA249Q | PA249 Series User Guide for English Edition - Page 15
connected, you can choose the desired signal from the Input Select item in the OSD menu. 2.4 Turning on the monitor Press the power button . See page 1-2 for the location of the power button. The power indicator lights up in white to show that the monitor is ON. ASUS PA249 Series LCD Monitor 2-3 - Asus PA249Q | PA249 Series User Guide for English Edition - Page 16
2-4 Chapter 2: Setup - Asus PA249Q | PA249 Series User Guide for English Edition - Page 17
3.1 OSD (On-Screen Display) menu 3.1.1 How to reconfigure 1. Press the MENU button to Mode: best choice for document editing with SPLENDID™ Video Enhancement. • sRGB Mode: compatible with sRGB color space, sRGB mode is the best choice for document editing. ASUS PA249 Series LCD Monitor 3-1 - Asus PA249Q | PA249 Series User Guide for English Edition - Page 18
21 0.71 0.15 0.06 • Scenery Mode: best choice for scenery photo display with SPLENDID™ Video Enhancement. • Theater Mode: best choice for movies with SPLENDID™ Video Enhancement. • User Mode 1/User Mode 2: More items are adjustable in the Color menu. 3-2 Chapter 3: OSD (On-Screen Display) menu - Asus PA249Q | PA249 Series User Guide for English Edition - Page 19
100. • Saturation: the adjusting range is from 0 to 100. • Hue: shifts the image color between green and purple. • Color Temp.: contains 4 modes including 9300K, 6500K, 5500K and 5000K. • Gamma: allows you to set the color mode to 2.2 or 1.8. • Advanced Setting: ASUS PA249 Series LCD Monitor 3-3 - Asus PA249Q | PA249 Series User Guide for English Edition - Page 20
setting from this menu. • Sharpness: the adjusting range is from 0 to 100. • Aspect Control: adjusts the aspect ratio to full, 4:3, 1:1, or OverScan (only available for the HDMI input). • ASCR: turns on/off the ASCR (ASUS Smart Contrast Ratio) function. 3-4 Chapter 3: OSD (On-Screen Display) menu - Asus PA249Q | PA249 Series User Guide for English Edition - Page 21
and HDMI input sources should not be selected as the mainwindow or sub-window at the same time. See the table below for details. Sub-window VGA DVI HDMI DisplayPort Main-window VGA DVI HDMI Yes Yes Yes No Yes No Yes Yes Yes DisplayPort Yes Yes Yes ASUS PA249 Series LCD Monitor 3-5 - Asus PA249Q | PA249 Series User Guide for English Edition - Page 22
input source. 6. System Setup Allows you to adjust the system. • Splendid Demo Mode: splits the screen the OSD rotation. • Information: shows the monitor information. • Language: there are 10 languages on/off. • QuickFit Color: adjusts the QuickFit color among 7 preset colors. • All Reset: "Yes - Asus PA249Q | PA249 Series User Guide for English Edition - Page 23
selected or activated ASCR sRGB PBP OSD Rotation Standard/Scenery/Theater VGA/DVI QuickFit The defined shortcut key not support Brightness Contrast/Color Temp./Advanced Setting OSD Rotation PIP/PBP Setting Advanced Setting Volume All, except for QuickFit Color ASUS PA249 Series LCD Monitor 3-7 - Asus PA249Q | PA249 Series User Guide for English Edition - Page 24
™ selection Auto adjustment Color temperature selection Digital input Analog input Earphone jack USB 3.0 port Colors Power LED Tilt Swivel Height Adjustment Kensington lock AC input voltage Power consumption Temperature (Operating) TFT LCD 24.1" (16:10, 61.13 cm) wide screen 1920 x 1200 0.270 - Asus PA249Q | PA249 Series User Guide for English Edition - Page 25
the R/G/B color settings or select the Color Temperature via OSD. Screen image is monitor and the computer. • Adjust the volume settings of both your monitor and HDMI/DisplayPort device. • Ensure that the computer sound card driver is properly installed and activated. ASUS PA249 Series LCD Monitor - Asus PA249Q | PA249 Series User Guide for English Edition - Page 26
75.02(P) 59.79(P) 59.89(P) 60.00(P) 60.00(P) 25.18 30.24 31.5 31.5 28.32 36 40 50 49.5 57.28 65 75 78.75 108 monitor supports full HD (480p, 576p, 720p, 1080i/p) video content from game consoles, DVD players and other consumer video devices via HDMI or DisplayPort. 3-10 Chapter 3: OSD (On-Screen
-
 1
1 -
 2
2 -
 3
3 -
 4
4 -
 5
5 -
 6
6 -
 7
7 -
8
-
9
-
10
-
11
-
12
-
13
-
14
-
15
-
16
-
17
-
18
-
19
-
20
-
21
-
22
-
23
-
24
-
25
-
26
 |
 |
PA249 Series
LCD Monitor
User Guide