Behringer PHASER PH9 Manual
Behringer PHASER PH9 Manual
 |
View all Behringer PHASER PH9 manuals
Add to My Manuals
Save this manual to your list of manuals |
Behringer PHASER PH9 manual content summary:
- Behringer PHASER PH9 | Manual - Page 1
the BEHRINGER PHASER PH9. This ultimate effects pedal is designed for all musicians longing for a way to pep up their sound. Thanks to its high-performance features, you can create phase-shifting effects with different characteristics ranging from modern to vintage. With the phaser, a second - Behringer PHASER PH9 | Manual - Page 2
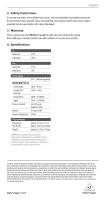
PHASER PH9 2. Safety Instructions Do not use near water, or install near heat sources. Use only authorized attachments/accessories. Do not service product yourself. Contact our qualified servicing personnel for servicing NOT GUARANTEED. BEHRINGER IS PART MANUAL IS COPYRIGHTED. NO PART OF THIS MANUAL
-
 1
1 -
 2
2
 |
 |
Thank you for showing your confidence in us by purchasing the BEHRINGER PHASER PH9. This ultimate
effects pedal is designed for all musicians longing for a way to pep up their sound. Thanks to its
high-performance features, you can create phase-shifting effects with different characteristics ranging
from modern to vintage.
With the phaser, a second phase-shifted signal is added to the original audio of your instrument.
The resulting sound is thicker and above all livelier. Nowadays, this effect is often used for guitar sounds
and keyboards, but it was also extensively used for other instruments like electric pianos in the ‘70s.
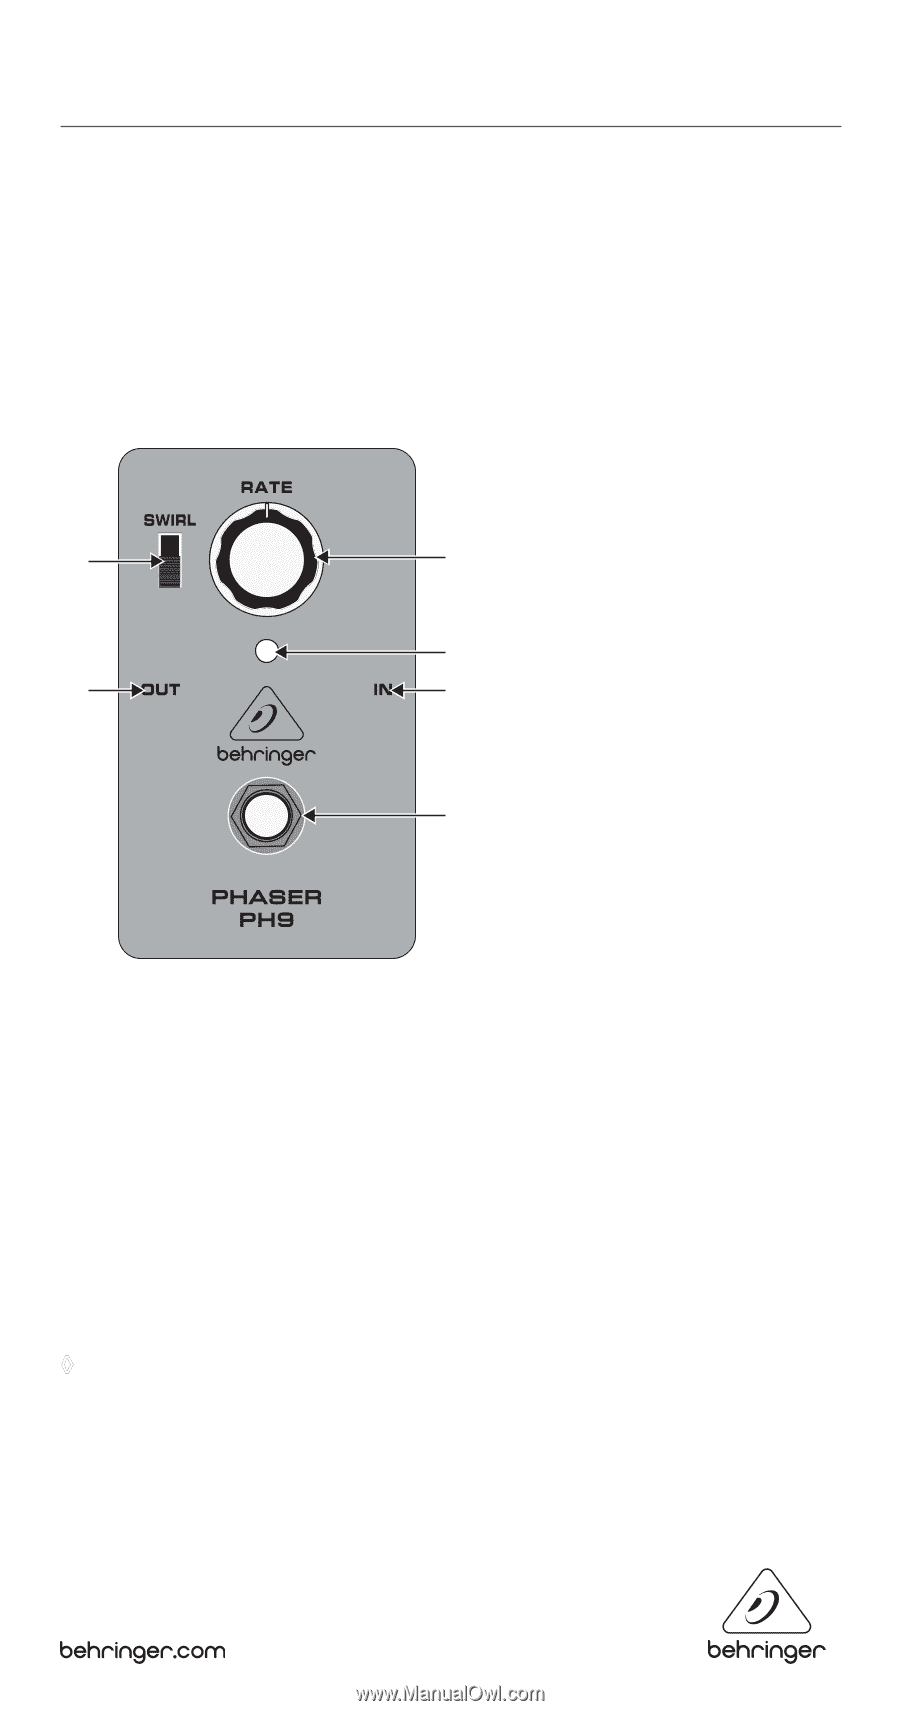
1.
Controls
(1)
The
RATE
control determines the speed of the phase-shifting effect, in other words the
overall effect rate.
(2)
The
SWIRL
switch changes the phaser character from modern (upper position) to vintage
(lower position).
(3)
The
LED
illuminates when the effect is activated. It also serves as a battery level indicator.
(4)
Depress the footswitch to activate/deactivate the effect.
(5)
Use this ¼" TS
IN
connector to plug in the instrument cable.
(6)
The ¼" TS
OUT
connector sends the signal to your amp.
Use the
DC IN
connection to plug in a 9 V power supply (not included).
To install or replace the 9 V battery, remove the bottom side of the unit taking the four screws off.
◊
The PH9 has no on/off switch. As soon as you connect the jack to the IN connector,
the PH9 is switched on. When the PH9 is not being used, remove the jack from the IN
connector to extend the battery life.
The
SERIAL NUMBER
is located on the bottom side of the device.
(2)
(6)
(1)
(5)
(3)
(4)
PHASER PH9
Classic 90° Phase Shifter