Behringer SUPER FUZZ SF300 Manual
Behringer SUPER FUZZ SF300 Manual
 |
View all Behringer SUPER FUZZ SF300 manuals
Add to My Manuals
Save this manual to your list of manuals |
Behringer SUPER FUZZ SF300 manual content summary:
- Behringer SUPER FUZZ SF300 | Manual - Page 1
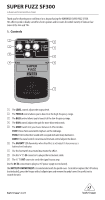
SUPER FUZZ SF300 3-Mode Fuzz Distortion Effects Pedal Thank you for showing your confidence in us by purchasing the BEHRINGER SUPER FUZZ SF300. This effects pedal is ideally suited for electric guitars and recreates the whole variety of famous fuzz tones of the '60s and '70s. 1. Controls (2) (6) - Behringer SUPER FUZZ SF300 | Manual - Page 2
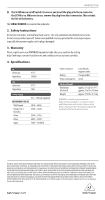
SUPER FUZZ SF300 ◊ The SF300 has no on/off switch. As soon as you insert the plug into the in connector, the SF300 is on. When not in use, remove the plug from the in connector. This extends the life of the battery. The SERIAL NUMBER is located at the underside. 2. Safety Instructions Do not use
-
 1
1 -
 2
2
 |
 |
SUPER FUZZ SF300
3-Mode Fuzz Distortion Effects Pedal
Thank you for showing your confidence in us by purchasing the BEHRINGER SUPER FUZZ SF300.
This effects pedal is ideally suited for electric guitars and recreates the whole variety of famous fuzz
tones of the ‘60s and ‘70s.
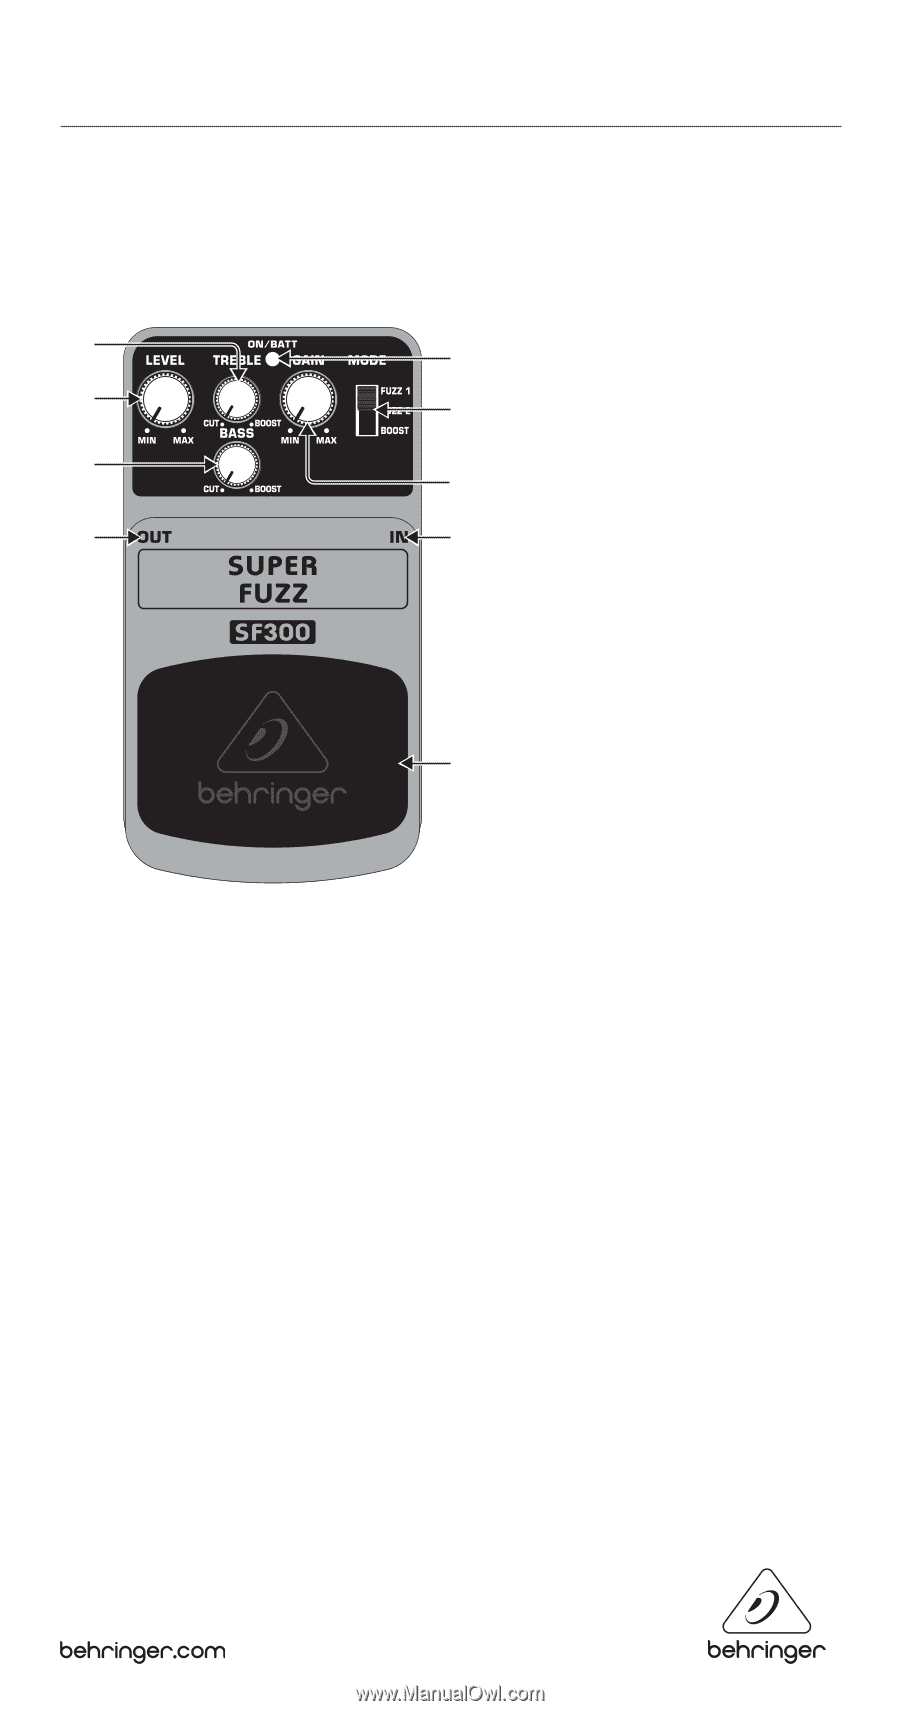
1.
Controls
(1)
The
LEVEL
control adjusts the output level.
(2)
The
TREBLE
control allows you to boost/cut the high-frequency range.
(3)
The
BASS
control allows you to boost/cut the low-frequency range.
(4)
The
GAIN
control adjusts the gain for more distorted sounds.
(5)
The
MODE
switch lets you choose between 3 effect modes.
FUZZ 1:
Basic fuzz sound with emphasis on the midrange.
FUZZ 2:
Full-bodied fuzz sound with scooped mids and sharp harmonics.
BOOST:
The Level control is inactive and the Gain control adjusts the boost.
(6)
The
ON/BATT
LED illuminates when the effect is activated. It also serves as a
battery level indicator.
(7)
Use the footswitch to activate/deactivate the effect.
(8)
Use this °" TS
IN
connector to plug in the instrument cable.
(9)
The °" TS
OUT
connector sends the signal to your amp.
Use the
DC IN
connection to plug in a 9 V power supply (not included).
The
BATTERY COMPARTMENT
is located underneath the pedal cover. To install or replace the 9 V battery
(not included), press the hinges with a ballpoint pen and remove the pedal cover. Be careful not to
scratch the unit.
(1)
(3)
(9)
(5)
(6)
(8)
(7)
(2)
(4)