Behringer ULTRA OCTAVER UO100 Manual
Behringer ULTRA OCTAVER UO100 Manual
 |
View all Behringer ULTRA OCTAVER UO100 manuals
Add to My Manuals
Save this manual to your list of manuals |
Behringer ULTRA OCTAVER UO100 manual content summary:
- Behringer ULTRA OCTAVER UO100 | Manual - Page 1
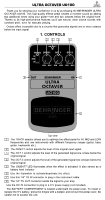
you for showing your confidence in us by purchasing the BEHRINGER ULTRA OCTAVER UO100. This high-quality effects pedal creates a monster sound by adding two additional tones using your guitar—one and two octaves below the original tone. Thanks to its high-performance features you’ll get natural - Behringer ULTRA OCTAVER UO100 | Manual - Page 2
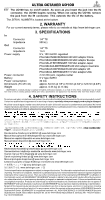
ULTRA OCTAVER UO100 + The UO100 has no on/off switch. As soon as you insert the jack into the IN connector, the UO100 begins running. When not using the UO100, remove the jack from the IN connector. This extends the life of the battery. The SERIAL NUMBER is located at the bottom. 2. WARRANTY For
-
 1
1 -
 2
2
 |
 |
ULTRA OCTAVER UO100
Thank you for showing your confidence in us by purchasing the BEHRINGER ULTRA
OCTAVER UO100. This high-quality effects pedal creates a monster sound by adding
two additional tones using your guitar±one and two octaves below the original tone.
Thanks to its high-performance features you²ll get natural, clear octave sounds with
constant pitch, even for staccato playing.
Octave effect is possible due to a circuitry that generates signals one or more octaves
below the input signal.
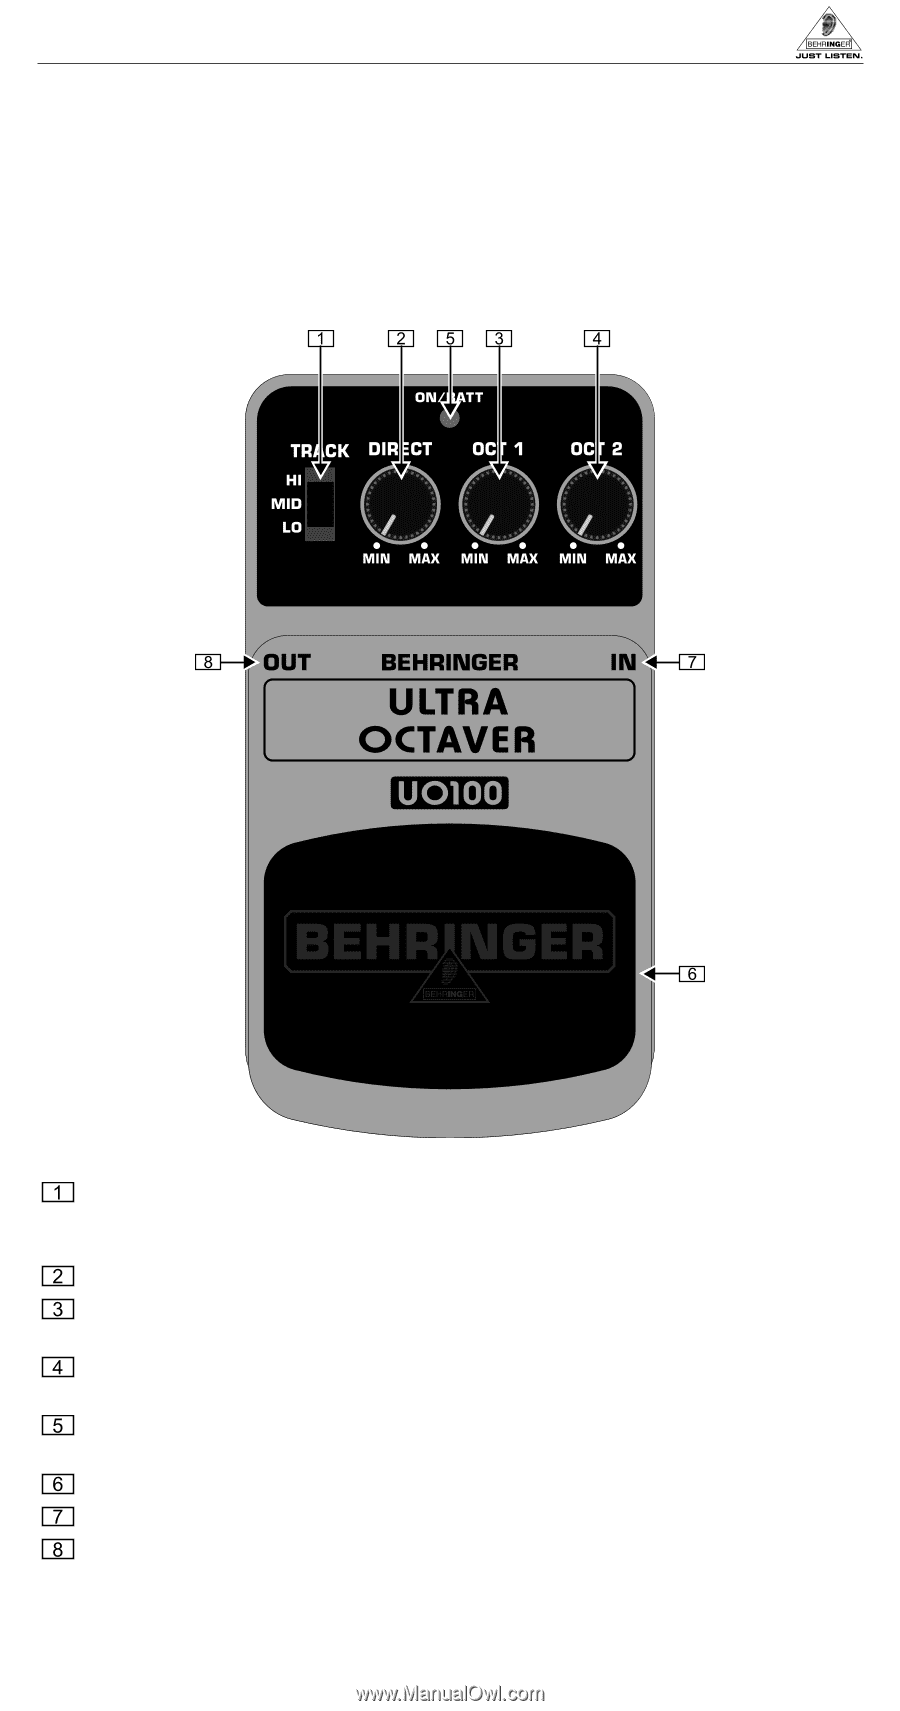
1. CONTROLS
Top view
The
TRACK
selector allows you to optimize the effect pedal for HI, MID and LOW
frequencies and use instruments with different frequency ranges (guitar, bass
guitar, keyboards etc.).
The
DIRECT
control adjusts the level of the original input signal.
The
OCT 1
control adjusts the level of the generated signal one octave below the
original signal.
The
OCT 2
control adjusts the level of the generated signal two octaves below the
original signal.
The
ON/BATT
LED illuminates when the effect is activated. It also serves as a
battery level indicator.
Use the footswitch to activate/deactivate the effect.
Use this 1/4" TS
IN
connector to plug in the instrument cable.
The 1/4" TS
OUT
connector sends the signal to your amp.
Use the
DC IN
connection to plug in a 9 V power supply (not included).
The
BATTERY COMPARTMENT
is located underneath the pedal cover. To install or
replace the 9 V battery, press the hinges with a ballpen and remove the pedal cover. Be
careful not to scratch the unit.