Bose Acoustimass 16 Series II Owner's guide - Page 10
Checking and finalizing connections, Optional upgrade for your Acoustimass 15 system - home theater system
 |
View all Bose Acoustimass 16 Series II manuals
Add to My Manuals
Save this manual to your list of manuals |
Page 10 highlights
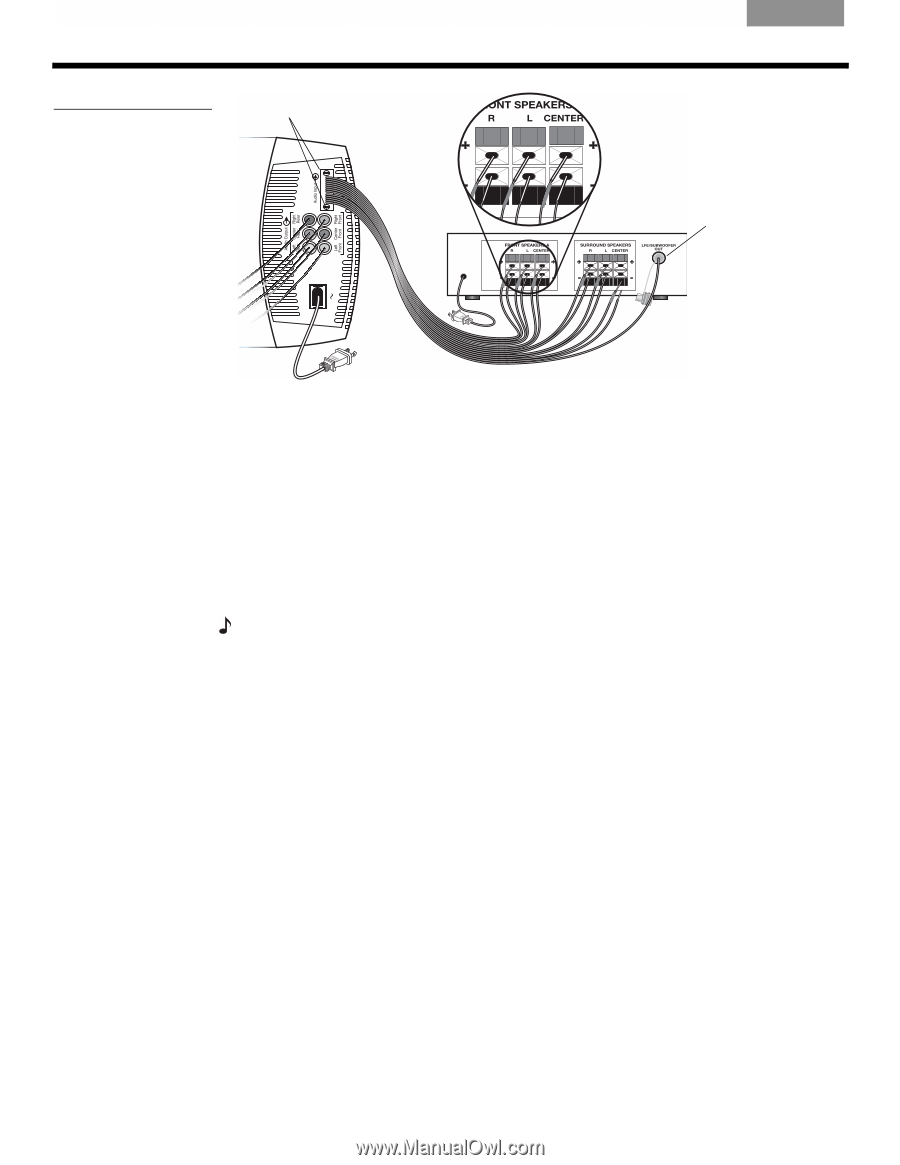
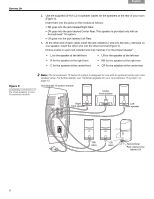
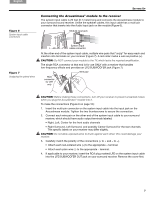
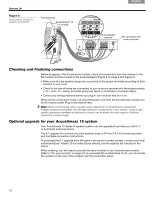
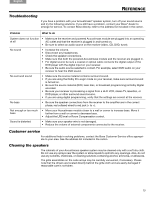
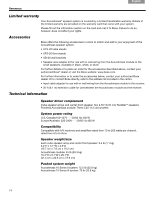
SETTING UP Figure 8 Acoustimass® module to receiver connections Thumbscrews Acoustimass® 16 module Français Español English Home theater receiver LFE connector with cover removed Checking and finalizing connections Before plugging in the Acoustimass module, check all connections from the receiver to the the module and the module to the small speakers (Figure 5 on page 8 and Figure 8). • Make sure all cube speaker arrays are connected to the proper terminals according to their position in your room. • Check to be sure all wires are connected to your surround receiver with the proper polarity (+ to + and - to - wires). Incorrect wiring can result in a total loss of module output. • Correct any wiring problems before you plug in your receiver and turn it on. When all the connections check out, plug the power cord from the Acoustimass module into an AC (mains) outlet. Plug in the receiver also. Note: Bose recommends using a quality surge suppressor on all electronics equipment. Voltage variations and spikes can damage electronic components in any system. Using a highquality suppressor (available at electronics stores) can eliminate the vast majority of failures caused by a power surge. Optional upgrade for your Acoustimass 15 system Your Acoustimass 15 Series III speaker system can be upgraded to provide you with 6.1- ! or 6-channel surround sound. The 6.1 upgrade kit contains one cube speaker array, a 50-foot (15.2 m) connecting cable, and complete connection instructions. To purchase the 6.1 upgrade kit in the same color as your current system, contact your local authorized Bose® retailer. Or to contact Bose directly, see the address list included in the ! carton. When ordering, you will need to provide the serial number of your Acoustimass module. ! Refer to "For your records" on page 2 if you recorded the number there. If not, you can locate the number on the rear of the module near the connection panel. 10
-
 1
1 -
2
-
3
-
4
-
 5
5 -
 6
6 -
 7
7 -
 8
8 -
 9
9 -
 10
10 -
 11
11 -
 12
12 -
 13
13 -
 14
14 -
 15
15 -
16
-
17
-
18
-
19
-
20
-
21
-
22
-
23
-
24
-
25
-
26
-
27
-
28
-
29
-
30
-
31
-
32
-
33
-
34
-
35
-
36
-
37
-
38
-
39
-
40
-
41
-
42
-
43
-
44
 |
 |