Brother International MFC-9700 Quick Setup Guide for Windows XP - English
Brother International MFC-9700 Manual
 |
View all Brother International MFC-9700 manuals
Add to My Manuals
Save this manual to your list of manuals |
Brother International MFC-9700 manual content summary:
- Brother International MFC-9700 | Quick Setup Guide for Windows XP - English - Page 1
installation and troubleshooting information. • If you have any problems with this installation, visit us at http://solutions.brother.com and . *1 Multi-Function Link® Pro Suite includes Printer Driver, Scanner Driver, PC-FAX software and Remote Setup. Scanner resolution: Up to 600 dpi Paper size: - Brother International MFC-9700 | Quick Setup Guide for Windows XP - English - Page 2
CD-ROM Install Software You can install printer and scanner drivers and the various utility items. On-Line Registration You will be guided to a directory on the Brother Product Registration Web page. On-Line Documentation View the Owner's Manual and other documentation. Brother Support Get all the
-
 1
1 -
 2
2
 |
 |
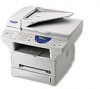
Setting Up the machine and PC to Work Together
Before You begin
•
Please see the README.WRI file in the root directory of the CD-ROM for the latest important installation and troubleshooting information.
•
If you have any problems with this installation, visit us at
http://solutions.brother
.com
and view the FAQ’s for your machine.
•
Please purchase the appropriate interface cable you intend to use with this machine (parallel or USB).
•
Some illustrations are based on the MFC-8500.
Use only a shielded parallel interface cable that is IEEE 1284-compliant and/or a USB cable that is no longer than 6 feet long (1.8 meters).
You must set up the hardware and install the driver before you can use your machine as a
printer and scanner with your applications.
Step 1.
Shut down and turn OFF your computer.
Step 2.
Unplug the FAX/MFC machine from the AC outlet and disconnect the interface cable
if
you have already connected it.
Step 3.
Turn on your computer.
Note:
If the “Found New Hardware Wizard” appears before the installation of the software, you should
click on
Cancel to exit the Wizard, and then start the installation program from the CD-ROM.
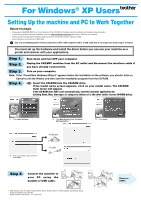
Step 4.
Insert the CD-ROM into the CD-ROM drive.
If the model name screen appears, click on your model name. The CD-ROM
main menu will appear.
If the CD-ROM does NOT start automatically, start the installer application by
clicking Start, Run, then type x:\ setup.exe (where x:\ is the drive letter of your CD-ROM drive).
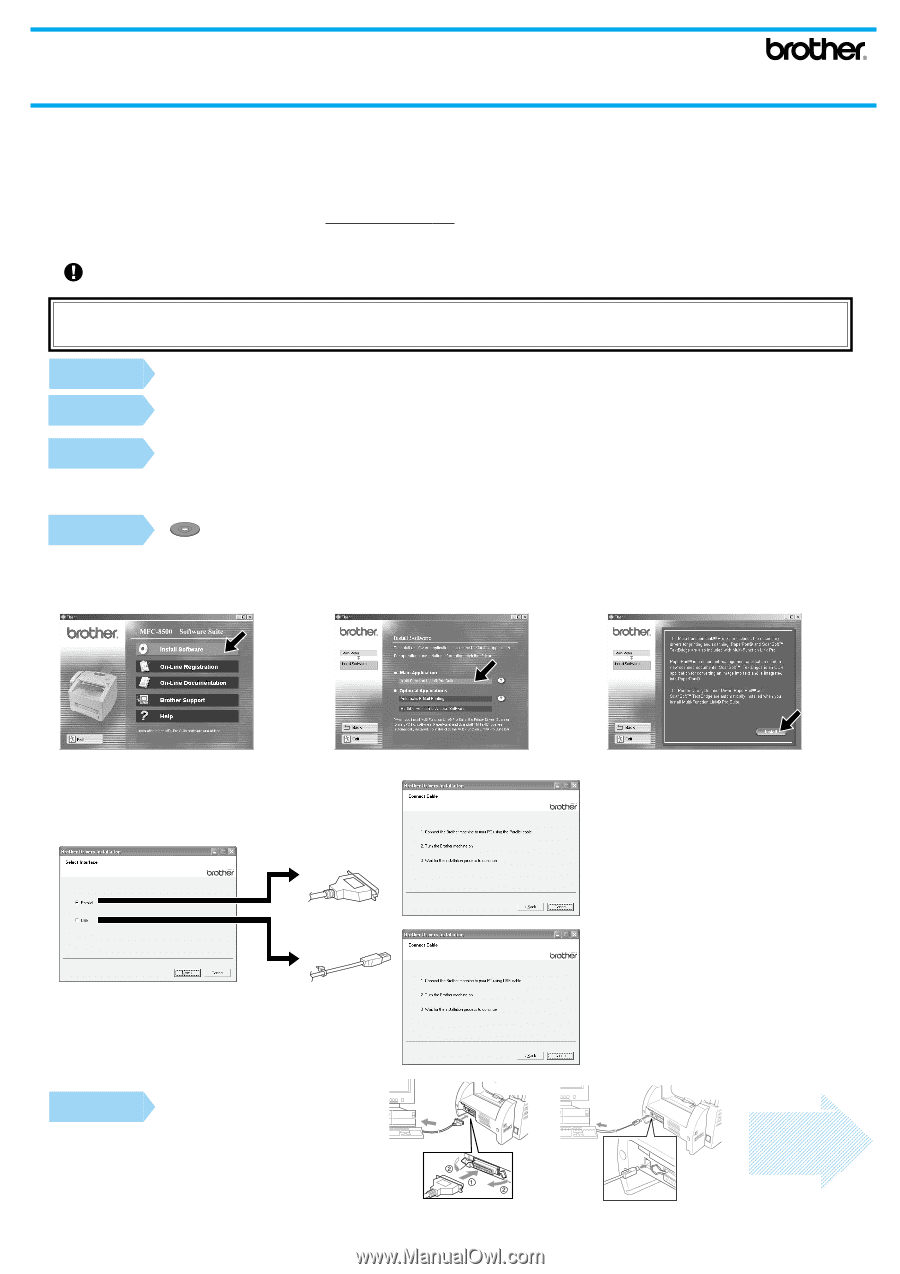
Step 5.
Connect the machine to
your PC using the
parallel or USB cable.
*1
Multi-Function Link
®
Pro Suite includes Printer Driver, Scanner Driver, PC-FAX software and Remote Setup.
Scanner resolution: Up to 600 dpi
Paper size: 8.5" (215.9 mm)
×
11.7" (297 mm)
2.
Click
Multi-Function Link
®
Pro Suite
in
Main Application
. *1
4.
Select an interface cable, and then
press
Next
.
1.
Click
Install Software
.
For Windows
®
XP Users
3.
Click
Install
.
For Parallel
For USB
Please see
STEP
6