Brother International PE-DESIGN Ver.4 3 2 PE-DESIGN Ver.3.0 CD-BOOK
Brother International PE-DESIGN Ver.4 3 2 Manual
 |
View all Brother International PE-DESIGN Ver.4 3 2 manuals
Add to My Manuals
Save this manual to your list of manuals |
Brother International PE-DESIGN Ver.4 3 2 manual content summary:
- Brother International PE-DESIGN Ver.4 3 2 | PE-DESIGN Ver.3.0 CD-BOOK - Page 1
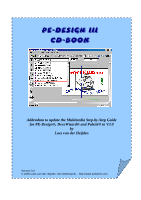
PE-Design iii cd-book Addendum to update the Multimedia Step-by-Step Guide for PE-Design®, DecoWizard® and Paletté® to V3.0 by Loes van der Heijden Version 3.0 © 2000 Loes van der Heijden, the Netherlands - http://www.artistitch.com - Brother International PE-DESIGN Ver.4 3 2 | PE-DESIGN Ver.3.0 CD-BOOK - Page 2
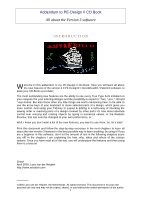
Addendum to PE-Design II CD Book All about the Version 3 software I N T R O D U C T I O N W elcome to this addendum to my PE-Design II CD-Book. Here you will learn all about the new features of the version 3.0 PE-Design® / DecoWizard® / Paletté® software, to keep your CD-Book up-to-date! The most - Brother International PE-DESIGN Ver.4 3 2 | PE-DESIGN Ver.3.0 CD-BOOK - Page 3
Addendum to PE-Design II CD Book All about the Version 3 software Copyright disclaimer All names of software and hardware products in this document are at the same time (copyrighted) trademarks and have to be treated as such. "PE-Design" is a trademark of Brother International Corporation, - Brother International PE-DESIGN Ver.4 3 2 | PE-DESIGN Ver.3.0 CD-BOOK - Page 4
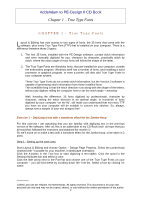
computer. There is a difference between those 2 types: 1. The first 35 fonts, installed with the PE-Design software, contain stitch information and were manually digitized for you, character by character, practically stitch by stitch, where the stitch angle of most fonts will follow the shape of the - Brother International PE-DESIGN Ver.4 3 2 | PE-DESIGN Ver.3.0 CD-BOOK - Page 5
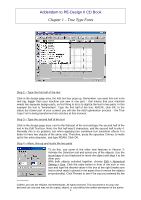
half of the text in the Edit Text box. Note: the first half was 5 characters, and the second half is only 4. Normally this is no problem, but when applying two combined text transform effects it is better to have two objects of the same size. Therefore, press the spacebar 3 times, to - Brother International PE-DESIGN Ver.4 3 2 | PE-DESIGN Ver.3.0 CD-BOOK - Page 6
Addendum to PE-Design II CD Book Chapter 1 - True Type Fonts design page, adjust if necessary and click OK. Step 5 - Apply a Text Transform effect Select the first object and click the Transform Effect button in the General Toolbar. You will notice that many of the transform effects come in pairs - - Brother International PE-DESIGN Ver.4 3 2 | PE-DESIGN Ver.3.0 CD-BOOK - Page 7
Addendum to PE-Design II CD Book Chapter 1 - True Type Fonts Deselect everything by clicking outside the design area and take a look at the Design Properties (menu Option > Design Property). You will see that the design will be sewn in two parts. Save your design. In the image below you will find - Brother International PE-DESIGN Ver.4 3 2 | PE-DESIGN Ver.3.0 CD-BOOK - Page 8
Addendum to PE-Design II CD Book Chapter 1 - True Type Fonts Know that by exporting/converting the text-objects into a regular embroidery design, you will lose the ability to edit the text, change transform effects, set it to path etc. Note on exporting large designs for the Jumbo-Hoop you will have - Brother International PE-DESIGN Ver.4 3 2 | PE-DESIGN Ver.3.0 CD-BOOK - Page 9
Addendum to PE-Design II CD Book Chapter 2 -Two text objects to path CHAPTER 2 - Two Text Objects to Path This chapter will teach you how to create a large text design, set on a path, for the jumbohoop. This text is, like in the first exercise, also larger than the embroidery area of your machine - Brother International PE-DESIGN Ver.4 3 2 | PE-DESIGN Ver.3.0 CD-BOOK - Page 10
Addendum to PE-Design II CD Book Chapter 2 -Two text objects to path While this pasted copy is still selected, hold down shift and select the second text-object, click the Fit Text to Path button, choose the align right option in the "Horizontal Alignment" box ( ABC) and click OK. If you are having - Brother International PE-DESIGN Ver.4 3 2 | PE-DESIGN Ver.3.0 CD-BOOK - Page 11
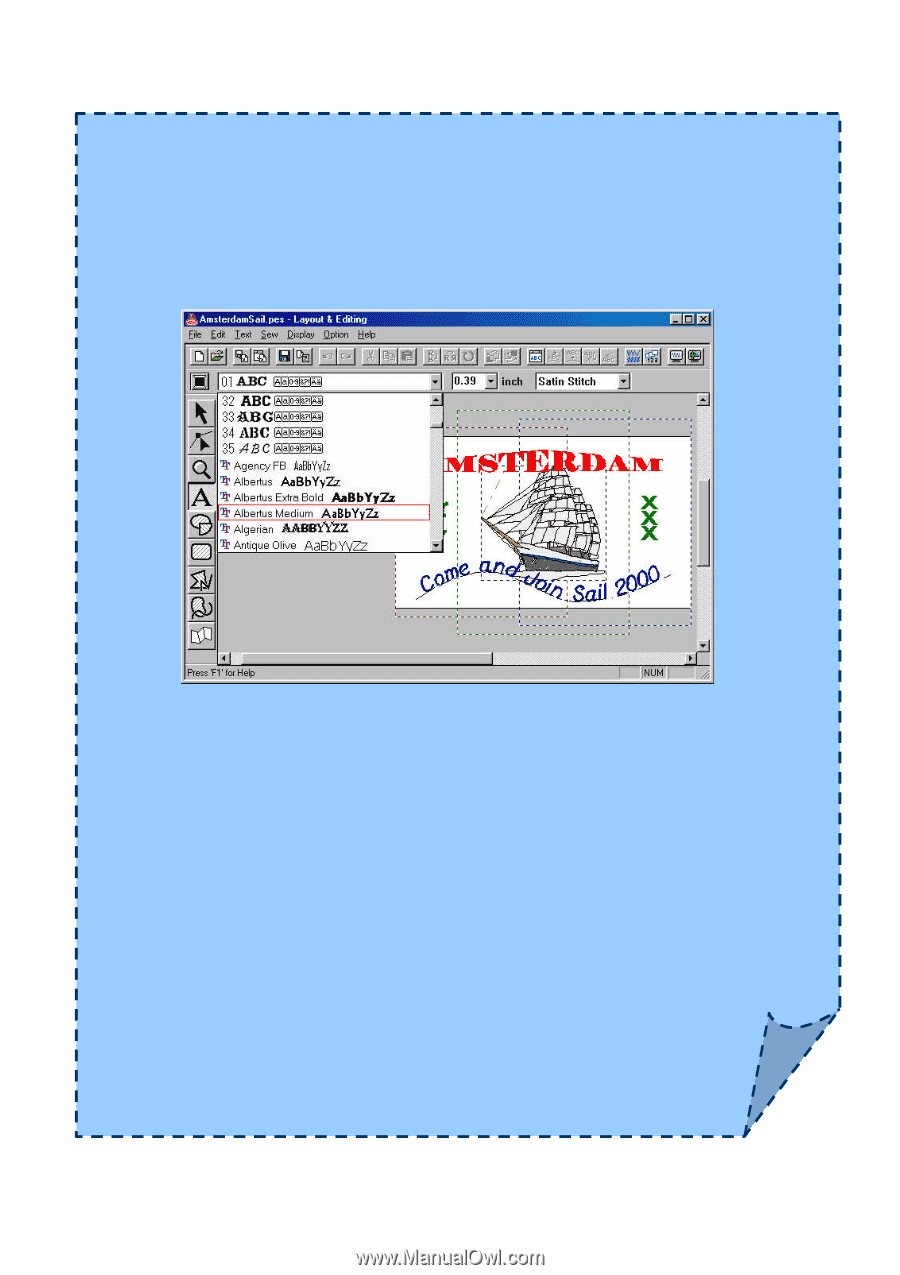
Addendum to PE-Design II CD Book Chapter 3 - Using the Tab-key CHAPTER 3 - Using the Tab Key This chapter will show you how to use the Tab key of your keyboard to quickly select the various objects in the order they were digitized and to change the sewing order or position. Exercise 4 - Using the - Brother International PE-DESIGN Ver.4 3 2 | PE-DESIGN Ver.3.0 CD-BOOK - Page 12
Addendum to PE-Design II CD Book Chapter 3 - Using the Tab-key toggle through the various digitized parts, in the sewing order. Check the Sewing Attributes bar to see if the selected part is the one you want to change (move, or set to sew first or last, etc.). The text objects AMSTE and RDAM have to - Brother International PE-DESIGN Ver.4 3 2 | PE-DESIGN Ver.3.0 CD-BOOK - Page 13
Addendum to PE-Design II CD Book Chapter 3 - Using the Tab-key And if you want to see how this looks on e.g. a black tote bag, change the color of the design page to black via Option > Design Page Property. You can also have a realistic print (via Print Setup > Stitch Image > Realistic. This will - Brother International PE-DESIGN Ver.4 3 2 | PE-DESIGN Ver.3.0 CD-BOOK - Page 14
Addendum to PE-Design II CD Book Chapter 4 - Programmable Sitch Creator News CHAPTER 4 - Programmable Stitch Creator Creating pattern fills with the extra tools in the Tool bar of the Programmable Stitch Creator is a breeze now! You only have to draw a part of the pattern, and then you can select, - Brother International PE-DESIGN Ver.4 3 2 | PE-DESIGN Ver.3.0 CD-BOOK - Page 15
Addendum to PE-Design II CD Book Chapter 4 - Programmable Sitch Creator News click the Vertical Mirror Button and move this copy to the lower right corner of the design page by dragging with the mouse (arrow keys don't work here). Step 4 - Finish the pattern by closing the edges Activate the Line - Brother International PE-DESIGN Ver.4 3 2 | PE-DESIGN Ver.3.0 CD-BOOK - Page 16
Addendum to PE-Design II CD Book Chapter 5 - What else is new... C H A P T E R 5 - W h a t e l s e i s n e w? Drawing in Design Center Stage 2 has been made easier for us with the new version: when using the pen tools - holding down shift, you can draw straight vertical or horizontal lines now. The
-
 1
1 -
 2
2 -
 3
3 -
 4
4 -
 5
5 -
 6
6 -
 7
7 -
8
-
9
-
10
-
11
-
12
-
13
-
14
-
15
-
16
 |
 |
PE-Design iii
cd-book
Addendum to update the Multimedia Step-by-Step Guide
for PE-Design®, DecoWizard® and Paletté® to V3.0
by
Loes van der Heijden
Version 3.0
© 2000 Loes van der Heijden, the Netherlands – http://www.artistitch.com