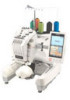
Brother International PR-650 New Features of PR-650 Version 2
Brother International PR-650 Manual
 |
View all Brother International PR-650 manuals
Add to My Manuals
Save this manual to your list of manuals |
Brother International PR-650 manual content summary:
- Brother International PR-650 | New Features of PR-650 Version 2 - Page 1
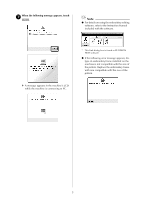
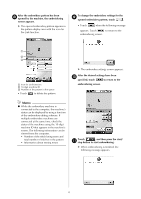
2. Before using the machine, carefully read both this manual and the Operation Manual included with your PR-650 machine (which provides descriptions of Ver. 1). ■ The Link function has been added. (p. 1) This function allows embroidery patterns edited in embroidery editing software provided with - Brother International PR-650 | New Features of PR-650 Version 2 - Page 2
the Link function First, use the embroidery editing software to create the embroidery pattern to be sent to the embroidery machine. Turn off the machine. 3 Note ● Only embroidery data in the PES format (.pes) can be embroidered using the Link function. ● You cannot select .dst data to send from - Brother International PR-650 | New Features of PR-650 Version 2 - Page 3
details on using the embroidery editing software, refer to the Instruction Manual included with the software. X A message appears in the machine's LCD while the machine is connecting to PC. * This Link dialog box is found in PE-DESIGN NEXT software. ● If the following error message appears, the - Brother International PR-650 | New Features of PR-650 Version 2 - Page 4
, touch to return to the embroidering screen. Memo ● While the embroidery machine is connected to the computer, the machine's status can be displayed by using a function of the embroidery editing software. If multiple embroidery machines are connected at the same time, check the status of the - Brother International PR-650 | New Features of PR-650 Version 2 - Page 5
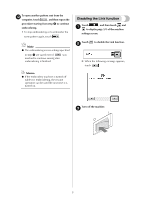
touch and 1 to display page 5/5 of the machine settings screen. Touch 2 to disable the Link function. X When the following message appears, touch . Memo ● If the embroidery machine is turned off while it is embroidering, the resume operation can be used the next time it is turned on. Turn - Brother International PR-650 | New Features of PR-650 Version 2 - Page 6
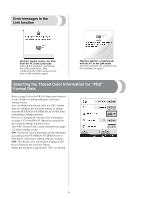
, or setting from the PE-DESIGN, PE-DESIGN Lite or PED-Basic (embroidery editing software). (Refer to "Changing the thread color information" on page 197 in the PR-650 Operation Manual for the machine setting of thread color.) The "PES" Thread Code can be selected from page 1/5 of the settings - Brother International PR-650 | New Features of PR-650 Version 2 - Page 7
in red, this signals the last color to be embroidered before the machine stops. Note ● The displayed information differs from that in Ver. 1 (described in the PR-650 Operation Manual). 1 1 Time until the machine stops Checking the Temporary Needle Bar Setting The needle bar with the temporary - Brother International PR-650 | New Features of PR-650 Version 2 - Page 8
New Alphabet Pattern Characters The following characters have been added to two fonts. Note that the arrangement of the characters has changed. The following characters have been added to seven fonts. Note that the arrangement of the characters has changed. Example: Example: English 8 XE9558-
-
 1
1 -
 2
2 -
 3
3 -
 4
4 -
 5
5 -
 6
6 -
 7
7 -
8
 |
 |
1
New Features of
PR-650 Version 2
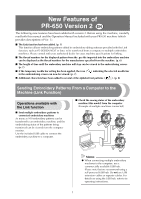
The following new features have been added with version 2. Before using the machine, carefully
read both this manual and the Operation Manual included with your PR-650 machine (which
provides descriptions of Ver. 1).
■
The Link function has been added. (p. 1)
This function allows embroidery patterns edited in embroidery editing software provided with the Link
function, such as PE-DESIGN NEXT or later, to be transferred from a computer to multiple embroidery
machines. Please consult with your authorized dealer for exact machine specifications for linking.
■
The thread numbers for the displayed pattern from the .pes file imported into the embroidery machine
can be displayed as the thread numbers for the manufacturer specified from the machine. (p. 6)
■
The length of time until the embroidery machine will stop can be viewed in the embroidering screen.
(p. 7)
■
If the temporary needle bar setting has been applied, the icon (
) indicating the selected needle bar
in the embroidering screen can now be viewed. (p. 7)
■
Additional characters have been added to several of the alphabet font patterns (
). (p. 8)
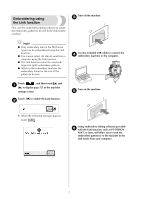
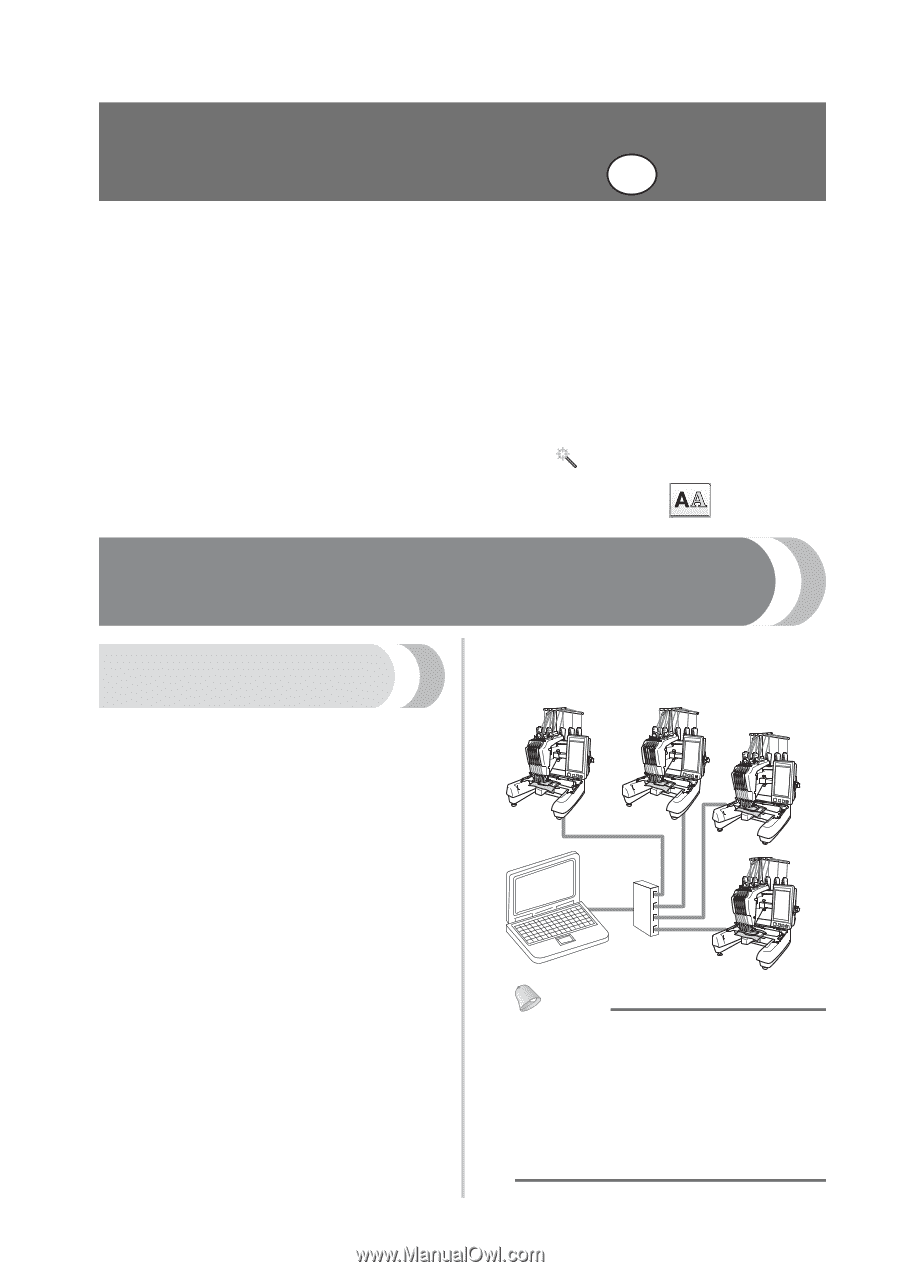
Sending Embroidery Patterns From a Computer to the
Machine (Link Function)
Operations available with
the Link function
■
Send multiple embroidery patterns to
connected embroidery machines
As many as 100 embroidery patterns can be
transferred to an embroidery machine, and the
embroidering status of the patterns being
transferred can be viewed from the computer
monitor.
Use the included USB cable to connect the
embroidery machine to a computer.
■
Check the sewing status of the embroidery
machine (this model) from the computer
(Example of multiple machines connected)
Memo
●
When connecting multiple embroidery
machines to the computer, use a
commercially available USB hub.
Please note that we recommend using a
self-powered USB hub. Do
not
use USB
extension cables or repeater cables. For
details on using the USB hub, refer to its
operating instructions.
EN