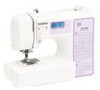
Brother International XR1300 Quick Setup Guide Multi - English and Spanish
Brother International XR1300 Manual
 |
View all Brother International XR1300 manuals
Add to My Manuals
Save this manual to your list of manuals |
Brother International XR1300 manual content summary:
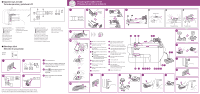
- Brother International XR1300 | Quick Setup Guide Multi - English and Spanish - Page 1
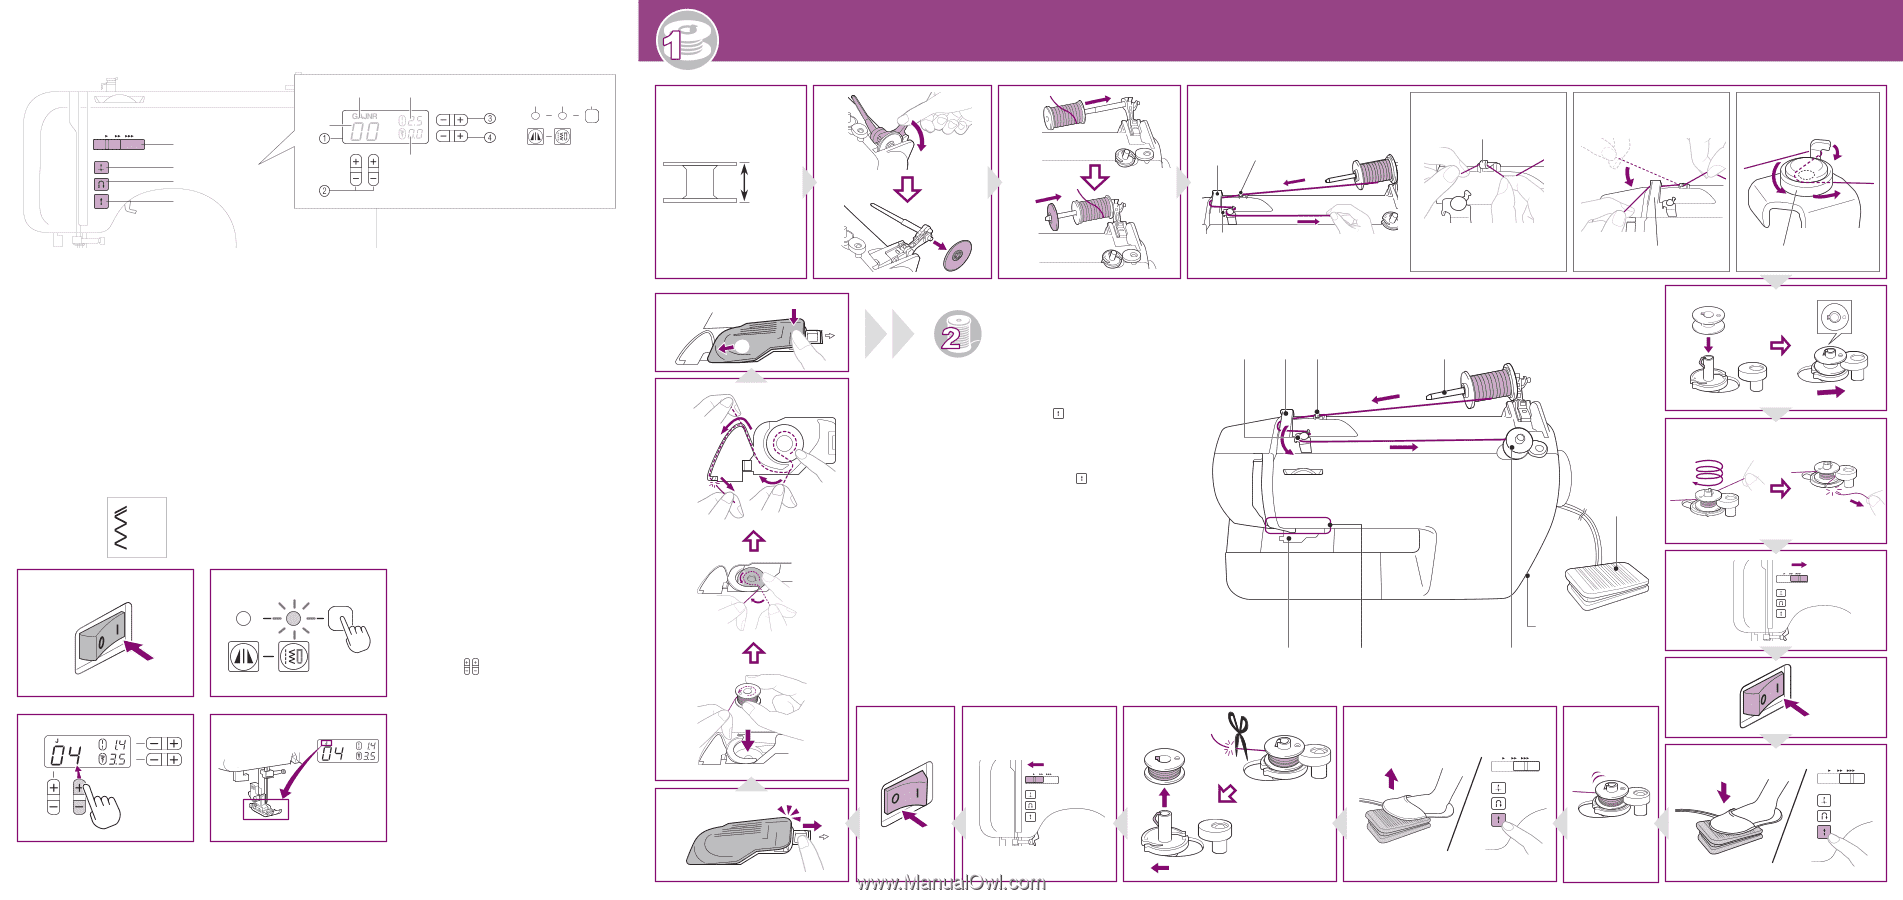
detailed instructions about sewing. Consultar el manual de instrucciones detalladas acerca de la costura. e Preparing the bobbin thread Preparación del hilo de la bobina 2 11.5 mm (7/16 inch) 11,5 mm (7/16 pulg.) 2 1 3 4 21 3 4 44 1 2 3 Thread guide 23 Thread guide cover 5 Pre-tension - Brother International XR1300 | Quick Setup Guide Multi - English and Spanish - Page 2
onto the guide. a Fully lower the needle threader lever. 7 66 _ 0b 29d 8 e c 45 1 a 0 1 9 6 21 1 Thread guide 2 3 7 Thread guide cover 8 2 Quick Reference Guide Guía de referencia rápida Be sure to first read the "IMPORTANT SAFETY INSTRUCTIONS" in the Operation Manual. Refer to
-
 1
1 -
 2
2
 |
 |
1
Turn the power on.
2
Press the stitch category selection key
as many times as necessary until the
utility stitch indicator is lit.
3
Press
(stitch selection keys). The
number of the selected stitch is
displayed.
4
Attach the presser foot indicated
in the LCD.
1
Be sure to use the correct bobbin.
2
Press down on the spool pin lever.
Remove the spool cap.
3
Fully insert the spool of thread onto
the spool pin.
Slide the spool cap onto the spool pin.
4
1
Pass the thread under the thread
guide.
2
Pass the thread under the thread
guide cover.
3
Pull the thread to the right.
Make sure that the thread passes
under the pre-tension disk.
5
Align the notch to the projection.
Slide the bobbin to the right.
6
Wind the end of the thread.
Cut the thread.
7
Slide the sewing speed controller to
the right.
8
Turn the power on.
9
Press the foot controller or press
(start/stop button) to start.
0
Winding starts. Wait until the bobbin
seems full and begins spinning slowly.
a
Take your foot off the foot controller or
press
(start/stop button) to stop.
b
Cut the thread.
Slide the bobbin to the left and remove
the bobbin from the shaft.
c
Slide the sewing speed controller
to the left.
d
Turn the power off.
e
Slide the button and open the cover.
f
Insert the bobbin.
Push the bobbin down.
Pull the thread firmly around the tab.
Cut the thread with the cutter.
g
Replace the bobbin cover.
11.5 mm
(7/16 inch)
11,5 mm
(7/16 pulg.)
1
1
3
2
4
2
3
4
5
8
6
7
9
0
a
b
d
f
e
g
■
Operation keys and LCD
Teclas de operación y pantalla de LCD
■
Selecting a stitch
Selección de una puntada
1
LCD (pantalla de cristal líquido)
1
Número de la puntada seleccionada
2
Pie prensatela que se va a utilizar
3
Longitud de la puntada (mm)
4
Anchura de la puntada (mm)
2
Teclas de selección de puntada
3
Tecla de ajuste de longitud de la puntada
4
Tecla de ajuste de anchura de la puntada
5
Indicador de puntada imagen en espejo
6
Indicador de puntada con aplicaciones
7
Tecla de selección de la categoría de puntada
8
Control de velocidad manual
9
Botón de Posición de aguja
0
Botón de Costura en reversa/remate
A
Botón de Inicio/parar
c
Example:
Ejemplo:
(04)
Refer to the Operation Manual for detailed instructions about sewing.
Consultar el manual de instrucciones detalladas acerca de la costura.
1
LCD (liquid crystal display)
1
Number of the selected stitch
2
Presser foot to be used
3
Stitch length (mm)
4
Stitch width (mm)
2
Stitch selection keys
3
Stitch length adjustment key
4
Stitch width adjustment key
5
Mirror image stitch indicator
6
Utility stitch indicator
7
Stitch category selection key
8
Sewing speed controller
9
Needle position button
0
Reverse/reinforcement stitch button
A
Start/stop button
8
9
0
A
7
5
6
3
4
2
1
1
2
1
1
2
3
2
3
2
2
1
3
1
Thread guide
Thread guide cover
Pre-tension disk
4
23
4
4
8d
560b
e
_
g
79ac
9a
Preparing the bobbin thread
Preparación del hilo de la bobina