Brother International BES-100E BE-100 Workbook - English - Page 13
Reshape Tool
 |
View all Brother International BES-100E manuals
Add to My Manuals
Save this manual to your list of manuals |
Page 13 highlights
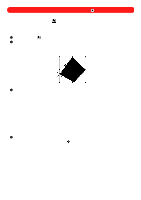
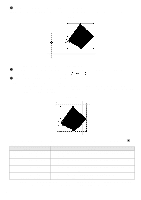
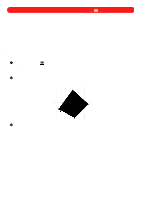
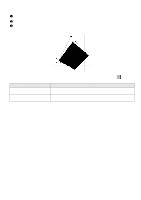
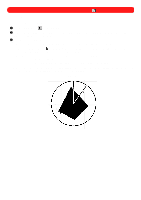
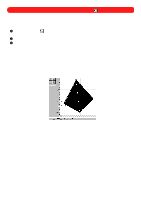
Chapter 4: Reshape Tool ( ) This tool is used to highlight the punchpoints of design shapes, allowing you to select and move the points, therefore changing the shape of the design. After selecting a punchpoint, it can be deleted, or the commands on the Punchpoints drop-down menu can be used to insert new punchpoints as well as set entry and exit points. For more information about the commands available on the Punchpoints drop-down menu, see chapter 24. NOTE: The punchpoints of text shapes that have not been converted to deformed text can only be used to move the shape or adjust its parameters (baseline width, height, etc.), but not deform it (i.e., change its shape). For more information about deforming a text shape, see chapter 17. To manipulate the individual punchpoints in the outline of each character of a text shape, it must first be converted to its various paths and regions. For more information about converting text shapes to paths and regions, see chapter 18. s Selecting punchpoints To select punchpoints: 1 Click the Reshape tool ( in blue. ) in the Stock toolbar. The punchpoints for all shapes within the design appear NOTE: The magenta handles that appear in text shapes are for kerning. For more information, see Changing the kerning between specific characters in chapter 11. 2 Click a punchpoint. The punchpoint changes to light blue when it is selected. Figure 15 3 To select additional punchpoints, do any of the following: x To select punchpoints that are in sequence, hold down the Shift key and click the last punchpoint in the sequence. x To select specific punchpoints that are not in sequence, hold down the Ctrl key and click each additional punchpoint. x To select all punchpoints in a specific area, drag the pointer over the area containing the desired punchpoints, until the selection box encloses them. NOTE: The buttons in the Navigation palette can also be used to select punchpoints. For more information, see Navigating through the design in chapter 23. To select all punchpoints in the design, click Select All on the Edit drop-down menu. 10
-
 1
1 -
2
-
3
-
4
-
5
-
6
-
7
-
 8
8 -
 9
9 -
 10
10 -
 11
11 -
 12
12 -
 13
13 -
 14
14 -
 15
15 -
 16
16 -
 17
17 -
 18
18 -
19
-
20
-
21
-
22
-
23
-
24
-
25
-
26
-
27
-
28
-
29
-
30
-
31
-
32
-
33
-
34
-
35
-
36
-
37
-
38
-
39
-
40
-
41
-
42
-
43
-
44
-
45
-
46
-
47
-
48
-
49
-
50
-
51
-
52
-
53
-
54
-
55
-
56
-
57
-
58
-
59
-
60
-
61
-
62
-
63
-
64
-
65
-
66
-
67
-
68
-
69
-
70
-
71
-
72
-
73
-
74
-
75
-
76
-
77
-
78
-
79
-
80
-
81
-
82
-
83
-
84
-
85
-
86
-
87
-
88
-
89
-
90
-
91
-
92
-
93
-
94
-
95
-
96
-
97
-
98
-
99
-
100
-
101
-
102
-
103
-
104
-
105
-
106
-
107
-
108
-
109
-
110
-
111
-
112
-
113
-
114
-
115
-
116
-
117
-
118
-
119
 |
 |
