Brother International BES-100E BE-100 Workbook - English - Page 15
Correcting a bow tie
 |
View all Brother International BES-100E manuals
Add to My Manuals
Save this manual to your list of manuals |
Page 15 highlights
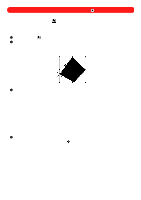
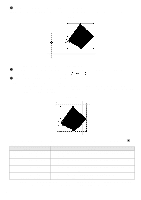
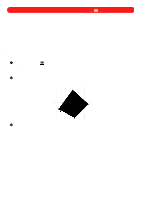
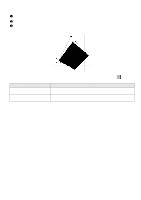
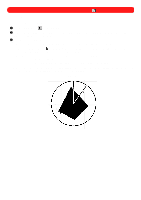
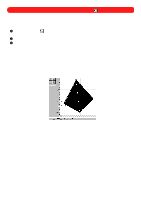
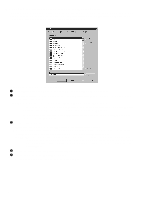
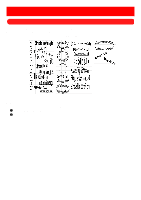
s Correcting a "bow tie" Regions are digitized as pairs of punchpoints (a point and a counterpoint, which appear with a gray line connecting them). When deleting punchpoints from a region, either the punchpoint pair or two punchpoints that are in sequence should be deleted; otherwise, the region will "bow tie", as shown below. Figure 17 A "bow tie" also occurs when a punchpoint in a region is moved to the other side of the other punchpoint in the pair. To correct a "bow tie", do any of the following: x Delete the remaining point of the pair. x Click the Reshape tool ( ), click the punchpoint before the deleted one, and then click Insert Point After on the Punchpoints drop-down menu to insert a new punchpoint and correct the "bow tie". Then, move the newly inserted points to correctly shape the satin stitch. x On the Edit drop-down menu, click Undo Delete Points. NOTE: The last operation performed can also be undone by clicking the Undo button ( bar. ) in the Ribbon 12
-
 1
1 -
2
-
3
-
4
-
5
-
6
-
7
-
8
-
9
-
 10
10 -
 11
11 -
 12
12 -
 13
13 -
 14
14 -
 15
15 -
 16
16 -
 17
17 -
 18
18 -
 19
19 -
 20
20 -
21
-
22
-
23
-
24
-
25
-
26
-
27
-
28
-
29
-
30
-
31
-
32
-
33
-
34
-
35
-
36
-
37
-
38
-
39
-
40
-
41
-
42
-
43
-
44
-
45
-
46
-
47
-
48
-
49
-
50
-
51
-
52
-
53
-
54
-
55
-
56
-
57
-
58
-
59
-
60
-
61
-
62
-
63
-
64
-
65
-
66
-
67
-
68
-
69
-
70
-
71
-
72
-
73
-
74
-
75
-
76
-
77
-
78
-
79
-
80
-
81
-
82
-
83
-
84
-
85
-
86
-
87
-
88
-
89
-
90
-
91
-
92
-
93
-
94
-
95
-
96
-
97
-
98
-
99
-
100
-
101
-
102
-
103
-
104
-
105
-
106
-
107
-
108
-
109
-
110
-
111
-
112
-
113
-
114
-
115
-
116
-
117
-
118
-
119
 |
 |
