Brother International BES-100E BE-100 Workbook - English - Page 31
Using the Arc Vertical Text tool, Using the Slant Text tool
 |
View all Brother International BES-100E manuals
Add to My Manuals
Save this manual to your list of manuals |
Page 31 highlights
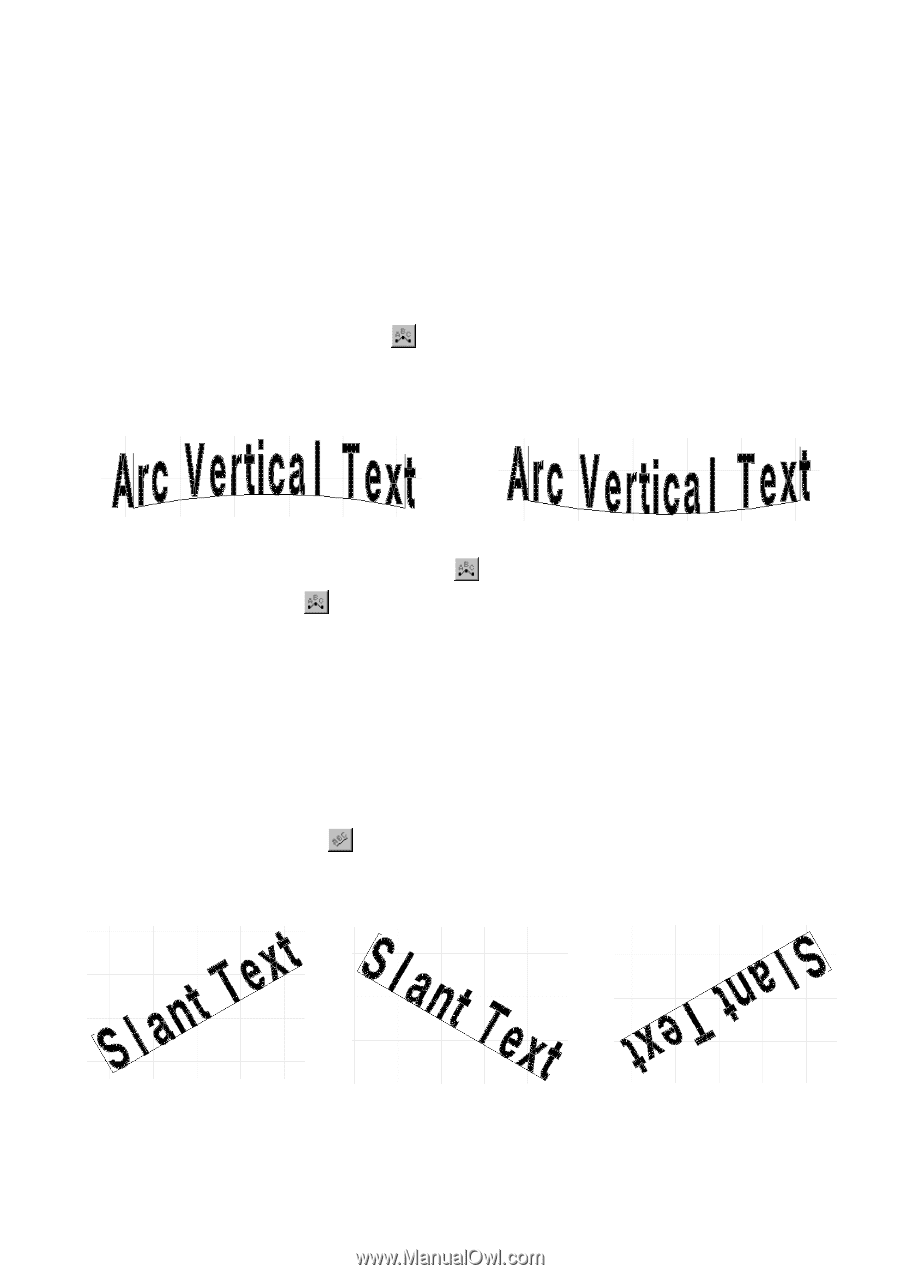
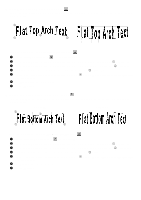
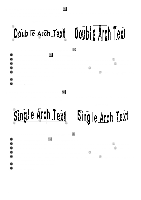
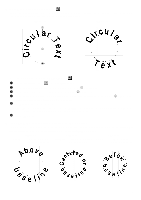
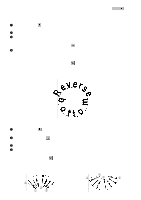
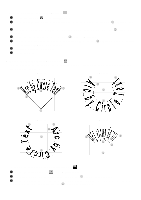
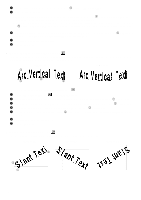
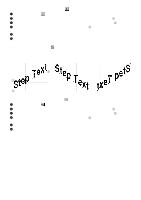
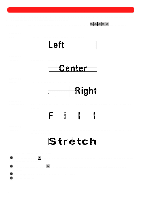
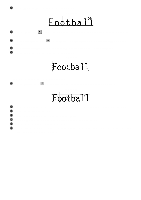
4 Drag the pointer until the arc is the desired size (3 in figures 44 through 47). 5 Do one of the following: x Click the arc that is displayed to arrange the text clockwise within it (4 in figures 44 and 46). Text arranged clockwise uses the inner arc of the outline as the baseline. x Click the cutout (invisible) part of the circle to display it and arrange the text counterclockwise within it (5 in figures 45 and 47). Text arranged counterclockwise uses the outer arc of the outline as the baseline. 6 Drag the outer arc of the outline, which indicates the text height, until it is the desired size (6 in figures 44 through 47). The Text tab of the Text Properties dialog box appears. 7 In the Text box, type the desired text. 8 Click the OK button. s Using the Arc Vertical Text tool ( ) This tool arranges text along an arc whose beginning, end and curve you can specify. Each character of a text shape created with this tool is positioned vertically. Figure 48 Figure 49 3 4 1 2 To create a text shape using the Arc Vertical Text tool ( ): 1 Click the Arc Vertical Text tool ( ) in the Lettering palette. 2 Click in the design area to specify the desired location for the left end of the baseline (1 in figure 48). 3 Click in the design area to specify the desired location for the right end of the baseline (2 in figure 48). 4 Click above the baseline to specify the desired height of the text (3 in figure 48). 5 Drag the arch until it has the desired curve (4 in figure 48). The Text tab of the Text Properties dialog box appears. 6 In the Text box, type the desired text. 7 Click the OK button. s Using the Slant Text tool ( ) This tool arranges text along a slanted baseline whose angle you can specify. Figure 50 Figure 51 Figure 52 2 3 1 28
-
 1
1 -
2
-
3
-
4
-
5
-
6
-
7
-
8
-
9
-
10
-
11
-
12
-
13
-
14
-
15
-
16
-
17
-
18
-
19
-
20
-
21
-
22
-
23
-
24
-
25
-
 26
26 -
 27
27 -
 28
28 -
 29
29 -
 30
30 -
 31
31 -
 32
32 -
 33
33 -
 34
34 -
 35
35 -
 36
36 -
37
-
38
-
39
-
40
-
41
-
42
-
43
-
44
-
45
-
46
-
47
-
48
-
49
-
50
-
51
-
52
-
53
-
54
-
55
-
56
-
57
-
58
-
59
-
60
-
61
-
62
-
63
-
64
-
65
-
66
-
67
-
68
-
69
-
70
-
71
-
72
-
73
-
74
-
75
-
76
-
77
-
78
-
79
-
80
-
81
-
82
-
83
-
84
-
85
-
86
-
87
-
88
-
89
-
90
-
91
-
92
-
93
-
94
-
95
-
96
-
97
-
98
-
99
-
100
-
101
-
102
-
103
-
104
-
105
-
106
-
107
-
108
-
109
-
110
-
111
-
112
-
113
-
114
-
115
-
116
-
117
-
118
-
119
 |
 |