Brother International BES-100E BE-100 Workbook - English - Page 34
Kerning
 |
View all Brother International BES-100E manuals
Add to My Manuals
Save this manual to your list of manuals |
Page 34 highlights
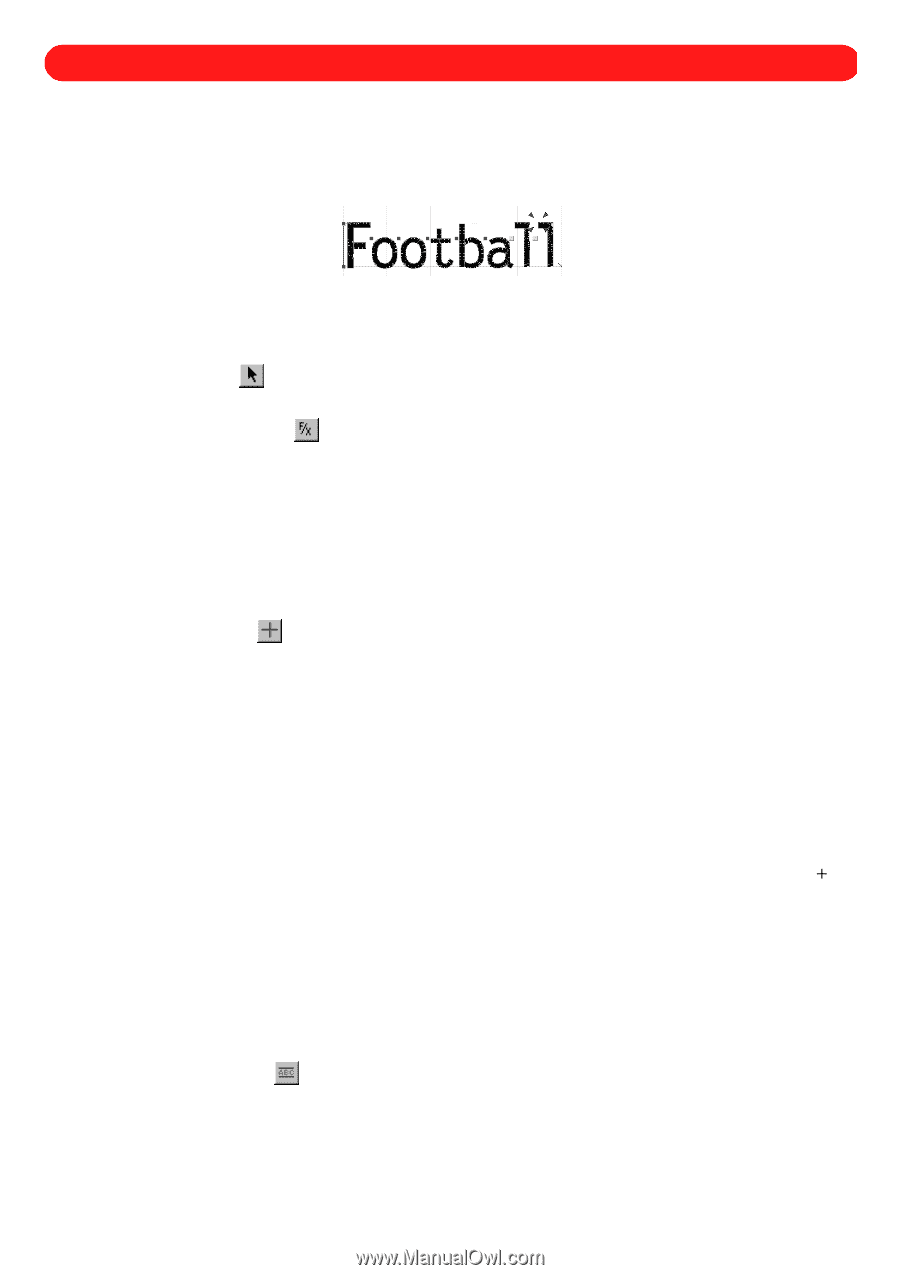
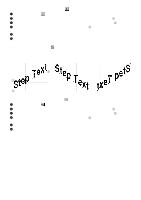
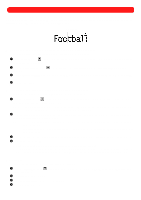
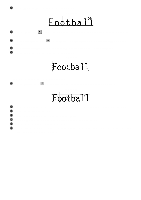
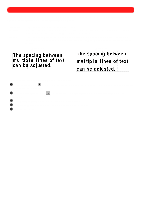
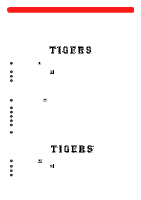
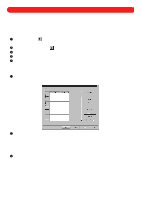
Chapter 11: Kerning Kerning is the spacing between characters within text. Each font has a preprogrammed amount of space placed between the characters. This spacing can be increased or decreased either uniformly (for the entire text) or individually (for specific characters, as shown in figure 61). Figure 61 s Changing the kerning uniformly between all characters To uniformly adjust the kerning between all characters of a text shape: 1 Using the Move tool ( ), select the text shape that you wish to change. "Dancing ants" (moving dashes) appear around the shape. 2 Click the Text Effects button ( appears. ) in the Text bar. The Text Effects tab of the Text Properties dialog box 3 In the Character kerning group box, select Custom, and then type the desired kerning setting in the Custom box. 4 Click the OK button. s Changing the kerning between specific characters To adjust the kerning between specific characters in a text shape: 1 Click the Reshape tool ( ) in the Stock toolbar. The kerning handles for all text shapes in the design appear in magenta. (See figure 64 below.) NOTE: The blue punchpoints that appear are for resizing the baseline and height of the design shape. For more information, see Moving punchpoints in chapter 4. 2 Click the kerning handle between the characters whose spacing you wish to adjust. The kerning handle changes to light pink when it is selected. NOTE: To select kerning handles that are in sequence, hold down the Shift key and click the last handle in the sequence. To select specific kerning handles that are not in sequence, hold down the Ctrl key and click each additional handle. 3 Move the pointer over the selected (light pink) kerning handle. The pointer changes to small crosshairs ( ). 4 Do either of the following: x Drag the kerning handle until the characters have the desired spacing. x Turn on Num Lock, and then use the number keys 4 and 6 of the numeric keypad to "nudge" (move in small amounts) the kerning handles left and right until the text has the desired character spacing. s Example To create the text shape "Football" and adjust the kerning: 1 Click the Simple Text tool ( dialog box appears. ), and then right-click in the design area. The Text tab of the Text Properties 2 In the Text box, type "Football". 3 In the Font drop-down list, select "Letter Gothic". 4 In the Size box, type "1.0". 31
-
 1
1 -
2
-
3
-
4
-
5
-
6
-
7
-
8
-
9
-
10
-
11
-
12
-
13
-
14
-
15
-
16
-
17
-
18
-
19
-
20
-
21
-
22
-
23
-
24
-
25
-
26
-
27
-
28
-
 29
29 -
 30
30 -
 31
31 -
 32
32 -
 33
33 -
 34
34 -
 35
35 -
 36
36 -
 37
37 -
 38
38 -
 39
39 -
40
-
41
-
42
-
43
-
44
-
45
-
46
-
47
-
48
-
49
-
50
-
51
-
52
-
53
-
54
-
55
-
56
-
57
-
58
-
59
-
60
-
61
-
62
-
63
-
64
-
65
-
66
-
67
-
68
-
69
-
70
-
71
-
72
-
73
-
74
-
75
-
76
-
77
-
78
-
79
-
80
-
81
-
82
-
83
-
84
-
85
-
86
-
87
-
88
-
89
-
90
-
91
-
92
-
93
-
94
-
95
-
96
-
97
-
98
-
99
-
100
-
101
-
102
-
103
-
104
-
105
-
106
-
107
-
108
-
109
-
110
-
111
-
112
-
113
-
114
-
115
-
116
-
117
-
118
-
119
 |
 |