Brother International BES-100E BE-100 Workbook - English - Page 58
Navigating the Design
 |
View all Brother International BES-100E manuals
Add to My Manuals
Save this manual to your list of manuals |
Page 58 highlights
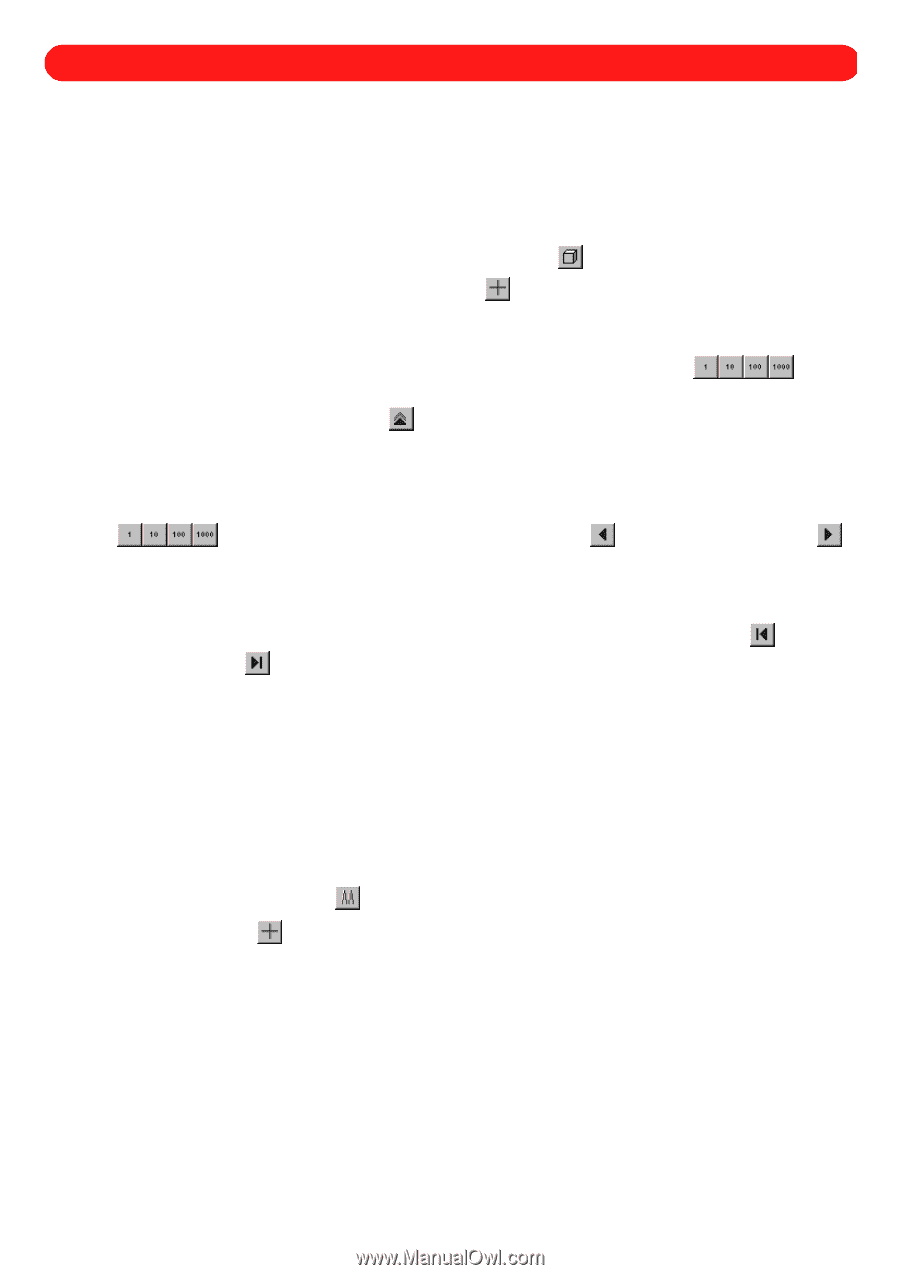
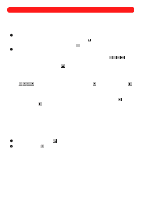
Chapter 23: Navigating the Design The buttons in the Navigation palette are used to help you navigate through the design by selecting design shapes or punchpoints. s Navigating through the design To navigate through the design by selecting design shapes or punchpoints: 1 To select how to navigate through the design, do one of the following: x To navigate by design shapes, click the Select Shapes button ( ) in the Navigation palette. x To navigate by punchpoints, click the Reshape tool ( ) in the Stock toolbar. 2 To select a specific punchpoint or design shape, do any of the following: x To navigate through the design by selecting every single, every tenth, every hundredth or every thou- sandth punchpoint or design shape, click the desired select-by-number button ( Navigation palette. ) in the NOTE: If the Extend Selection button ( ) is clicked, each design shape or punchpoint that is selected is added to the selection. In that way, instead of selecting hundreds of punchpoints one by one, 10, 100, or even 1000 punchpoints at a time can be selected until all the desired points are in the selection. x To select the previous or next punchpoint or design shape depending on the select-by-number button ( ) that was clicked, click the Select Previous button ( ) or the Select Next button ( ) in the Navigation palette. NOTE: The previous and next punchpoint or design shape can also be selected by pressing the left and right cursor keys of the keyboard. x To select the first or last punchpoint or shape in the design, click the Select First button ( ) or the Select Last button ( ) in the Navigation palette. NOTE: The first and last punchpoint or design shape can also be selected by pressing the Home and End cursor keys of the keyboard. s Selecting alternating punchpoints Punchpoints on one side of a satin-stitched region are paired with punchpoints on the other side. Therefore, by selecting alternating punchpoints of a satin-stitched region, you can reshape just one side of the region without changing the other. To select alternate punchpoints: 1 Click the Select Alternating button ( ) in the Navigation palette. 2 Click the Reshape tool ( ), and then click the first punchpoint that you wish to select. The selected punchpoint changes to light blue. 55
-
 1
1 -
2
-
3
-
4
-
5
-
6
-
7
-
8
-
9
-
10
-
11
-
12
-
13
-
14
-
15
-
16
-
17
-
18
-
19
-
20
-
21
-
22
-
23
-
24
-
25
-
26
-
27
-
28
-
29
-
30
-
31
-
32
-
33
-
34
-
35
-
36
-
37
-
38
-
39
-
40
-
41
-
42
-
43
-
44
-
45
-
46
-
47
-
48
-
49
-
50
-
51
-
52
-
 53
53 -
 54
54 -
 55
55 -
 56
56 -
 57
57 -
 58
58 -
 59
59 -
 60
60 -
 61
61 -
 62
62 -
 63
63 -
64
-
65
-
66
-
67
-
68
-
69
-
70
-
71
-
72
-
73
-
74
-
75
-
76
-
77
-
78
-
79
-
80
-
81
-
82
-
83
-
84
-
85
-
86
-
87
-
88
-
89
-
90
-
91
-
92
-
93
-
94
-
95
-
96
-
97
-
98
-
99
-
100
-
101
-
102
-
103
-
104
-
105
-
106
-
107
-
108
-
109
-
110
-
111
-
112
-
113
-
114
-
115
-
116
-
117
-
118
-
119
 |
 |