Brother International Entrepreneur PR-650 Users Manual - English - Page 61
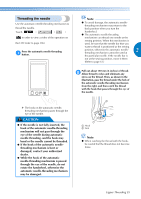
Threading the needle
 |
View all Brother International Entrepreneur PR-650 manuals
Add to My Manuals
Save this manual to your list of manuals |
Page 61 highlights
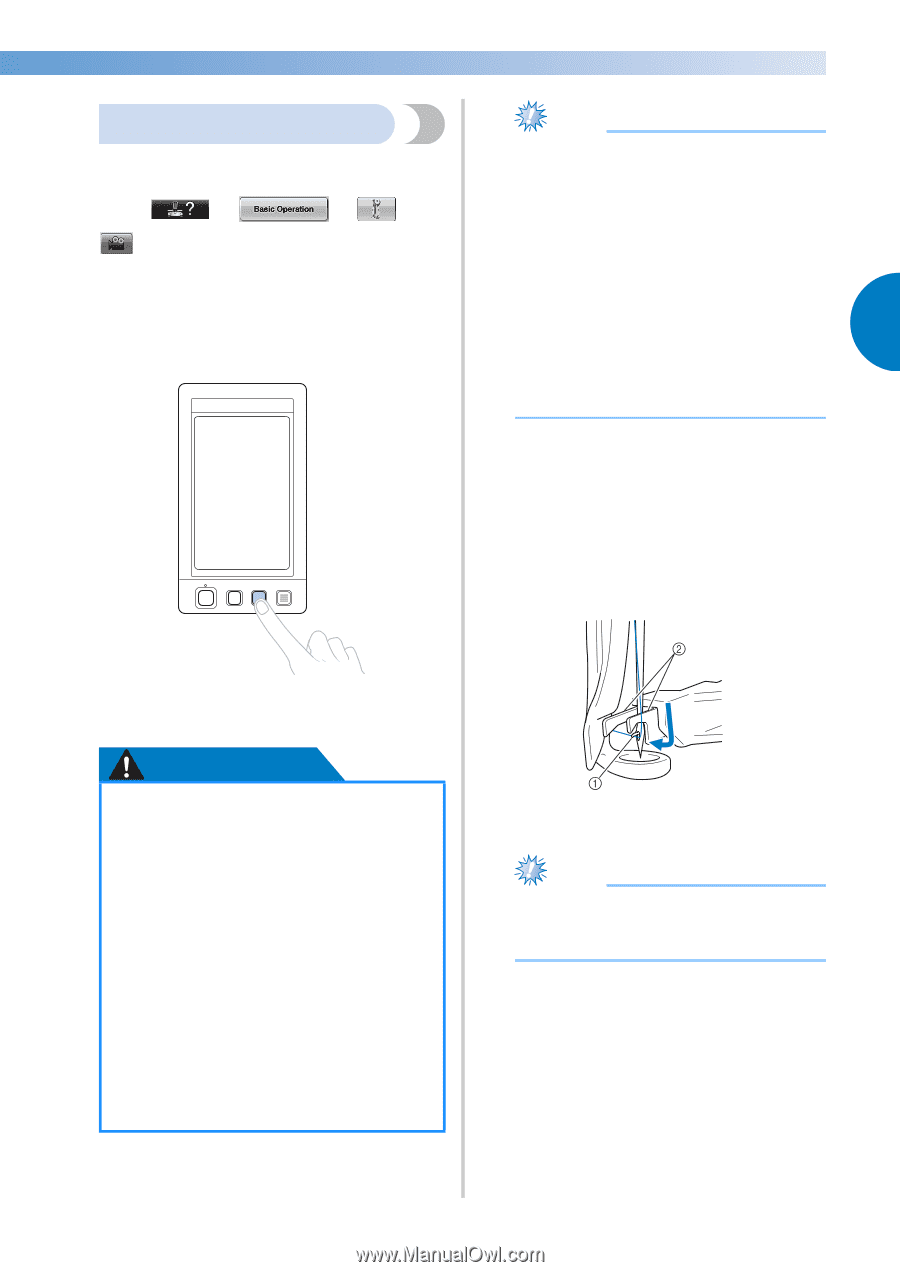
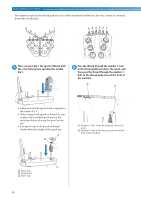
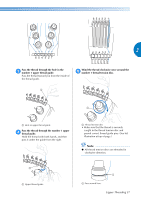
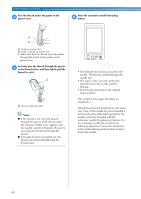
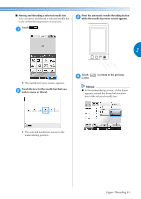
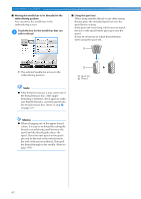
Threading the needle Use the automatic needle-threading mechanism to thread the needle. Touch → → → in order to view a video of the operation on the LCD (refer to page 206). Press the automatic needle-threading 1 button. Note ● To avoid damage, the automatic needle- threading mechanism may return to the back position when you turn the handwheel. ● The automatic needle-threading mechanism can thread one needle at the sewing position. When this mechanism is used, be sure that the needle bar that you want to thread is positioned as the sewing position, otherwise the automatic needle- 2 threading mechanism cannot be used at the particular needle. If the needle bar is not at the sewing position, move it there. (Refer to page 61.) Pull out about 150 mm (6 inches) of thread. 2 Allow thread to relax and eliminate any stress on the thread. Then, as shown in the illustration, pass the thread under the fork of the automatic needle-threading mechanism from the right, and then catch the thread with the hook that passes through the eye of the needle. X The hook on the automatic needlethreading mechanism passes through the eye of the needle. CAUTION ● If the needle is not fully inserted, the hook of the automatic needle-threading mechanism will not pass through the eye of the needle during automatic needle threading, and the hook may bend or the needle cannot be threaded. ● If the hook of the automatic needlethreading mechanism is bent or damaged, contact your authorized dealer. ● While the hook of the automatic needle-threading mechanism is passed through the eye of the needle, do not rotate the handwheel, otherwise the automatic needle-threading mechanism may be damaged. 1 Hook 2 Fork Note ● When catching the thread with the hook, be careful that the thread does not become loose. Upper Threading 59
-
 1
1 -
2
-
3
-
4
-
5
-
6
-
7
-
8
-
9
-
10
-
11
-
12
-
13
-
14
-
15
-
16
-
17
-
18
-
19
-
20
-
21
-
22
-
23
-
24
-
25
-
26
-
27
-
28
-
29
-
30
-
31
-
32
-
33
-
34
-
35
-
36
-
37
-
38
-
39
-
40
-
41
-
42
-
43
-
44
-
45
-
46
-
47
-
48
-
49
-
50
-
51
-
52
-
53
-
54
-
55
-
 56
56 -
 57
57 -
 58
58 -
 59
59 -
 60
60 -
 61
61 -
 62
62 -
 63
63 -
 64
64 -
 65
65 -
 66
66 -
67
-
68
-
69
-
70
-
71
-
72
-
73
-
74
-
75
-
76
-
77
-
78
-
79
-
80
-
81
-
82
-
83
-
84
-
85
-
86
-
87
-
88
-
89
-
90
-
91
-
92
-
93
-
94
-
95
-
96
-
97
-
98
-
99
-
100
-
101
-
102
-
103
-
104
-
105
-
106
-
107
-
108
-
109
-
110
-
111
-
112
-
113
-
114
-
115
-
116
-
117
-
118
-
119
-
120
-
121
-
122
-
123
-
124
-
125
-
126
-
127
-
128
-
129
-
130
-
131
-
132
-
133
-
134
-
135
-
136
-
137
-
138
-
139
-
140
-
141
-
142
-
143
-
144
-
145
-
146
-
147
-
148
-
149
-
150
-
151
-
152
-
153
-
154
-
155
-
156
-
157
-
158
-
159
-
160
-
161
-
162
-
163
-
164
-
165
-
166
-
167
-
168
-
169
-
170
-
171
-
172
-
173
-
174
-
175
-
176
-
177
-
178
-
179
-
180
-
181
-
182
-
183
-
184
-
185
-
186
-
187
-
188
-
189
-
190
-
191
-
192
-
193
-
194
-
195
-
196
-
197
-
198
-
199
-
200
-
201
-
202
-
203
-
204
-
205
-
206
-
207
-
208
-
209
-
210
-
211
-
212
-
213
-
214
-
215
-
216
-
217
-
218
-
219
-
220
-
221
-
222
-
223
-
224
-
225
-
226
-
227
-
228
-
229
-
230
-
231
-
232
-
233
-
234
-
235
-
236
-
237
-
238
-
239
-
240
-
241
-
242
-
243
-
244
-
245
-
246
-
247
-
248
-
249
-
250
-
251
-
252
-
253
-
254
-
255
-
256
-
257
-
258
-
259
-
260
-
261
-
262
-
263
-
264
-
265
-
266
-
267
-
268
-
269
-
270
-
271
-
272
-
273
-
274
-
275
-
276
-
277
-
278
-
279
-
280
 |
 |