Brother International Entrepreneur PR-650 Users Manual - English - Page 68
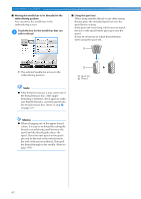
Press the thread trimming button.
 |
View all Brother International Entrepreneur PR-650 manuals
Add to My Manuals
Save this manual to your list of manuals |
Page 68 highlights
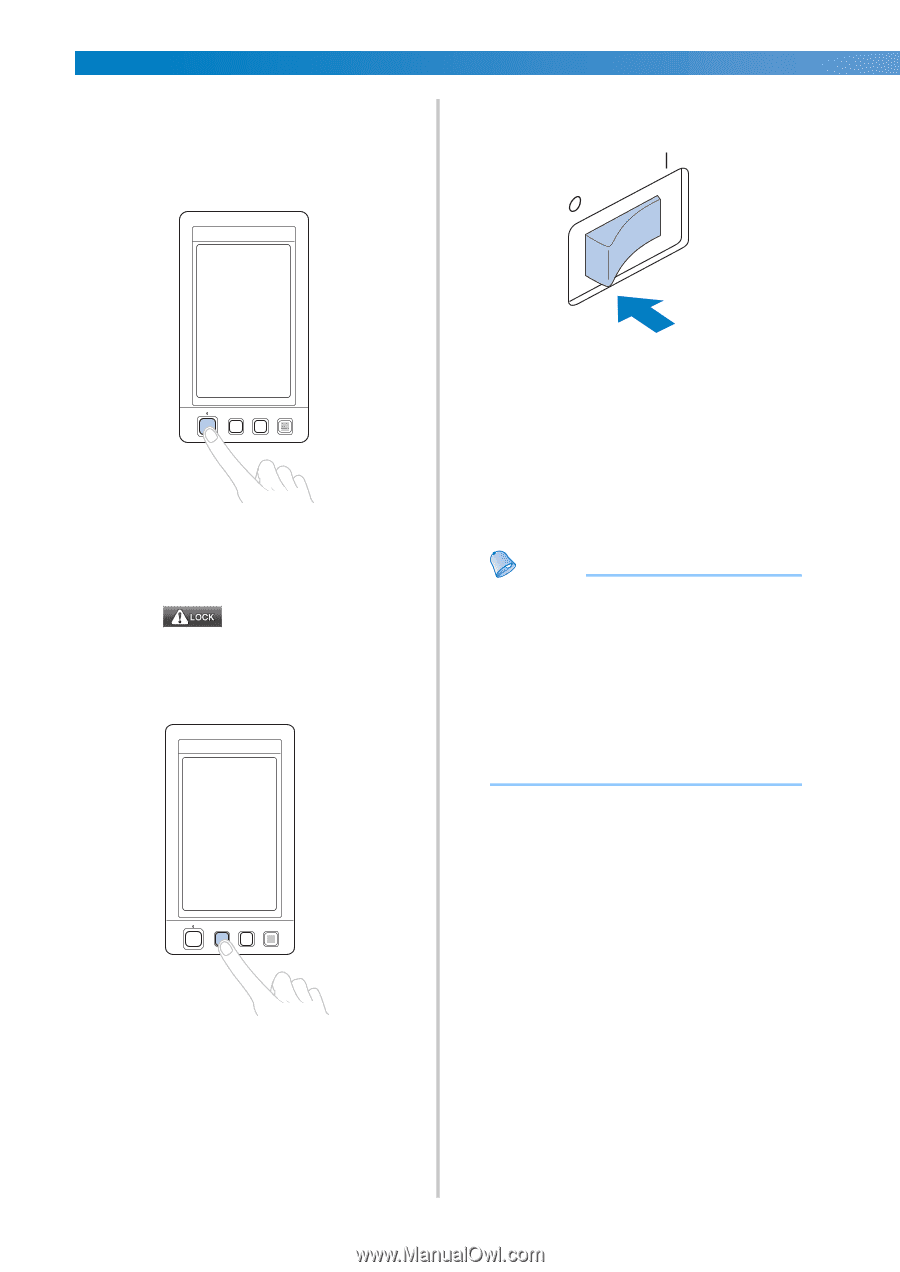
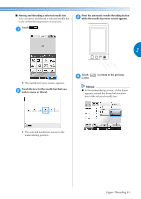
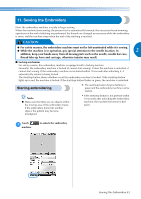
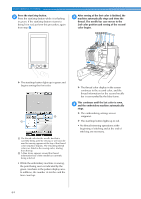
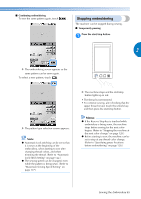
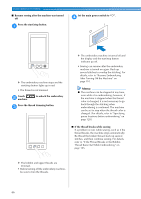
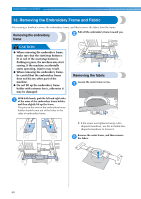
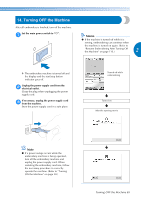
EMBROIDERING TUTORIAL ■ Resume sewing after the machine was turned off Set the main power switch to "{". 4 Press the start/stop button. 1 X The embroidery machine stops and the start/stop button lights up in red. • The thread is not trimmed. Touch 2 machine. to unlock the embroidery Press the thread trimming button. 3 X The embroidery machine is turned off and the display and the start/stop button indicator go off. • Sewing can resume after the embroidery machine is turned on again. Back up several stitches to overlap the stitching. For details, refer to "Resume Embroidering After Turning Off the Machine" on page 110. Memo ● The machine can be stopped at any time, even while it is embroidering; however, if the machine is stopped when the thread color is changed, it is not necessary to go back through the stitching when embroidering is continued. The machine can be set to stop when the thread color is changed. (For details, refer to "Specifying pause locations before embroidering" on page 128.) ■ If the thread breaks while sewing If a problem occurs while sewing, such as if the thread breaks, the machine stops automatically. Re-thread the broken thread, back up several stitches, and then continue sewing. For details, refer to "If the Thread Breaks or the Bobbin Thread Runs Out While Embroidering" on page 105. X The bobbin and upper threads are trimmed. • Before turning off the embroidery machine, be sure to trim the threads. 66
-
 1
1 -
2
-
3
-
4
-
5
-
6
-
7
-
8
-
9
-
10
-
11
-
12
-
13
-
14
-
15
-
16
-
17
-
18
-
19
-
20
-
21
-
22
-
23
-
24
-
25
-
26
-
27
-
28
-
29
-
30
-
31
-
32
-
33
-
34
-
35
-
36
-
37
-
38
-
39
-
40
-
41
-
42
-
43
-
44
-
45
-
46
-
47
-
48
-
49
-
50
-
51
-
52
-
53
-
54
-
55
-
56
-
57
-
58
-
59
-
60
-
61
-
62
-
 63
63 -
 64
64 -
 65
65 -
 66
66 -
 67
67 -
 68
68 -
 69
69 -
 70
70 -
 71
71 -
 72
72 -
 73
73 -
74
-
75
-
76
-
77
-
78
-
79
-
80
-
81
-
82
-
83
-
84
-
85
-
86
-
87
-
88
-
89
-
90
-
91
-
92
-
93
-
94
-
95
-
96
-
97
-
98
-
99
-
100
-
101
-
102
-
103
-
104
-
105
-
106
-
107
-
108
-
109
-
110
-
111
-
112
-
113
-
114
-
115
-
116
-
117
-
118
-
119
-
120
-
121
-
122
-
123
-
124
-
125
-
126
-
127
-
128
-
129
-
130
-
131
-
132
-
133
-
134
-
135
-
136
-
137
-
138
-
139
-
140
-
141
-
142
-
143
-
144
-
145
-
146
-
147
-
148
-
149
-
150
-
151
-
152
-
153
-
154
-
155
-
156
-
157
-
158
-
159
-
160
-
161
-
162
-
163
-
164
-
165
-
166
-
167
-
168
-
169
-
170
-
171
-
172
-
173
-
174
-
175
-
176
-
177
-
178
-
179
-
180
-
181
-
182
-
183
-
184
-
185
-
186
-
187
-
188
-
189
-
190
-
191
-
192
-
193
-
194
-
195
-
196
-
197
-
198
-
199
-
200
-
201
-
202
-
203
-
204
-
205
-
206
-
207
-
208
-
209
-
210
-
211
-
212
-
213
-
214
-
215
-
216
-
217
-
218
-
219
-
220
-
221
-
222
-
223
-
224
-
225
-
226
-
227
-
228
-
229
-
230
-
231
-
232
-
233
-
234
-
235
-
236
-
237
-
238
-
239
-
240
-
241
-
242
-
243
-
244
-
245
-
246
-
247
-
248
-
249
-
250
-
251
-
252
-
253
-
254
-
255
-
256
-
257
-
258
-
259
-
260
-
261
-
262
-
263
-
264
-
265
-
266
-
267
-
268
-
269
-
270
-
271
-
272
-
273
-
274
-
275
-
276
-
277
-
278
-
279
-
280
 |
 |