Brother International HL-2270DW Quick Setup Guide - English - Page 20
Next., Network Key, Confirm Network Key, Refresh, Advanced, Name SSID, Cancel, Change IP, Address - user manual
 |
UPC - 012502626749
View all Brother International HL-2270DW manuals
Add to My Manuals
Save this manual to your list of manuals |
Page 20 highlights
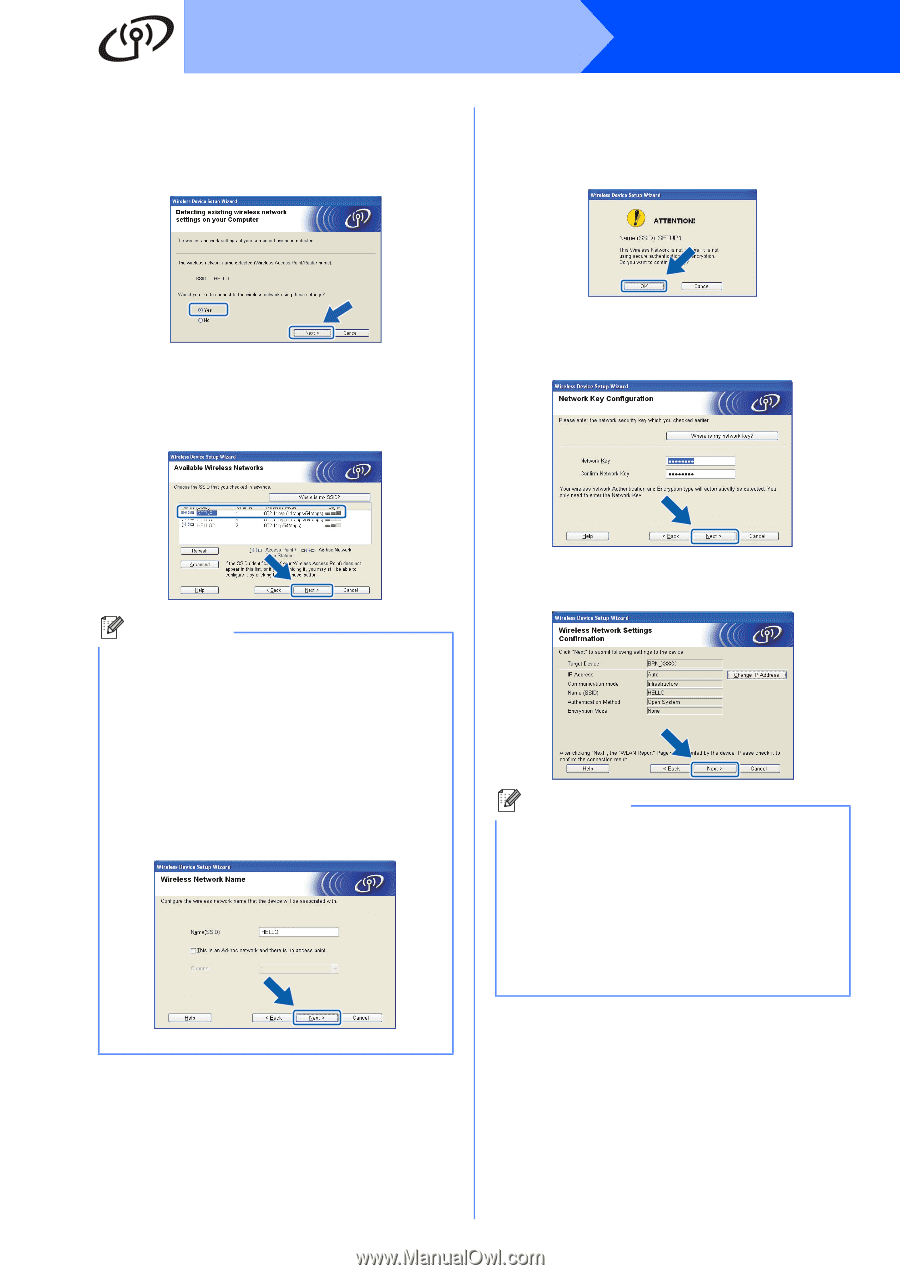
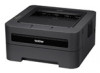
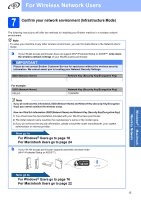
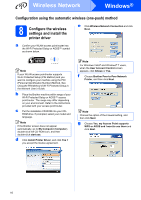
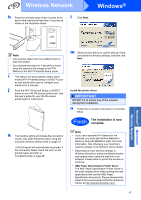
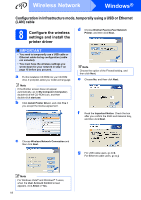
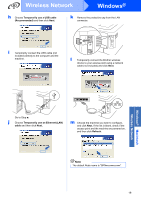
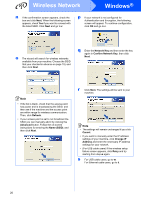
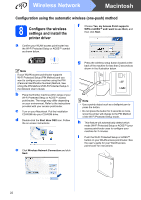
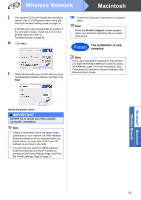
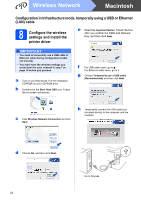
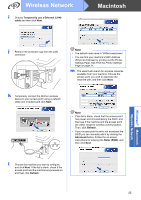
Wireless Network Windows® n If the confirmation screen appears, check the box and click Next. When the following screen appears, check Yes if you want to connect with the listed SSID. Click Next and go to r. p If your network is not configured for Authentication and Encryption, the following screen will appear. To continue configuration, click OK and go to r. o The wizard will search for wireless networks available from your machine. Choose the SSID that your checked in advance on page 15), and then click Next. q Enter the Network Key and then enter the key again in Confirm Network Key, then click Next. Note • If the list is blank, check that the access point has power and is broadcasting the SSID, and then see if the machine and the access point are within range for wireless communication. Then, click Refresh. • If your access point is set to not broadcast the SSID you can manually add it by clicking the Advanced button. Follow the on-screen instructions for entering the Name (SSID), and then click Next. r Click Next. The settings will be sent to your machine. Note • The settings will remain unchanged if you click Cancel. • If you want to manually enter the IP address settings of your machine, click Change IP Address and enter the necessary IP address settings for your network. • (For USB cable users) If the wireless setup failure screen appears, click Retry and try starting from step o again. s For USB cable users, go to w. For Ethernet cable users, go to t. 20
-
 1
1 -
2
-
3
-
4
-
5
-
6
-
7
-
8
-
9
-
10
-
11
-
12
-
13
-
14
-
 15
15 -
 16
16 -
 17
17 -
 18
18 -
 19
19 -
 20
20 -
 21
21 -
 22
22 -
 23
23 -
 24
24 -
 25
25 -
26
-
27
-
28
-
29
-
30
-
31
-
32
-
33
-
34
-
35
 |
 |