Brother International IntelliFax-1270 Users Manual - English - Page 30
Setting Station ID, Entering Text, ENTER DAY:XX, ENTER TIME:XX:XX
 |
View all Brother International IntelliFax-1270 manuals
Add to My Manuals
Save this manual to your list of manuals |
Page 30 highlights
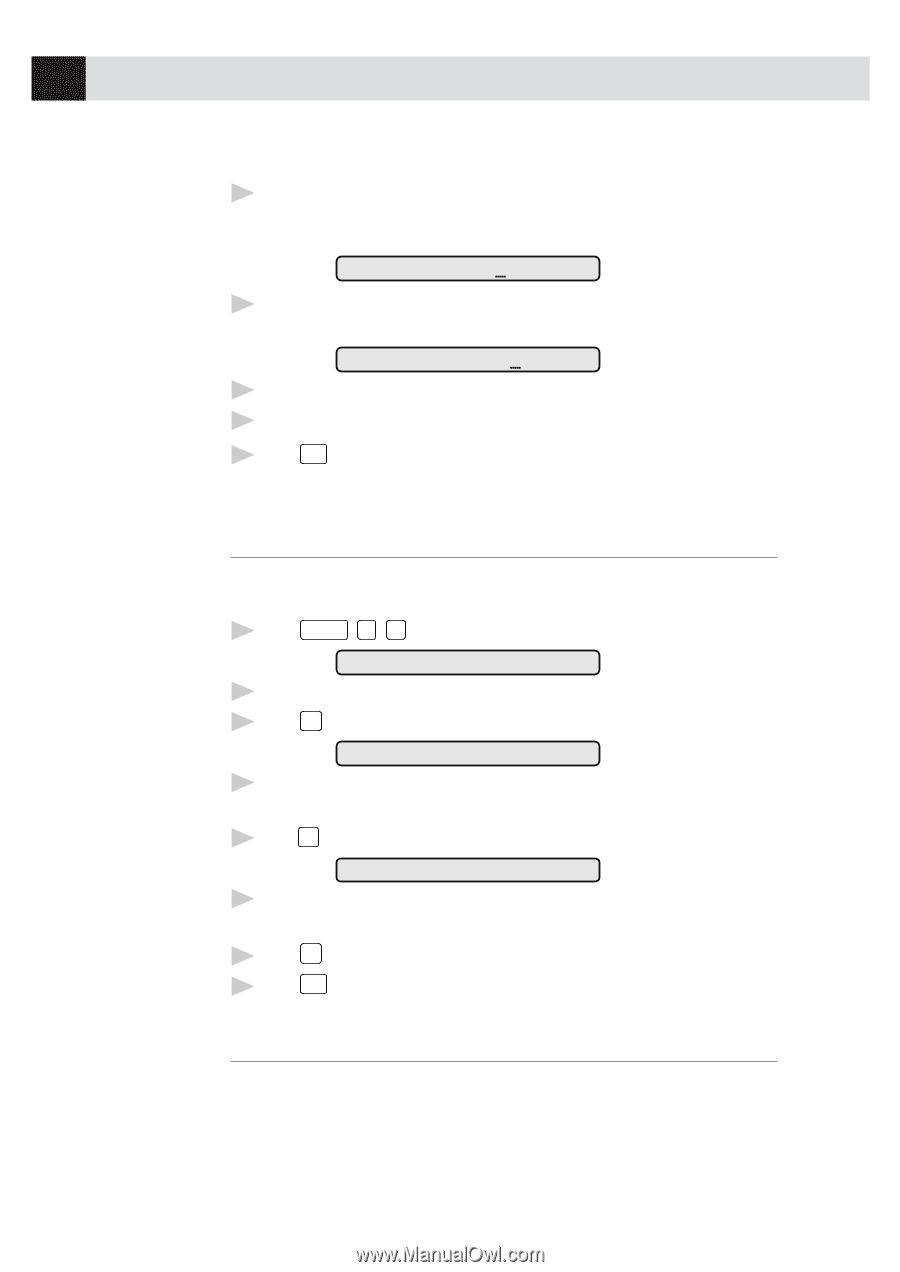
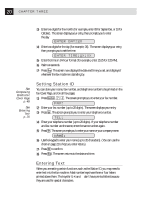
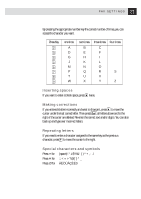
20 CHAPTER THREE 3 Enter two digits for the month (for example, enter 09 for September, or 10 for October). The screen displays your entry, then prompts you to enter the day. ENTER DAY:XX 4 Enter two digits for the day (for example, 06). The screen displays your entry, then prompts you to set the time. ENTER TIME:XX:XX 5 Enter the time in 24-hour format (for example, enter 15:25 for 3:25 PM). 6 Wait two seconds. 7 Press Stop . The screen now displays the date and time you set, and displays it whenever the fax machine is standing by. See Composing Electronic Cover Page p. 48 See Entering Text p. 20 Setting Station ID You can store your name, fax number, and telephone number to be printed on the fax Cover Page, and on all fax pages. 1 Press Function , 7 , 4 . The screen prompts you to enter your fax number. FAX: 2 Enter your fax number (up to 20 digits). The screen displays your entry. 3 Press Set . The screen prompts you to enter your telephone number. TEL: 4 Enter your telephone number (up to 20 digits). If your telephone number and fax number are the same, enter the same number again. 5 Press Set . The screen prompts you to enter your name or your company name. NAME: 6 Use the keypad to enter your name (up to 20 characters). (You can use the chart on page 21 to help you enter letters.) 7 Press Set to confirm. 8 Press Stop . The screen returns to the date and time. Entering Text When you are setting certain functions, such as the Station ID, you may need to enter text into the fax machine. Most number keys have three or four letters printed above them. The keys for 0, #, and F don't have printed letters because they are used for special characters.
-
 1
1 -
2
-
3
-
4
-
5
-
6
-
7
-
8
-
9
-
10
-
11
-
12
-
13
-
14
-
15
-
16
-
17
-
18
-
19
-
20
-
21
-
22
-
23
-
24
-
 25
25 -
 26
26 -
 27
27 -
 28
28 -
 29
29 -
 30
30 -
 31
31 -
 32
32 -
 33
33 -
 34
34 -
 35
35 -
36
-
37
-
38
-
39
-
40
-
41
-
42
-
43
-
44
-
45
-
46
-
47
-
48
-
49
-
50
-
51
-
52
-
53
-
54
-
55
-
56
-
57
-
58
-
59
-
60
-
61
-
62
-
63
-
64
-
65
-
66
-
67
-
68
-
69
-
70
-
71
-
72
-
73
-
74
-
75
-
76
-
77
-
78
-
79
-
80
-
81
-
82
-
83
-
84
-
85
-
86
-
87
-
88
-
89
-
90
-
91
-
92
-
93
-
94
-
95
-
96
-
97
-
98
-
99
 |
 |