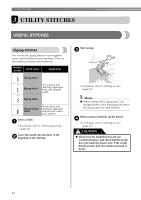
Brother International LS-2125i Users Manual - English - Page 37
Darning - darning foot
 |
UPC - 012502615293
View all Brother International LS-2125i manuals
Add to My Manuals
Save this manual to your list of manuals |
Page 37 highlights
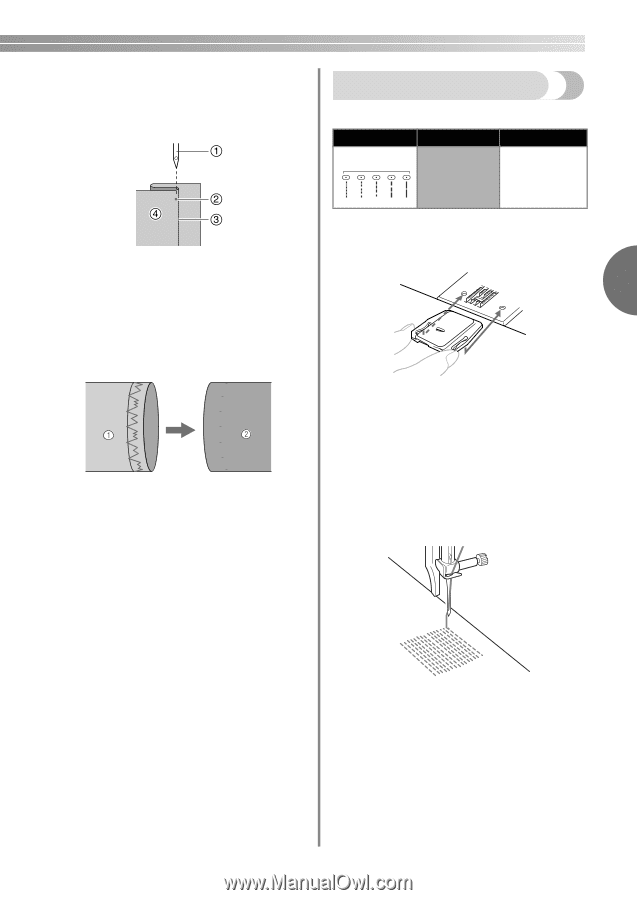
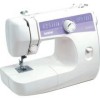
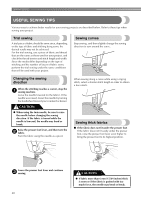
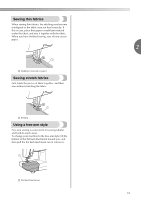
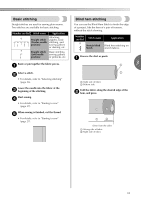
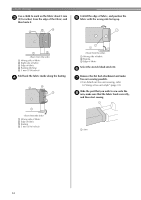
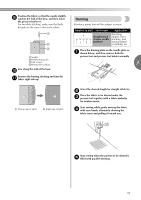
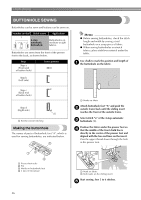
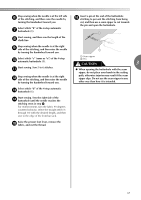
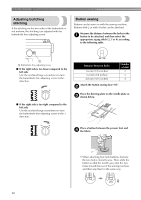
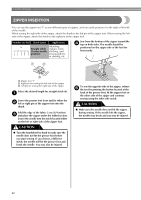
Position the fabric so that the needle slightly i catches the fold of the hem, and then lower the presser foot lever. For invisible stitching, make sure that both threads are the same color as the fabric. aNeedle bNeedle drop point cFold of hem dWrong side of fabric Sew along the fold of the hem. j Remove the basting stitching and turn the k fabric right side up. Darning Reinforce points that will be subject to strain. Number on dial Stitch name 6 Straight stitch (Center needle position) Application Attaching zippers, basic stitching, and sewing gathers or darning, etc. Place the darning plate on the needle plate as a shown below, and then remove both the presser foot and presser foot holder assembly. 3 a Wrong side of fabric b Right side of fabric Select the desired length for straight stitch (6). b Place the fabric to be darned under the c presser foot together with a fabric underlay for reinforcement. Start sewing while gently moving the fabric d with your hands, alternately drawing the fabric away and pulling it toward you. Stop sewing when the portion to be darned is e filled with parallel stitching. 35
-
 1
1 -
2
-
3
-
4
-
5
-
6
-
7
-
8
-
9
-
10
-
11
-
12
-
13
-
14
-
15
-
16
-
17
-
18
-
19
-
20
-
21
-
22
-
23
-
24
-
25
-
26
-
27
-
28
-
29
-
30
-
31
-
 32
32 -
 33
33 -
 34
34 -
 35
35 -
 36
36 -
 37
37 -
 38
38 -
 39
39 -
 40
40 -
 41
41 -
 42
42 -
43
-
44
-
45
-
46
-
47
-
48
-
49
-
50
-
51
-
52
-
53
-
54
-
55
-
56
 |
 |