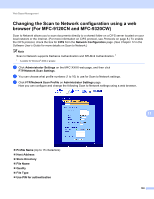
Brother International MFC-9320CW Network Users Manual - English - Page 156
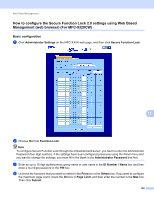
How to con the Secure Function Lock 2.0 settings using Web Based Management (web browser) (For MFC-9320CW), Basic configuration
 |
UPC - 012502622406
View all Brother International MFC-9320CW manuals
Add to My Manuals
Save this manual to your list of manuals |
Page 156 highlights
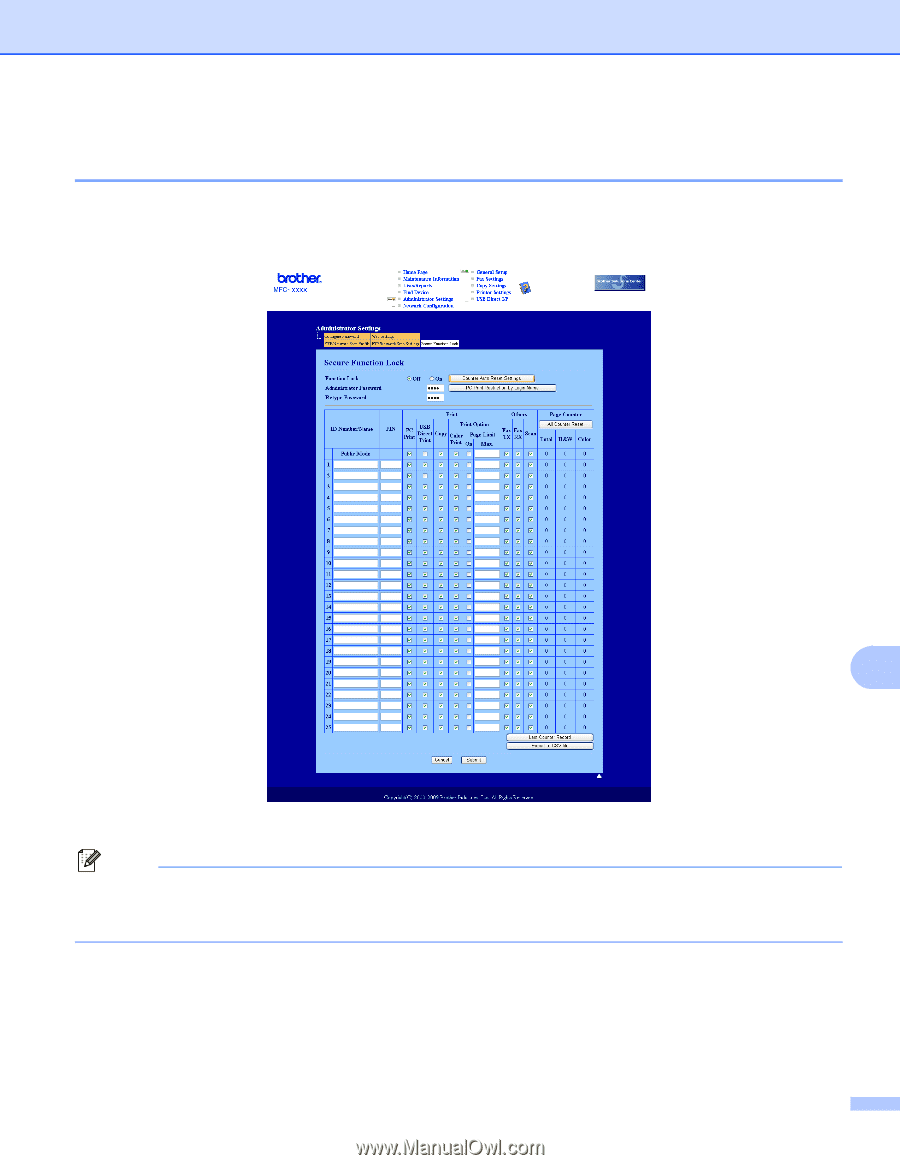
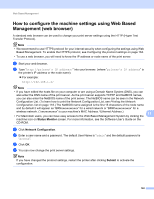
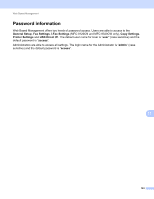
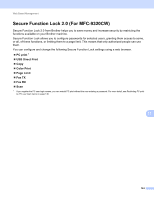
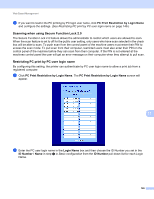
Web Based Management How to configure the Secure Function Lock 2.0 settings using Web Based Management (web browser) (For MFC-9320CW) 11 Basic configuration 11 a Click Administrator Settings on the MFC-XXXX web page, and then click Secure Function Lock. 11 b Choose On from Function Lock. Note To configure Secure Function Lock through the embedded web server, you have to enter the Administrator Password (four digit number). If the settings have been configured previously using the Panel menu and you want to change the settings, you must fill in the blank in the Administrator Password box first. c Enter an up to 15 digit alphanumeric group name or user name in the ID Number / Name box and then enter a four-digit password in the PIN box. d Uncheck the functions that you want to restrict in the Print box or the Others box. If you want to configure the maximum page count, check the On box in Page Limit, and then enter the number in the Max box. Then click Submit. 145
-
 1
1 -
2
-
3
-
4
-
5
-
6
-
7
-
8
-
9
-
10
-
11
-
12
-
13
-
14
-
15
-
16
-
17
-
18
-
19
-
20
-
21
-
22
-
23
-
24
-
25
-
26
-
27
-
28
-
29
-
30
-
31
-
32
-
33
-
34
-
35
-
36
-
37
-
38
-
39
-
40
-
41
-
42
-
43
-
44
-
45
-
46
-
47
-
48
-
49
-
50
-
51
-
52
-
53
-
54
-
55
-
56
-
57
-
58
-
59
-
60
-
61
-
62
-
63
-
64
-
65
-
66
-
67
-
68
-
69
-
70
-
71
-
72
-
73
-
74
-
75
-
76
-
77
-
78
-
79
-
80
-
81
-
82
-
83
-
84
-
85
-
86
-
87
-
88
-
89
-
90
-
91
-
92
-
93
-
94
-
95
-
96
-
97
-
98
-
99
-
100
-
101
-
102
-
103
-
104
-
105
-
106
-
107
-
108
-
109
-
110
-
111
-
112
-
113
-
114
-
115
-
116
-
117
-
118
-
119
-
120
-
121
-
122
-
123
-
124
-
125
-
126
-
127
-
128
-
129
-
130
-
131
-
132
-
133
-
134
-
135
-
136
-
137
-
138
-
139
-
140
-
141
-
142
-
143
-
144
-
145
-
146
-
147
-
148
-
149
-
150
-
 151
151 -
 152
152 -
 153
153 -
 154
154 -
 155
155 -
 156
156 -
 157
157 -
 158
158 -
 159
159 -
 160
160 -
 161
161 -
162
-
163
-
164
-
165
-
166
-
167
-
168
-
169
-
170
-
171
-
172
-
173
-
174
-
175
-
176
-
177
-
178
-
179
-
180
-
181
-
182
-
183
-
184
-
185
-
186
-
187
-
188
-
189
-
190
-
191
-
192
-
193
-
194
-
195
-
196
-
197
-
198
-
199
-
200
-
201
-
202
-
203
-
204
-
205
-
206
-
207
-
208
-
209
-
210
-
211
-
212
-
213
-
214
-
215
-
216
-
217
-
218
-
219
-
220
-
221
-
222
-
223
-
224
-
225
-
226
-
227
-
228
-
229
-
230
-
231
-
232
-
233
-
234
-
235
-
236
-
237
-
238
-
239
-
240
-
241
-
242
-
243
-
244
-
245
-
246
-
247
-
248
-
249
 |
 |