Brother International MFC-J5910DW Network Users Manual - English - Page 19
Wireless LAN Setup Wizard, Available Wireless Networks - set up wireless
 |
View all Brother International MFC-J5910DW manuals
Add to My Manuals
Save this manual to your list of manuals |
Page 19 highlights
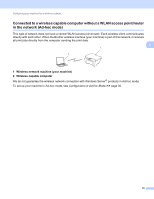
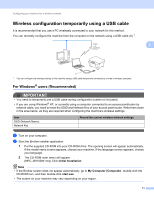
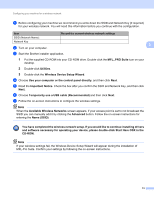
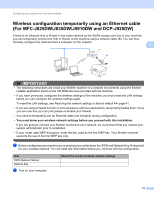
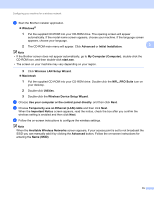
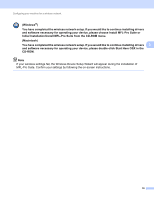
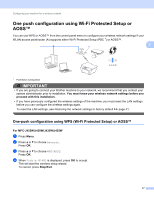
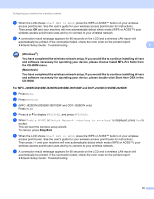
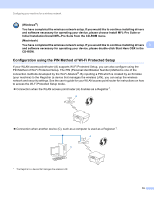
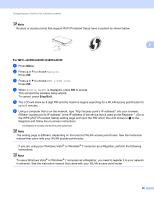
Configuring your machine for a wireless network c Start the Brother installer application. Windows® 1 Put the supplied CD-ROM into your CD-ROM drive. The opening screen will appear automatically. If the model name screen appears, choose your machine. If the language screen appears, choose your language. 2 The CD-ROM main menu will appear. Click Advanced or Initial Installation. 3 Note • If the Brother screen does not appear automatically, go to My Computer (Computer), double-click the CD-ROM icon, and then double-click start.exe. • The screen on your machine may vary depending on your region. 3 Click Wireless LAN Setup Wizard. Macintosh 1 Put the supplied CD-ROM into your CD-ROM drive. Double-click the MFL_PRO Suite icon on your desktop. 2 Double-click Utilities. 3 Double-click the Wireless Device Setup Wizard. d Choose Use your computer or the control panel directly. and then click Next. e Choose Temporarily use an Ethernet (LAN) cable and then click Next. When the Important Notice screen appears, read the notice, check the box after you confirm the wireless setting is enabled and then click Next. f Follow the on-screen instructions to configure the wireless settings. Note When the Available Wireless Networks screen appears, if your access point is set to not broadcast the SSID you can manually add it by clicking the Advanced button. Follow the on-screen instructions for entering the Name (SSID). 15
-
 1
1 -
2
-
3
-
4
-
5
-
6
-
7
-
8
-
9
-
10
-
11
-
12
-
13
-
 14
14 -
 15
15 -
 16
16 -
 17
17 -
 18
18 -
 19
19 -
 20
20 -
 21
21 -
 22
22 -
 23
23 -
 24
24 -
25
-
26
-
27
-
28
-
29
-
30
-
31
-
32
-
33
-
34
-
35
-
36
-
37
-
38
-
39
-
40
-
41
-
42
-
43
-
44
-
45
-
46
-
47
-
48
-
49
-
50
-
51
-
52
-
53
-
54
-
55
-
56
-
57
-
58
-
59
-
60
-
61
-
62
-
63
-
64
-
65
-
66
-
67
-
68
-
69
-
70
-
71
-
72
-
73
-
74
-
75
-
76
-
77
-
78
-
79
-
80
-
81
-
82
-
83
-
84
-
85
 |
 |