Brother International MFC-J5910DW Network Users Manual - English - Page 75
Sending an E-mail securely, Configuration using Web Based Management (web browser)
 |
View all Brother International MFC-J5910DW manuals
Add to My Manuals
Save this manual to your list of manuals |
Page 75 highlights
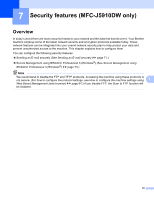
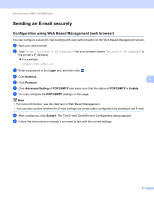
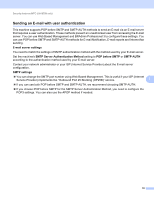
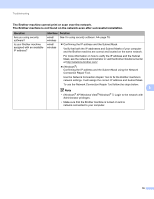
Security features (MFC-J5910DW only) Sending an E-mail securely 7 Configuration using Web Based Management (web browser) 7 You can configure secured E-mail sending with user authentication on the Web Based Management screen. a Start your web browser. b Type "http://printer's IP address/" into your browser (where "printer's IP address" is the printer's IP address). For example: http://192.168.1.2/ c Enter a password in the Login box, and then click . d Click Network. 7 e Click Protocol. f Click Advanced Setting of POP3/SMTP and make sure that the status of POP3/SMTP is Enable. g You can configure the POP3/SMTP settings on this page. Note • For more information, see the Help text in Web Based Management. • You can also confirm whether the E-mail settings are correct after configuration by sending a test E-mail. h After configuring, click Submit. The Test E-mail Send/Receive Configuration dialog appears. i Follow the instructions on-screen if you want to test with the current settings. 71
-
 1
1 -
2
-
3
-
4
-
5
-
6
-
7
-
8
-
9
-
10
-
11
-
12
-
13
-
14
-
15
-
16
-
17
-
18
-
19
-
20
-
21
-
22
-
23
-
24
-
25
-
26
-
27
-
28
-
29
-
30
-
31
-
32
-
33
-
34
-
35
-
36
-
37
-
38
-
39
-
40
-
41
-
42
-
43
-
44
-
45
-
46
-
47
-
48
-
49
-
50
-
51
-
52
-
53
-
54
-
55
-
56
-
57
-
58
-
59
-
60
-
61
-
62
-
63
-
64
-
65
-
66
-
67
-
68
-
69
-
 70
70 -
 71
71 -
 72
72 -
 73
73 -
 74
74 -
 75
75 -
 76
76 -
 77
77 -
 78
78 -
 79
79 -
 80
80 -
81
-
82
-
83
-
84
-
85
 |
 |