Brother International MFC-J625DW Quick Setup Guide - English - Page 2
Load plain Letter/A4, paper - ink cartridge
 |
View all Brother International MFC-J625DW manuals
Add to My Manuals
Save this manual to your list of manuals |
Page 2 highlights
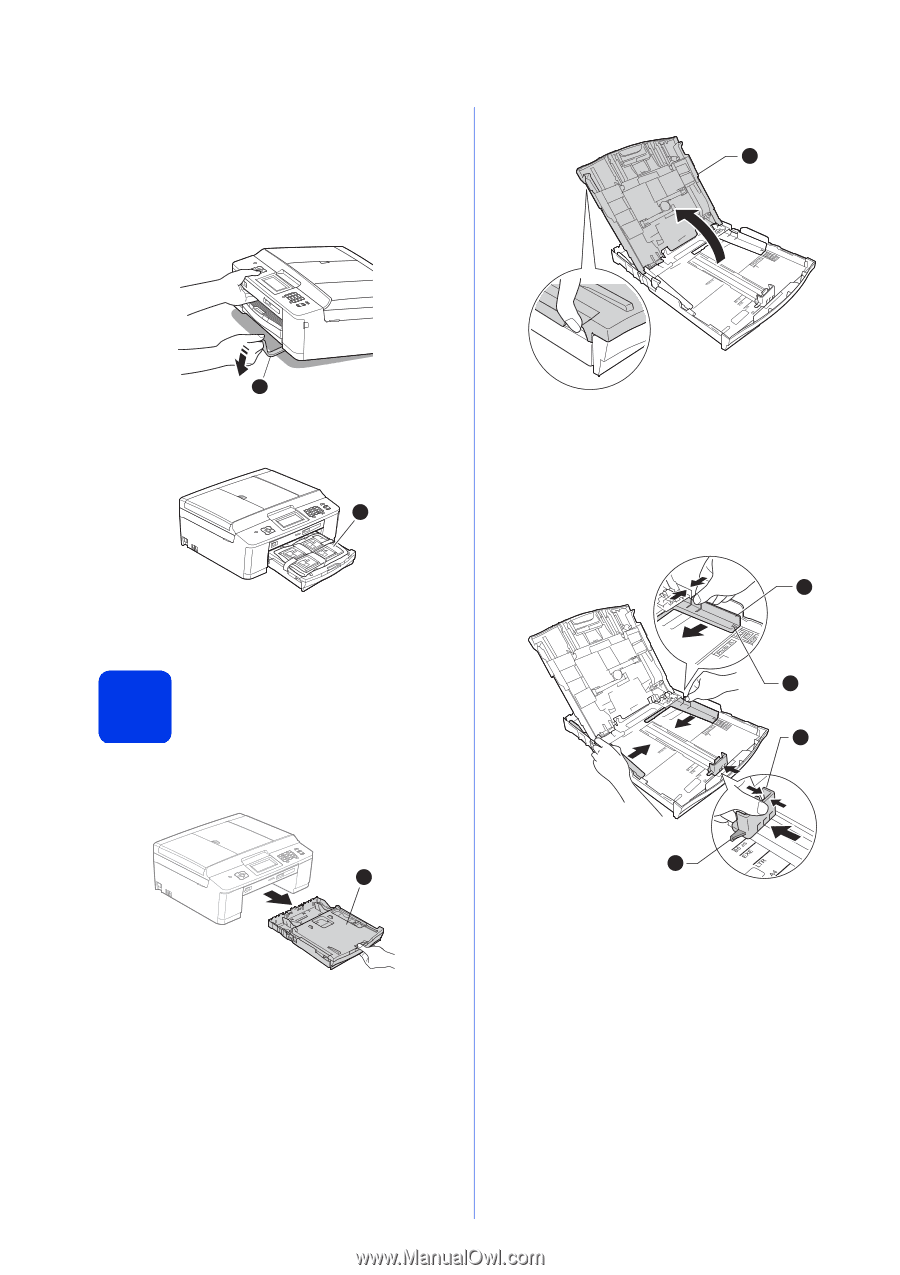
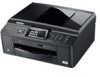
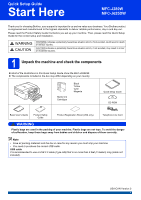
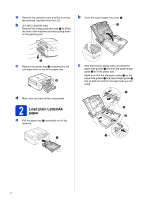
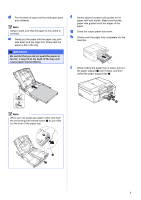
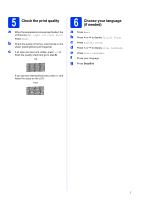
a Remove the protective tape and film covering the machine, and also from the LCD. b (For MFC-J625DW only) Remove the orange protective part a by lifting the front of the machine and then pulling down on the packing part. b Open the output paper tray cover a. 1 1 c Remove the plastic bag b containing the ink cartridges from on top of the paper tray. 2 d Make sure you have all the components. 2 Load plain Letter/A4 paper a Pull the paper tray a completely out of the machine. c With both hands, gently press and slide the paper side guides a and then the paper length guide b to fit the paper size. Make sure that the triangular marks c on the paper side guides a and paper length guide b line up with the mark for the paper size you are using. 1 3 2 3 1 2
-
 1
1 -
 2
2 -
 3
3 -
 4
4 -
 5
5 -
 6
6 -
 7
7 -
 8
8 -
9
-
10
-
11
-
12
-
13
-
14
-
15
-
16
-
17
-
18
-
19
-
20
-
21
-
22
-
23
-
24
-
25
-
26
-
27
-
28
-
29
-
30
-
31
-
32
-
33
-
34
-
35
-
36
 |
 |