Brother International S-7200B Service Manual - Page 41
Adjusting the needle up stop position (When using the operation panel), become higher.
 |
View all Brother International S-7200B manuals
Add to My Manuals
Save this manual to your list of manuals |
Page 41 highlights
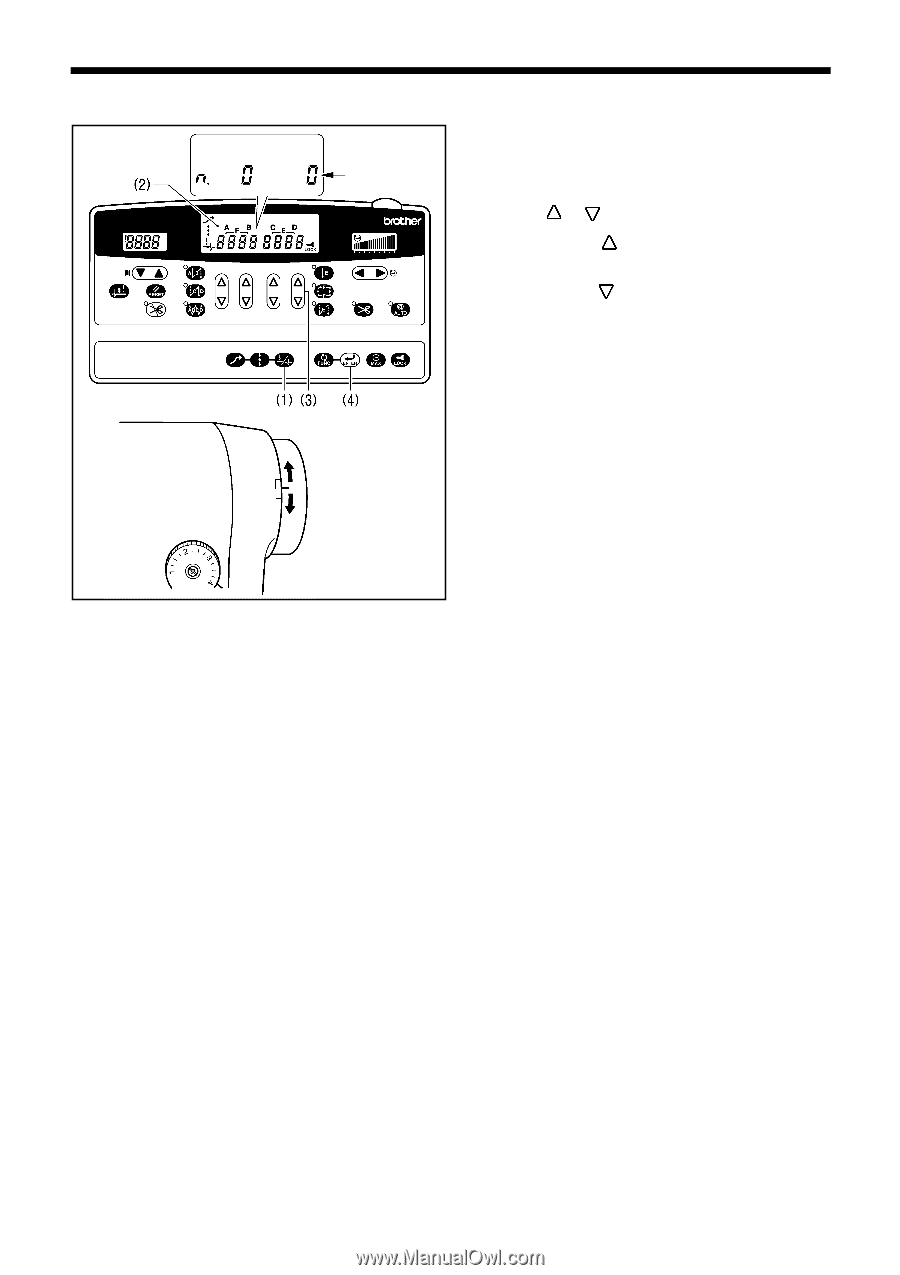
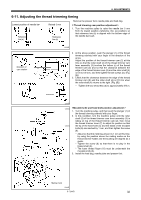
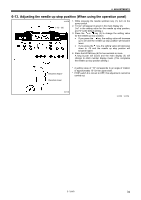
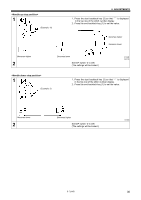
6. ADJUSTMENTS 6-13. Adjusting the needle up stop position (When using the operation panel) 2210M (-10 - 20) 1. While pressing the needle up/down key (1), turn on the power switch. 2. "n.0 xx" will appear in green in the main display (2). ("xx" is the setting value for the needle up stop position, and "0" is the default setting.) 3. Press the or key (3) to change the setting value for the needle up stop position. • If you press the key, the setting value will increase up to 20 and the needle up stop position will become lower. • If you press the key, the setting value will decrease down to -10 and the needle up stop position will become higher. 4. Press the ENTER key (4) for two seconds or more. A long buzzer will sound and the main display (2) will change to stitch number display mode. (This completes the needle up stop position setting.) Becomes higher Becomes lower * A setting value of "10" corresponds to an angle of rotation of approximately 10° for the upper shaft. * If DIP switch 3 is not set to OFF, this adjustment cannot be carried out. 3657M 2138M 2139M S-7200B 34
-
 1
1 -
2
-
3
-
4
-
5
-
6
-
7
-
8
-
9
-
10
-
11
-
12
-
13
-
14
-
15
-
16
-
17
-
18
-
19
-
20
-
21
-
22
-
23
-
24
-
25
-
26
-
27
-
28
-
29
-
30
-
31
-
32
-
33
-
34
-
35
-
 36
36 -
 37
37 -
 38
38 -
 39
39 -
 40
40 -
 41
41 -
 42
42 -
 43
43 -
 44
44 -
 45
45 -
 46
46 -
47
-
48
-
49
-
50
-
51
-
52
-
53
-
54
-
55
-
56
-
57
-
58
-
59
-
60
-
61
-
62
-
63
-
64
-
65
-
66
-
67
-
68
-
69
-
70
-
71
-
72
-
73
-
74
-
75
-
76
-
77
-
78
-
79
-
80
-
81
-
82
-
83
-
84
 |
 |