Brother International XR-40 Accessory Catalog - Page 7
Straight Stitch Needle Plate - foot
 |
View all Brother International XR-40 manuals
Add to My Manuals
Save this manual to your list of manuals |
Page 7 highlights
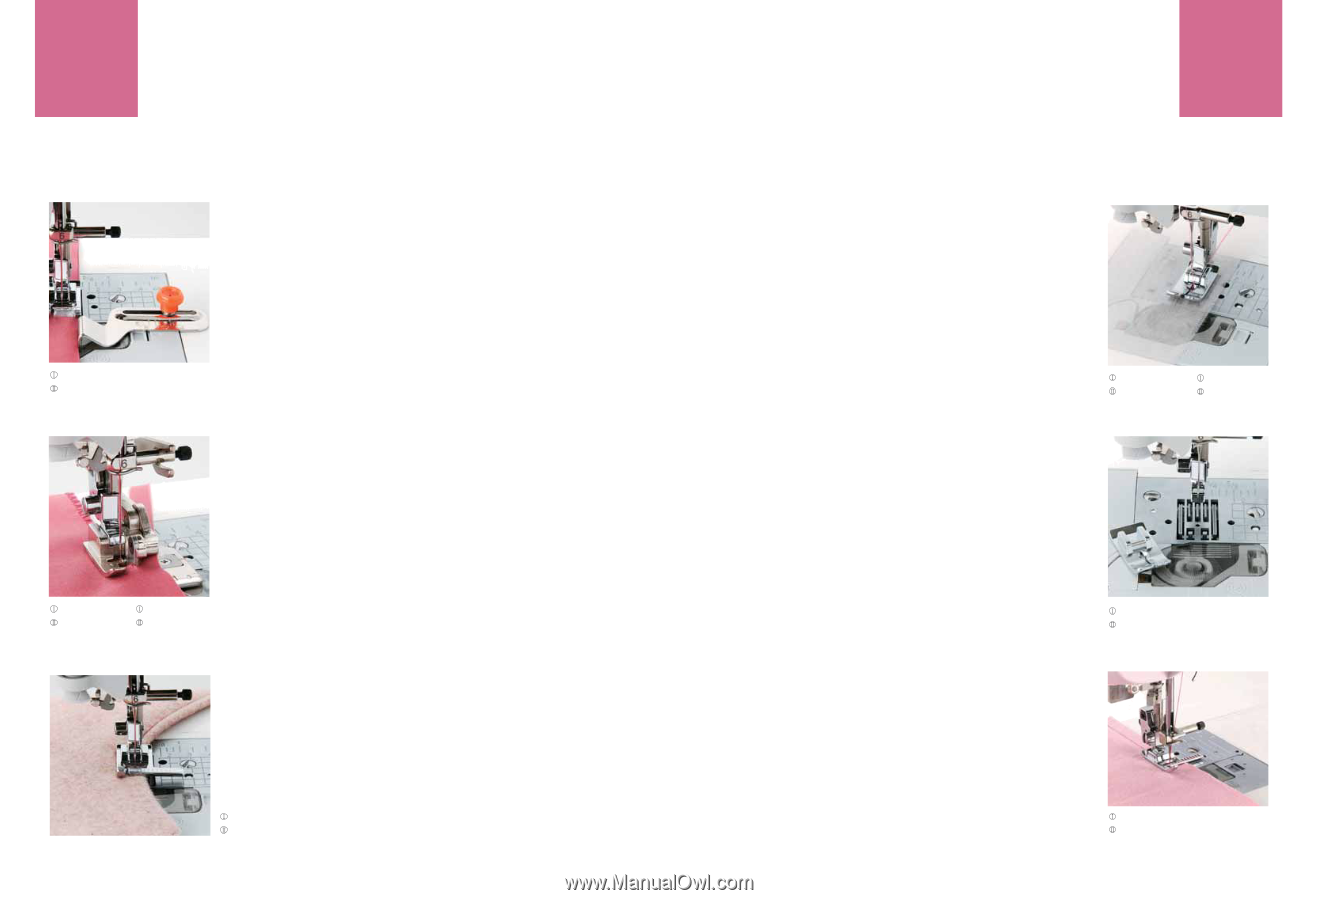
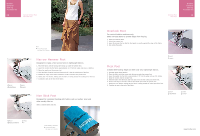
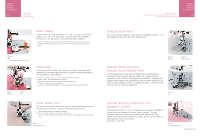
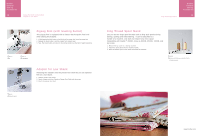
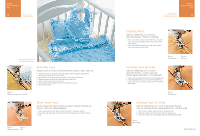
Brother General Sewing Accessories 11 Seam Guide Side Cutter Stitch Guide Foot Seam Guide Guides fabric edge with an accurate 1/4 inch, 1/2 inch, or 5/8 inch (approx. 6.5, 13, or 16 mm) seam. It can be used with all Brother presser feet. Can be used for stitching heavy fabrics together. 1. Attach the seam guide on the needle plate with the thumbscrew of the seam guide. 2. Adjust the distance and place the right edge of the fabric against the seam guide. 3. Sew. SA538 AB C:Innov-is900D/SE-350/HE-240/LB6770 SA177 ABCDEJ SA178 L Side Cutter Creates the perfect cut edge like a serger or overlock. Selecting a stitch designated for the Side Cutter allows you to create a beautiful finish without any adjustment on stitch settings. 1. Make a cut about 2 cm (3/4'') long in the seam line of the fabric. 2. Select a stitch, and adjust settings as needed. 3. Place the cut right section on the top of the foot guide plate. 4. Slip the left side under the presser foot. 5. Lower the presser foot and guide the fabric through the presser foot as it stitches. Stitch Guide Foot The scale in the presser foot can be used for perfect topstitching on both straight and curved lines. Each divisional mark equals 2 mm. 1. Select straight, zigzag, or decorative stitches. 2. Sew the stitches keeping a certain seam allowance. To sew a curve, sew so that the fabric edge becomes a right angle against the presser foot. SA160 ABCDEFGHJKLMNO Straight Stitch Foot Straight Stitch Foot and Straight Stitch Needle Plate Vertical Stitching Alignment Foot Brother General Sewing Accessories 12 Straight Stitch Foot For precise straight stitching on thin fabrics or on edges of fabrics. Use this presser foot only with the center straight stitch. SA108 GHILOP Straight Stitch Foot and Straight Stitch Needle Plate Use the Straight Stitch Foot with the Straight Stitch Needle Plate to accomplish perfect straight stitching. Helpful for straight stitching especially on thin fabrics or small pieces of patchworks. Installing the Straight Stitch Needle Plate automatically sets the needle position to the center straight stitching position on selected machines. Use this presser foot only with the center straight stitch. SA550 A SA167 ABCDEFJKMN Ver tical Stitching Alignment Foot (QuattroTM 6000D) This specially marked "V" foot is included with the QuattroTM 6000D but is also sold as an accessory for other Innov-is models. The side extension ruler on this foot lets you measure the distance from the needle to the edge of your fabric consistently. Great visibility while you add creativity to your next project! Available in Fall 2008. SA189 ABCDEFGHJKLMNO www.brother.com
-
 1
1 -
 2
2 -
 3
3 -
 4
4 -
 5
5 -
 6
6 -
 7
7 -
 8
8 -
 9
9 -
 10
10 -
 11
11 -
 12
12 -
13
-
14
-
15
-
16
-
17
-
18
-
19
-
20
-
21
-
22
-
23
-
24
-
25
-
26
-
27
-
28
-
29
-
30
-
31
-
32
-
33
-
34
-
35
-
36
-
37
-
38
-
39
-
40
-
41
 |
 |