Canon DR-3080CII User Manual - Page 25
Turning the Power On/Off - xp driver
 |
View all Canon DR-3080CII manuals
Add to My Manuals
Save this manual to your list of manuals |
Page 25 highlights
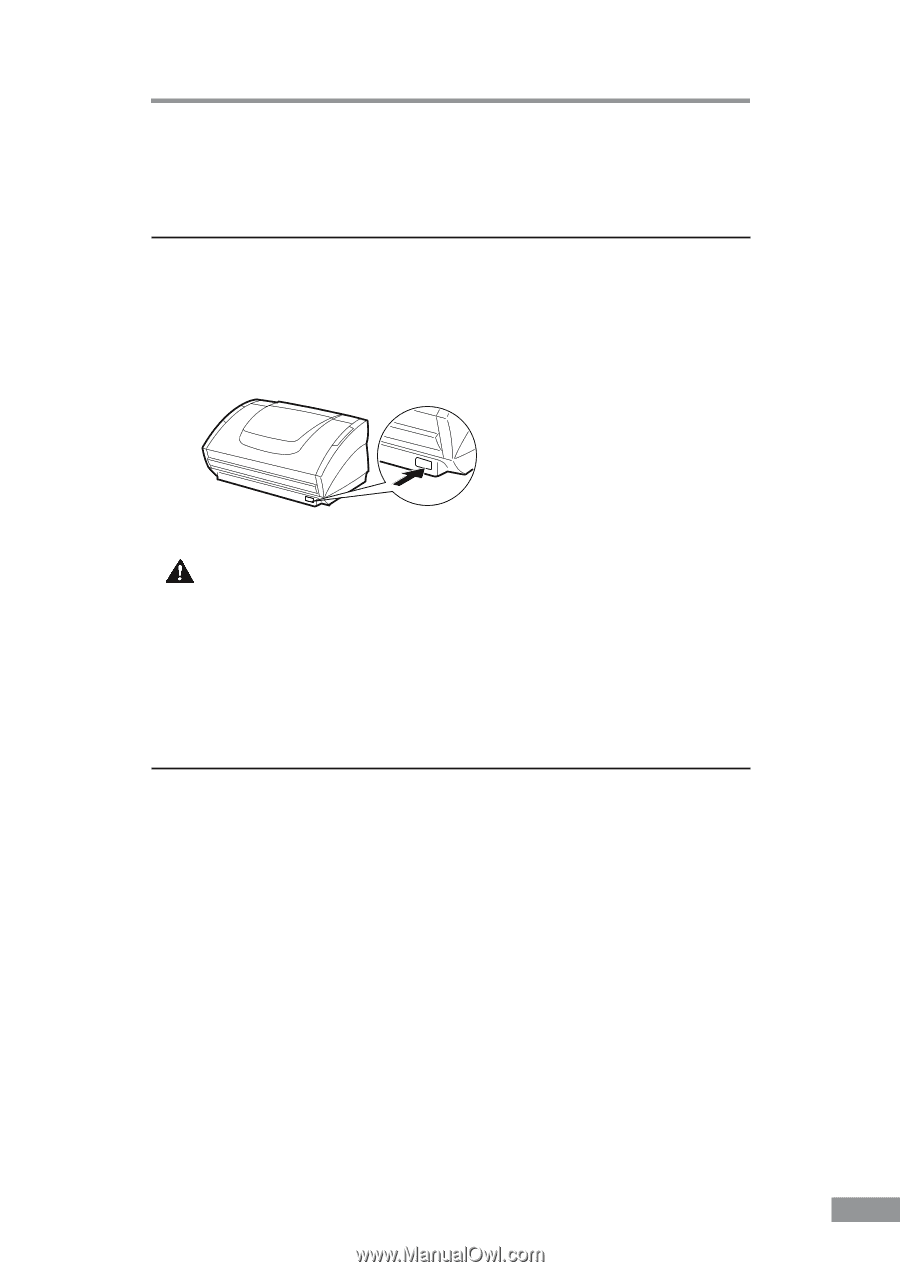
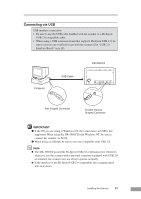
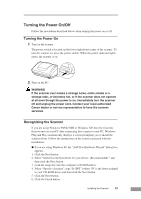
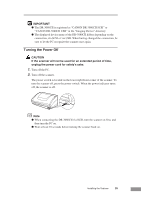
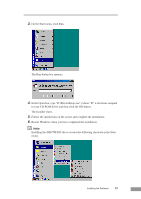
Turning the Power On/Off Follow the procedures described below when turning the power on or off. Turning the Power On 1. Turn on the scanner. The power switch is located on the lower right front corner of the scanner. To turn the scanner on, press the power switch. When the power indicator lights green, the scanner is on. 2. Turn on the PC. WARNING If the scanner ever makes a strange noise, emits smoke or a strange odor, or becomes hot, or if the scanner does not operate at all even though the power is on, immediately turn the scanner off and unplug the power cord. Contact your local authorized Canon dealer or service representative to have the scanner serviced. Recognizing the Scanner If you are using Windows 98/Me/2000 or Windows XP, then the first time that you turn on your PC after connecting this scanner to your PC, Windows Plug and Play automatically displays a screen prompting you to install the scanner driver. Follow the instructions on the screen to proceed with the installation. ● If you are using Windows 98, the "Add New Hardware Wizard" dialog box appears. 1. Click the Next button. 2. Select "Search for the best driver for your device. (Recommended)." and then click the Next button. 3. Load the setup disc into the computer's CD-ROM drive. 4. Select "Specify a location", type "D:\INF" (where "D" is the letter assigned to your CD-ROM drive) and then click the Next button. 5. Click the Next button. 6. Click the Finish button. Installing the Scanner 23
-
 1
1 -
2
-
3
-
4
-
5
-
6
-
7
-
8
-
9
-
10
-
11
-
12
-
13
-
14
-
15
-
16
-
17
-
18
-
19
-
 20
20 -
 21
21 -
 22
22 -
 23
23 -
 24
24 -
 25
25 -
 26
26 -
 27
27 -
 28
28 -
 29
29 -
 30
30 -
31
-
32
-
33
-
34
-
35
-
36
-
37
-
38
-
39
-
40
-
41
-
42
-
43
-
44
-
45
-
46
-
47
-
48
-
49
-
50
-
51
-
52
-
53
-
54
-
55
-
56
-
57
-
58
-
59
-
60
-
61
-
62
-
63
-
64
-
65
-
66
-
67
-
68
-
69
-
70
-
71
 |
 |