Canon EOS Digital Rebel XTi EF-S 18-55 Kit User Manual - Page 113
Photograph a solid-white object., About the Dust Delete Data
 |
View all Canon EOS Digital Rebel XTi EF-S 18-55 Kit manuals
Add to My Manuals
Save this manual to your list of manuals |
Page 113 highlights
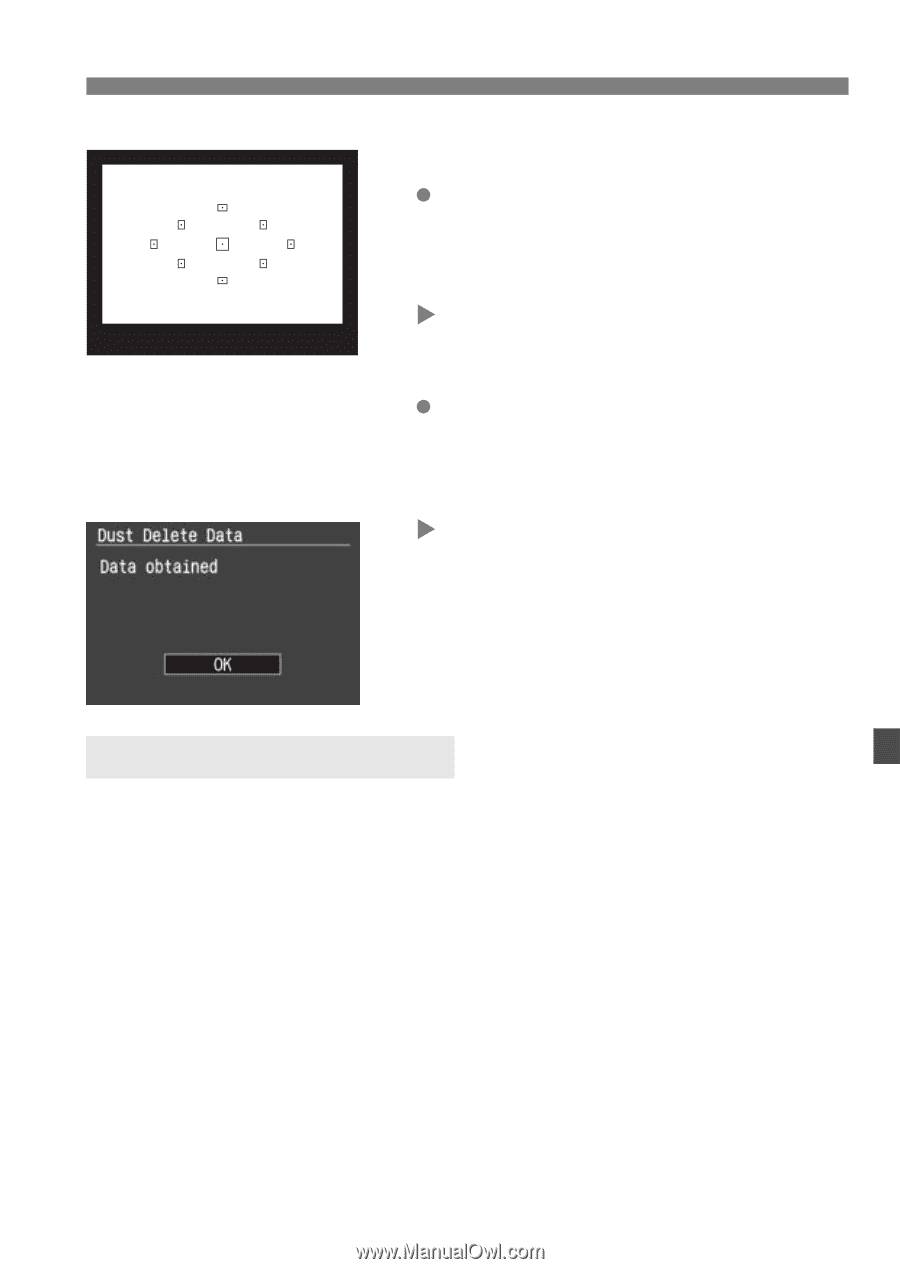
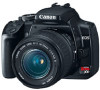
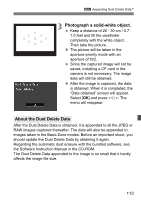
3 Appending Dust Delete DataN 3 Photograph a solid-white object. Keep a distance of 20 - 30 cm / 0.7 1.0 feet and fill the viewfinder completely with the white object. Then take the picture. X The picture will be taken in the aperture-priority mode with an aperture of f/22. Since the captured image will not be saved, installing a CF card in the camera is not necessary. The image data will still be obtained. X After the image is captured, the data is obtained. When it is completed, the "Data obtained" screen will appear. Select [OK] and press . The menu will reappear. About the Dust Delete Data After the Dust Delete Data is obtained, it is appended to all the JPEG or RAW images captured thereafter. The data will also be appended to images taken in the Basic Zone modes. Before an important shoot, you should update the Dust Delete Data by obtaining it again. Regarding the automatic dust erasure with the bundled software, see the Software Instruction Manual in the CD-ROM. The Dust Delete Data appended to the image is so small that it hardly affects the image file size. 113
-
 1
1 -
2
-
3
-
4
-
5
-
6
-
7
-
8
-
9
-
10
-
11
-
12
-
13
-
14
-
15
-
16
-
17
-
18
-
19
-
20
-
21
-
22
-
23
-
24
-
25
-
26
-
27
-
28
-
29
-
30
-
31
-
32
-
33
-
34
-
35
-
36
-
37
-
38
-
39
-
40
-
41
-
42
-
43
-
44
-
45
-
46
-
47
-
48
-
49
-
50
-
51
-
52
-
53
-
54
-
55
-
56
-
57
-
58
-
59
-
60
-
61
-
62
-
63
-
64
-
65
-
66
-
67
-
68
-
69
-
70
-
71
-
72
-
73
-
74
-
75
-
76
-
77
-
78
-
79
-
80
-
81
-
82
-
83
-
84
-
85
-
86
-
87
-
88
-
89
-
90
-
91
-
92
-
93
-
94
-
95
-
96
-
97
-
98
-
99
-
100
-
101
-
102
-
103
-
104
-
105
-
106
-
107
-
 108
108 -
 109
109 -
 110
110 -
 111
111 -
 112
112 -
 113
113 -
 114
114 -
 115
115 -
 116
116 -
 117
117 -
 118
118 -
119
-
120
-
121
-
122
-
123
-
124
-
125
-
126
-
127
-
128
-
129
-
130
-
131
-
132
-
133
-
134
-
135
-
136
-
137
-
138
-
139
-
140
-
141
-
142
-
143
-
144
-
145
-
146
-
147
-
148
-
149
-
150
-
151
-
152
-
153
-
154
-
155
-
156
-
157
-
158
-
159
-
160
-
161
-
162
-
163
-
164
-
165
-
166
-
167
-
168
-
169
-
170
-
171
-
172
-
173
-
174
-
175
-
176
-
177
-
178
-
179
-
180
 |
 |