Canon EOS Digital Rebel XTi EF-S 18-55 Kit User Manual - Page 118
Magnified View
 |
View all Canon EOS Digital Rebel XTi EF-S 18-55 Kit manuals
Add to My Manuals
Save this manual to your list of manuals |
Page 118 highlights
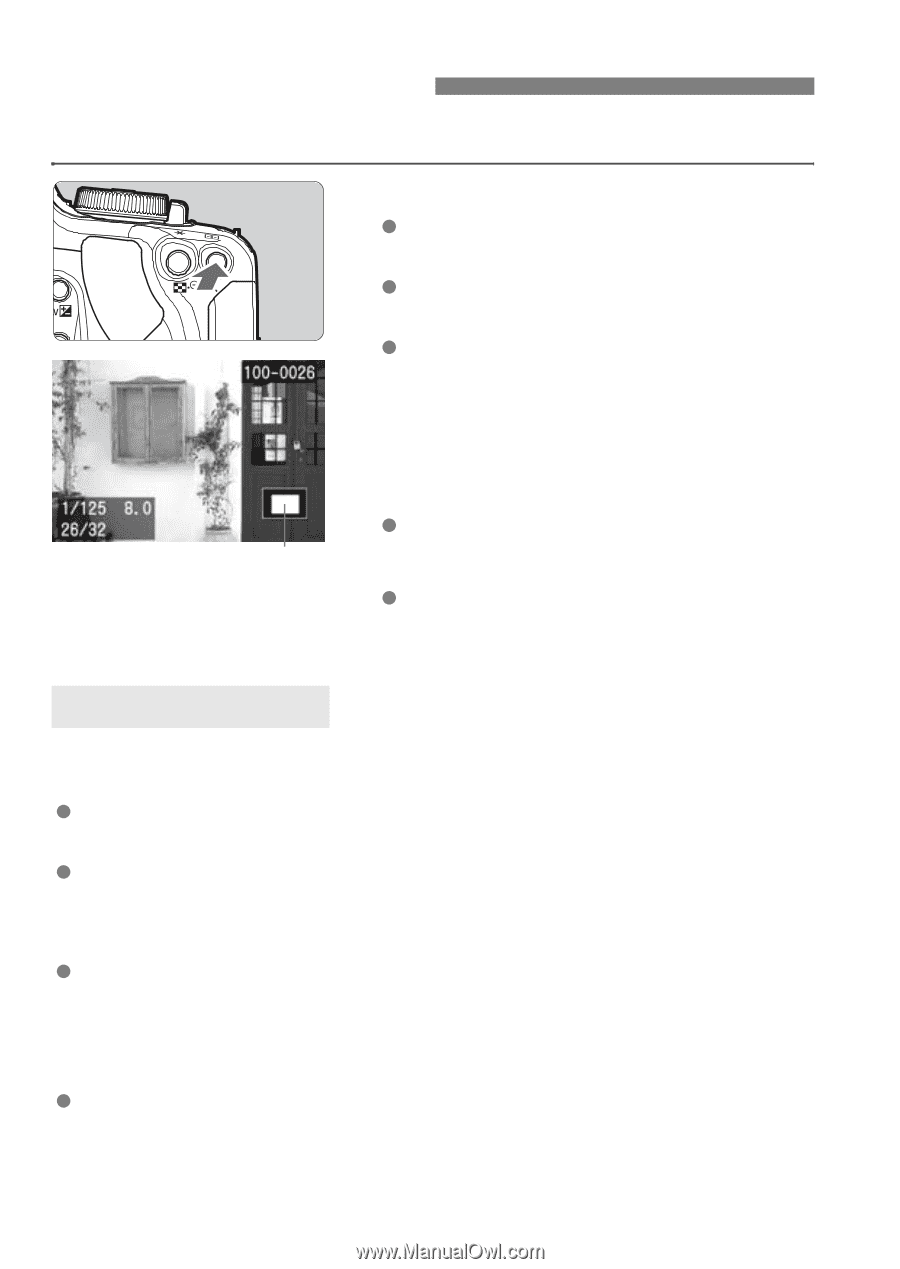
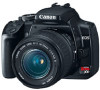
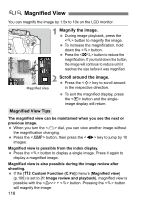
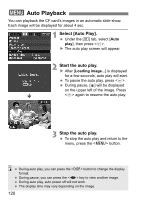
u/y Magnified View You can magnify the image by 1.5x to 10x on the LCD monitor. 1 Magnify the image. During image playback, press the button to magnify the image. To increase the magnification, hold down the button. Press the button to reduce the magnification. If you hold down the button, the image will continue to reduce until it reaches the size before it was magnified. 2 Scroll around the image. Press the key to scroll around Magnified area in the respective direction. To exit the magnified display, press the button and the singleimage display will return. Magnified View Tips The magnified view can be maintained when you see the next or previous image. When you turn the dial, you can view another image without the magnification changing. Press the button, then press the key to jump by 10 images. Magnified view is possible from the index display. Press the button to display a single image. Press it again to display a magnified image. Magnified view is also possible during the image review after shooting. If the [b Custom Function (C.Fn)] menu's [Magnified view] (p.106) is set to [1: Image review and playback], magnified view is possible with the + button. Pressing the button will magnify the image. 118
-
 1
1 -
2
-
3
-
4
-
5
-
6
-
7
-
8
-
9
-
10
-
11
-
12
-
13
-
14
-
15
-
16
-
17
-
18
-
19
-
20
-
21
-
22
-
23
-
24
-
25
-
26
-
27
-
28
-
29
-
30
-
31
-
32
-
33
-
34
-
35
-
36
-
37
-
38
-
39
-
40
-
41
-
42
-
43
-
44
-
45
-
46
-
47
-
48
-
49
-
50
-
51
-
52
-
53
-
54
-
55
-
56
-
57
-
58
-
59
-
60
-
61
-
62
-
63
-
64
-
65
-
66
-
67
-
68
-
69
-
70
-
71
-
72
-
73
-
74
-
75
-
76
-
77
-
78
-
79
-
80
-
81
-
82
-
83
-
84
-
85
-
86
-
87
-
88
-
89
-
90
-
91
-
92
-
93
-
94
-
95
-
96
-
97
-
98
-
99
-
100
-
101
-
102
-
103
-
104
-
105
-
106
-
107
-
108
-
109
-
110
-
111
-
112
-
 113
113 -
 114
114 -
 115
115 -
 116
116 -
 117
117 -
 118
118 -
 119
119 -
 120
120 -
 121
121 -
 122
122 -
 123
123 -
124
-
125
-
126
-
127
-
128
-
129
-
130
-
131
-
132
-
133
-
134
-
135
-
136
-
137
-
138
-
139
-
140
-
141
-
142
-
143
-
144
-
145
-
146
-
147
-
148
-
149
-
150
-
151
-
152
-
153
-
154
-
155
-
156
-
157
-
158
-
159
-
160
-
161
-
162
-
163
-
164
-
165
-
166
-
167
-
168
-
169
-
170
-
171
-
172
-
173
-
174
-
175
-
176
-
177
-
178
-
179
-
180
 |
 |