Canon PowerShot A460 PowerShot A460 / A450 Camera User Guide Basic
Canon PowerShot A460 Manual
 |
View all Canon PowerShot A460 manuals
Add to My Manuals
Save this manual to your list of manuals |
Canon PowerShot A460 manual content summary:
- Canon PowerShot A460 | PowerShot A460 / A450 Camera User Guide Basic - Page 1
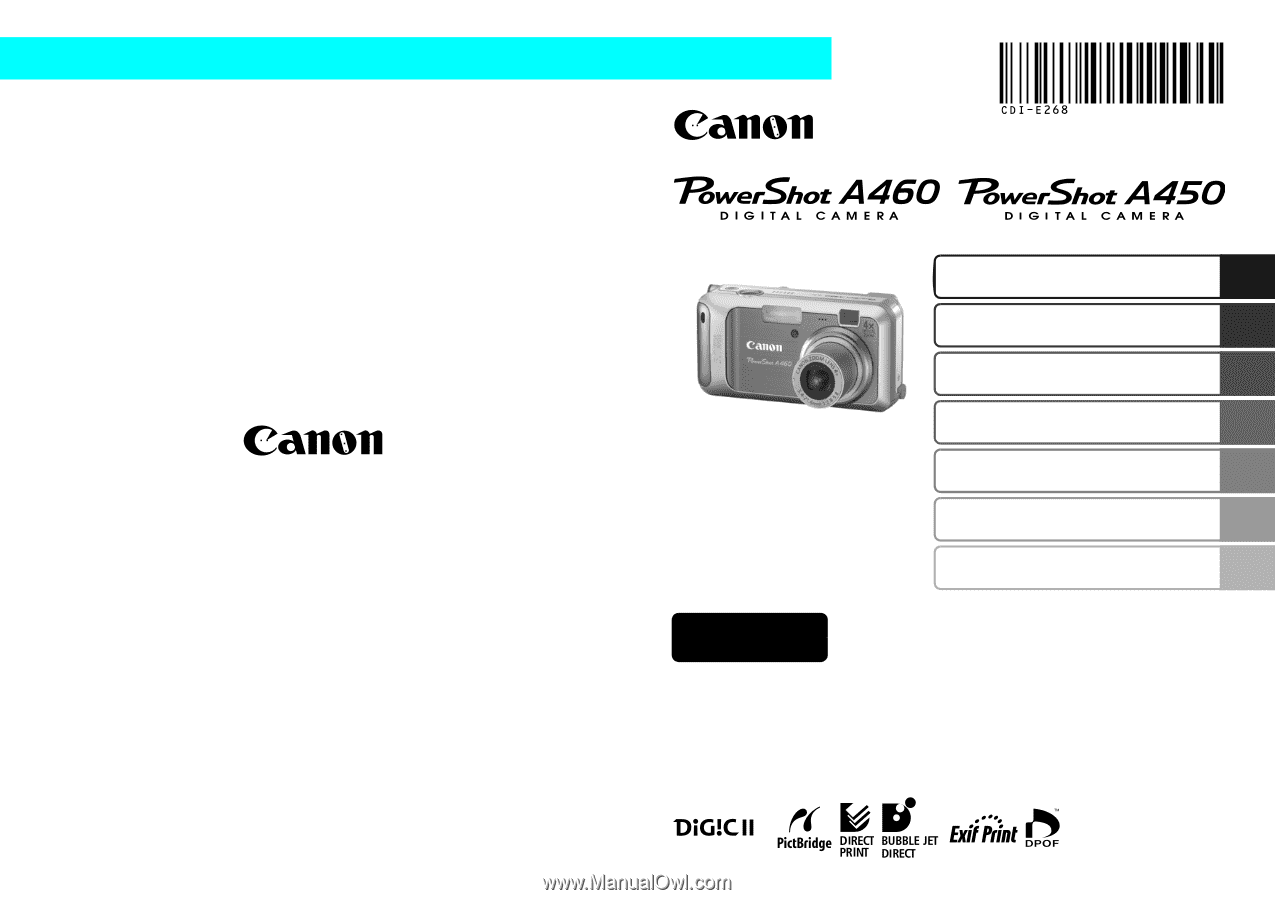
The Components Guide Preparations Photo of PowerShot A460 Shooting Playback/Erasing Menus and Settings Printing Downloading Images to a Computer Basic Camera User Guide Please Read This First This guide explains how to prepare the camera and use its basic features. © 2007 CANON INC. PRINTED - Canon PowerShot A460 | PowerShot A460 / A450 Camera User Guide Basic - Page 2
included memory card. ZoomBrowser EX/ ImageBrowser Software User Guide • PDF manuals available on the Canon website. http://web.canon.jp/ Imaging/informatione.html In this guide, the Basic Camera User Guide is called the Basic Guide, and the Advanced Camera User Guide is called the Advanced Guide. - Canon PowerShot A460 | PowerShot A460 / A450 Camera User Guide Basic - Page 3
AF-assist Beam (Advanced Guide p. 20) e Red-Eye Reduction Lamp (p. 14) f Self-Timer Lamp (p. 16) g Microphone (Advanced Guide p. 54) h Viewfinder Window (Advanced Guide p. 17) i A/V OUT (Audio/Video output) Terminal (Advanced Guide p. 62) j Lens In order to avoid dropping the camera, wear the wrist - Canon PowerShot A460 | PowerShot A460 / A450 Camera User Guide Basic - Page 4
fMemory Card Slot / Battery Cover Lock (p. 5) gMemory Card Slot / Battery Cover (p. 5) hDate Battery Cover (Advanced Guide p. 92) iTripod Socket The LCD monitor may be covered with a thin plastic film for protection against scratches during shipment. If so, remove the film before using the camera - Canon PowerShot A460 | PowerShot A460 / A450 Camera User Guide Basic - Page 5
Dial (pp. 8, 18) c Shutter Button (p. 8) d Power Button (p. 8) e DISP. (Display) Button (Advanced Guide p. 12) f MENU Button (p. 21, Advanced Guide p. 19) g FUNC./SET (Function/Set) Button (p. 20, Advanced Guide p. 18) h (Print/Share) Button (pp. 22, 30) i (Macro)/ (Infinity)/ Button (p. 15 - Canon PowerShot A460 | PowerShot A460 / A450 Camera User Guide Basic - Page 6
, or open the memory card slot/battery cover • Upper Indicator Green: Ready to shoot (camera beeps twice)/when connected to a computer Blinking Green: During camera startup/image recording/reading/ erasing/transferring (when connected to a computer/printer) Orange: Ready to shoot (flash - Canon PowerShot A460 | PowerShot A460 / A450 Camera User Guide Basic - Page 7
1. Installing the batteries. 1. Slide the memory card slot/battery cover lock (a) and press down while opening the cover (b). 2. Insert the batteries. Positive end (+) a Negative end (-) Preparations b Î See the Advanced Guide: Battery Handling (p. 83). 2. Inserting the Memory Card - Canon PowerShot A460 | PowerShot A460 / A450 Camera User Guide Basic - Page 8
„ To Remove the Memory Card Push the memory card with your finger until the memory card clicks and then release it. You can use SD memory cards, SDHC memory cards and MultiMediaCards with this camera. These cards are collectively called memory cards in this guide. 6 - Canon PowerShot A460 | PowerShot A460 / A450 Camera User Guide Basic - Page 9
menu (p. 21). The date/time setting screen will appear when the camera power is turned on for the first time, or when the capacity of the lithium date battery is depleted. Î See the Advanced Guide: Replacing the Date Battery (p. 92). „ Setting the Display Language 1. Turn the mode dial to (playback - Canon PowerShot A460 | PowerShot A460 / A450 Camera User Guide Basic - Page 10
(p. 17). Î See the Advanced Guide: Set up Menu (p. 21). 2. Turn the mode dial to (Auto). 3. Aim the camera at the subject. 4. Focus and shoot. 1. Press the shutter button halfway to focus. When the camera focuses, the camera beeps twice and the indicator lights green (orange when using the flash - Canon PowerShot A460 | PowerShot A460 / A450 Camera User Guide Basic - Page 11
shutter sound will play and the image will record. The indicator will blink green while the image is recorded to the memory card. Î See Indicators (p. 4). Î See the Advanced Guide for the various shooting methods available. „ Reviewing an Image Right After Shooting After a shot is taken, the image - Canon PowerShot A460 | PowerShot A460 / A450 Camera User Guide Basic - Page 12
Auto The camera automatically selects settings. Manual Allows Manual Super Macro Allows you to approach closer than in Macro mode to take larger close-ups. At maximum wide angle, the distance from the end of the lens to the subject can range from 1 - 5 cm (0.3 - 2.0 in.). Î See the Advanced Guide - Canon PowerShot A460 | PowerShot A460 / A450 Camera User Guide Basic - Page 13
photo opportunities. Foliage Shoots trees and leaves-such as new growth, autumn leaves or blossoms- in vivid colors. Indoor Prevents camera for email attachments. Î See the Advanced Guide (p. 32). • The shutter speed is slow in mode. Always use a tripod to avoid camera shake. • In , or mode, - Canon PowerShot A460 | PowerShot A460 / A450 Camera User Guide Basic - Page 14
Using the Zoom 1. Press the or button. You can adjust the zoom for the following focal lengths in 35mm film equivalent terms. PowerShot A460: 38 - 152 mm PowerShot A450: 38 - 122 mm Telephoto: Zooms in on the subject. Wide Angle: Zooms out from the subject. 12 - Canon PowerShot A460 | PowerShot A460 / A450 Camera User Guide Basic - Page 15
option cannot be set in (Auto) mode. Î See the Advanced Guide: Functions Available in Each Shooting Mode (p. 112). Î See camera attached to a tripod or other device if the camera shake warning icon ( ) appears. When the LCD monitor is on and flash recharging begins, the indicator blinks orange - Canon PowerShot A460 | PowerShot A460 / A450 Camera User Guide Basic - Page 16
„ Setting the Red-Eye Reduction Function You can set whether the camera automatically fires the red-eye reduction* lamp when the flash fires. * . Slow Synchro cannot be set in (Auto) mode. When [Slow Synchro] is set to [On], camera shake may become a factor. Use of a tripod is recommended. 14 - Canon PowerShot A460 | PowerShot A460 / A450 Camera User Guide Basic - Page 17
press the or display. button to turn off the Shooting Î See the Advanced Guide: Shooting Magnified Close-Ups (Super Macro) (p. 28) Use this mode to of Lens to Subject • Maximum wide angle setting: 53 x 40 mm (2.0 x 1.5 in.) Minimum focusing distance: 5 cm (2.0 in.) (PowerShot A460) • Maximum - Canon PowerShot A460 | PowerShot A460 / A450 Camera User Guide Basic - Page 18
shutter button is pressed fully, the self-timer lamp will blink. When using red-eye reduction, the self-timer lamp will blink and then stay lit for the last 2 seconds. To in some shooting modes. Î See the Advanced Guide: Functions Available in Each Shooting Mode (p. 112). Î See Selecting a Shooting - Canon PowerShot A460 | PowerShot A460 / A450 Camera User Guide Basic - Page 19
are locked at the settings selected for the first shot. - If the flash is used, the interval between shots lengthens because the flash must charge. - The interval between shots may lengthen when the built-in memory of the camera fills. - Shooting will automatically cease if the memory card becomes - Canon PowerShot A460 | PowerShot A460 / A450 Camera User Guide Basic - Page 20
on the memory card appears. 2. Use the or button to display the image you wish to view (b). Use the button to move to the previous image and the button to move to the next image. Holding the button down advances the images more rapidly, but shows them less clearly. Î See the Advanced Guide for the - Canon PowerShot A460 | PowerShot A460 / A450 Camera User Guide Basic - Page 21
button (c). To exit instead of erasing, select [Cancel]. Please note that erased images cannot be recovered. Exercise adequate caution before erasing an image. Î See the Advanced Guide: Erasing All Images (p. 63). 19 - Canon PowerShot A460 | PowerShot A460 / A450 Camera User Guide Basic - Page 22
Menus and Settings Settings for the shooting, playback or print modes or such camera settings as the date/time and sounds are set using the FUNC., Rec., Play, Print again, allowing you to adjust the settings easily. ePress the FUNC./SET button. Î See the Advanced Guide: Menu List (p. 20). 20 - Canon PowerShot A460 | PowerShot A460 / A450 Camera User Guide Basic - Page 23
the FUNC./SET button to display the next menu. Press the FUNC./SET button again to confirm the setting. e Press the MENU button. Î See the Advanced Guide: Menu List (p. 20). Menus and Settings 21 - Canon PowerShot A460 | PowerShot A460 / A450 Camera User Guide Basic - Page 24
Compact Photo Printers *2 (SELPHY Series) PIXMA Series Bubble Jet Printers *1 Since this camera uses a standard protocol (PictBridge), you can use it with other PictBridge-compliant printers in addition to Canon-brand printers. *2 You can also use the CP-10/CP-100/CP-200/CP-300 card photo printers - Canon PowerShot A460 | PowerShot A460 / A450 Camera User Guide Basic - Page 25
. 3. Select an image to print using the or button (b) and press the button (c). The button will blink blue and printing will start. a b c Î See the Advanced Guide: Setting the DPOF Print Settings (p. 64). Î See the Direct Print User Guide. Î See the user guide for your printer. Printing 23 - Canon PowerShot A460 | PowerShot A460 / A450 Camera User Guide Basic - Page 26
• Basic Guide (p. 25) • Software Starter Guide Connecting the Camera to a Computer • Basic Guide (p. 27) • Basic Guide (p. 27) Downloading Images to • Basic Guide (pp. 28, 29) a Computer • Software Starter Guide • Software Starter Guide „ Using a Memory Card Reader A memory card reader can - Canon PowerShot A460 | PowerShot A460 / A450 Camera User Guide Basic - Page 27
Downloading Images to a Computer System Requirements Please install the software on a computer meeting the following minimum requirements. „ Windows OS Computer Model CPU RAM Interface Free Hard Disk Space Display Windows 2000 Service Pack 4 Windows XP (including Service Pack 1 and Service Pack - Canon PowerShot A460 | PowerShot A460 / A450 Camera User Guide Basic - Page 28
to Download Images Ensure that you install the software first before connecting the camera to the computer. „ Items to Prepare • Camera and computer • Canon Digital Camera Solution Disk supplied with the camera • Interface cable supplied with the camera 1. Install the software. 1. Place the Canon - Canon PowerShot A460 | PowerShot A460 / A450 Camera User Guide Basic - Page 29
Port DIGITAL Terminal Downloading Images to a Computer Interface Cable 2. Turn the camera's mode dial to (playback) and turn on the power. The camera and camera's DIGITAL terminal. If the Digital Signature Not Found window appears, click [Yes]. The USB driver will automatically finish installing - Canon PowerShot A460 | PowerShot A460 / A450 Camera User Guide Basic - Page 30
followed by [Canon Utilities], [CameraWindow], [PowerShot - IXY - IXUS - DV 6] and [CameraWindow]. 2. Download the images. • Download the images using the camera or the computer. • By default, the downloaded images are saved into the [Pictures] or [My Pictures] folder. Downloading Images Using the - Canon PowerShot A460 | PowerShot A460 / A450 Camera User Guide Basic - Page 31
, click the [Canon CameraWindow] icon on the Dock (the bar which appears at the bottom of the desktop). 1. Download the images. • Download the images using the camera or the computer. • By default, the downloaded images are saved into the [Pictures] folder. Downloading Images Using the Camera (p. 30 - Canon PowerShot A460 | PowerShot A460 / A450 Camera User Guide Basic - Page 32
to download images using camera operations. Install the supplied software and Trans. Images images with DPOF Transfer settings (Advanced Guide p. 67). Select & Transfer Transfers and . • The images will download. The button will blink blue while downloading is in progress. The display will return - Canon PowerShot A460 | PowerShot A460 / A450 Camera User Guide Basic - Page 33
and press the (or the FUNC./SET button). • The images will download. The button will blink blue while downloading is in progress. • Images can also be selected during index playback (Advanced Guide p. 51). • Press the MENU button to return to the Direct Transfer menu. button Only JPEG images - Canon PowerShot A460 | PowerShot A460 / A450 Camera User Guide Basic - Page 34
MEMO 32 - Canon PowerShot A460 | PowerShot A460 / A450 Camera User Guide Basic - Page 35
others. Be sure to also read the safety precautions listed in the Advanced Camera User Guide. Warnings • Do not trigger the flash in close proximity to human if your hands are wet. • Do not use batteries which are not specified for this camera. • The compact power adapter output terminals have been
-
 1
1 -
 2
2 -
 3
3 -
 4
4 -
 5
5 -
 6
6 -
 7
7 -
8
-
9
-
10
-
11
-
12
-
13
-
14
-
15
-
16
-
17
-
18
-
19
-
20
-
21
-
22
-
23
-
24
-
25
-
26
-
27
-
28
-
29
-
30
-
31
-
32
-
33
-
34
-
35
 |
 |
Preparations
Shooting
Playback/Erasing
Menus and Settings
Printing
The Components Guide
Downloading Images to
a Computer
CDI-E268-010
Camera User Guide
Please Read This First
This guide explains how to prepare the camera and use its basic features.
© 2007 CANON INC.
PRINTED IN CHINA
ENGLISH
Basic
Photo of PowerShot A460