Canon PowerShot SX260 HS PowerShot SX260 HS / SX240 HS Camera User Guide - Page 118
Changing the ISO Speed - screen dark
 |
View all Canon PowerShot SX260 HS manuals
Add to My Manuals
Save this manual to your list of manuals |
Page 118 highlights
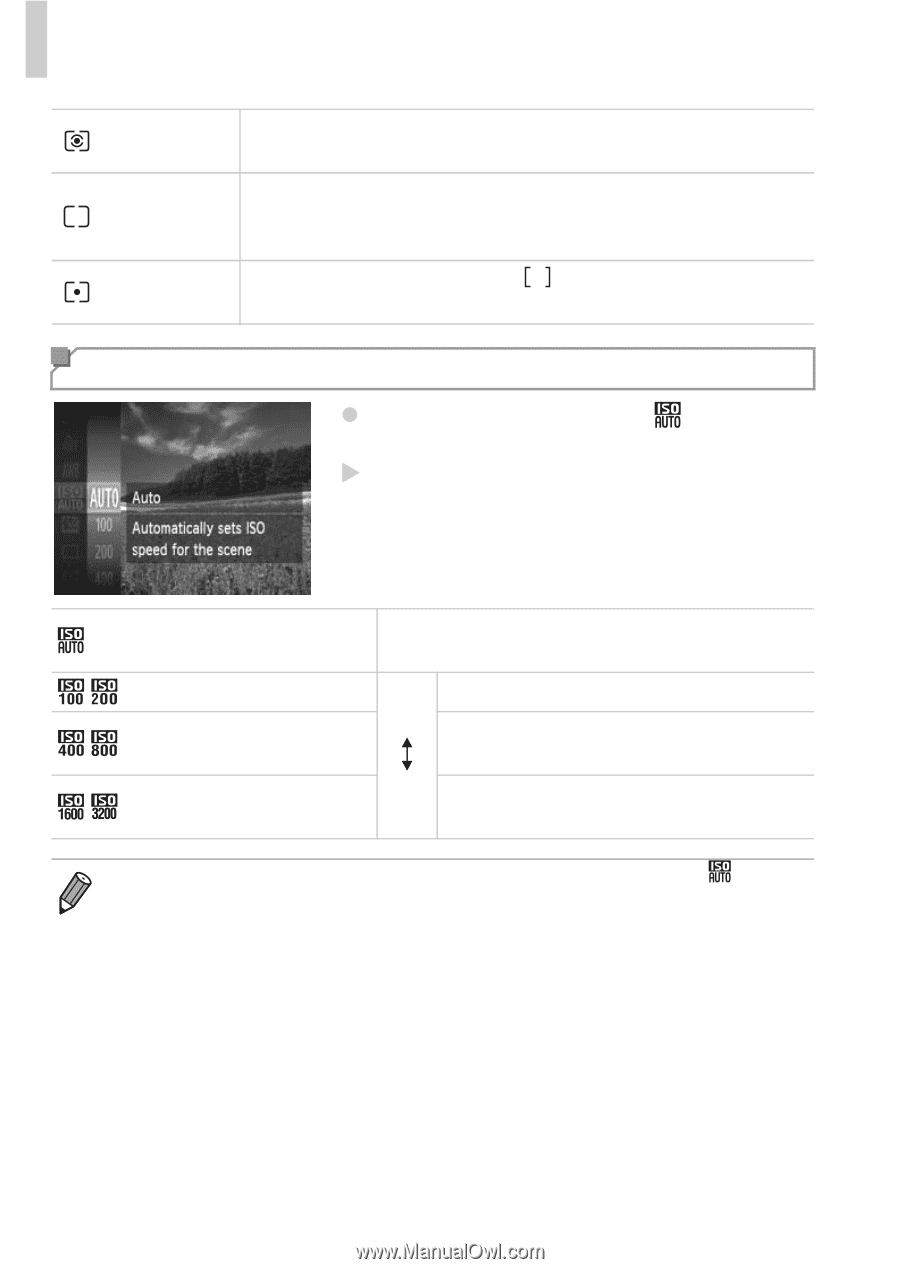
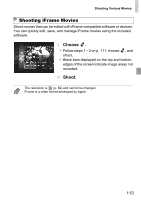
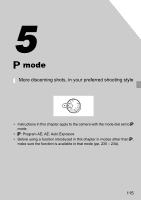
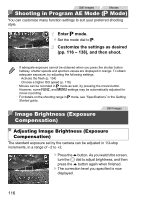
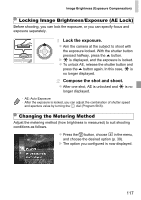
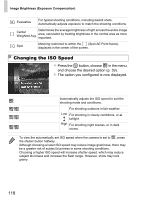
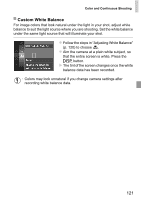
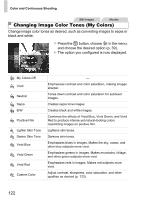
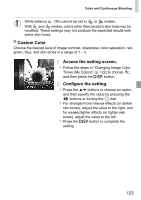
Image Brightness (Exposure Compensation) Evaluative For typical shooting conditions, including backlit shots. Automatically adjusts exposure to match the shooting conditions. Center Weighted Avg. Determines the average brightness of light across the entire image area, calculated by treating brightness in the central area as more important. Spot Metering restricted to within the (Spot AE Point frame), displayed in the center of the screen. Changing the ISO Speed z Press the m button, choose in the menu, and choose the desired option (p. 39). X The option you configured is now displayed. Automatically adjusts the ISO speed to suit the shooting mode and conditions. For shooting outdoors in fair weather. Low For shooting in cloudy conditions, or at twilight. High For shooting night scenes, or in dark rooms. • To view the automatically set ISO speed when the camera is set to , press the shutter button halfway. • Although choosing a lower ISO speed may reduce image graininess, there may be a greater risk of subject blurriness in some shooting conditions. • Choosing a higher ISO speed will increase shutter speed, which may reduce subject blurriness and increase the flash range. However, shots may look grainy. 118
-
 1
1 -
2
-
3
-
4
-
5
-
6
-
7
-
8
-
9
-
10
-
11
-
12
-
13
-
14
-
15
-
16
-
17
-
18
-
19
-
20
-
21
-
22
-
23
-
24
-
25
-
26
-
27
-
28
-
29
-
30
-
31
-
32
-
33
-
34
-
35
-
36
-
37
-
38
-
39
-
40
-
41
-
42
-
43
-
44
-
45
-
46
-
47
-
48
-
49
-
50
-
51
-
52
-
53
-
54
-
55
-
56
-
57
-
58
-
59
-
60
-
61
-
62
-
63
-
64
-
65
-
66
-
67
-
68
-
69
-
70
-
71
-
72
-
73
-
74
-
75
-
76
-
77
-
78
-
79
-
80
-
81
-
82
-
83
-
84
-
85
-
86
-
87
-
88
-
89
-
90
-
91
-
92
-
93
-
94
-
95
-
96
-
97
-
98
-
99
-
100
-
101
-
102
-
103
-
104
-
105
-
106
-
107
-
108
-
109
-
110
-
111
-
112
-
 113
113 -
 114
114 -
 115
115 -
 116
116 -
 117
117 -
 118
118 -
 119
119 -
 120
120 -
 121
121 -
 122
122 -
 123
123 -
124
-
125
-
126
-
127
-
128
-
129
-
130
-
131
-
132
-
133
-
134
-
135
-
136
-
137
-
138
-
139
-
140
-
141
-
142
-
143
-
144
-
145
-
146
-
147
-
148
-
149
-
150
-
151
-
152
-
153
-
154
-
155
-
156
-
157
-
158
-
159
-
160
-
161
-
162
-
163
-
164
-
165
-
166
-
167
-
168
-
169
-
170
-
171
-
172
-
173
-
174
-
175
-
176
-
177
-
178
-
179
-
180
-
181
-
182
-
183
-
184
-
185
-
186
-
187
-
188
-
189
-
190
-
191
-
192
-
193
-
194
-
195
-
196
-
197
-
198
-
199
-
200
-
201
-
202
-
203
-
204
-
205
-
206
-
207
-
208
-
209
-
210
-
211
-
212
-
213
-
214
-
215
-
216
-
217
-
218
-
219
-
220
-
221
-
222
-
223
-
224
-
225
-
226
-
227
-
228
-
229
-
230
-
231
-
232
-
233
-
234
-
235
-
236
-
237
-
238
-
239
-
240
-
241
-
242
-
243
-
244
-
245
-
246
 |
 |