Canon PowerShot SX40 HS Software Guide for Windows - Page 50
Transferring Images, Transferring Images to a Camera, Organize Images - camera how to use
 |
View all Canon PowerShot SX40 HS manuals
Add to My Manuals
Save this manual to your list of manuals |
Page 50 highlights
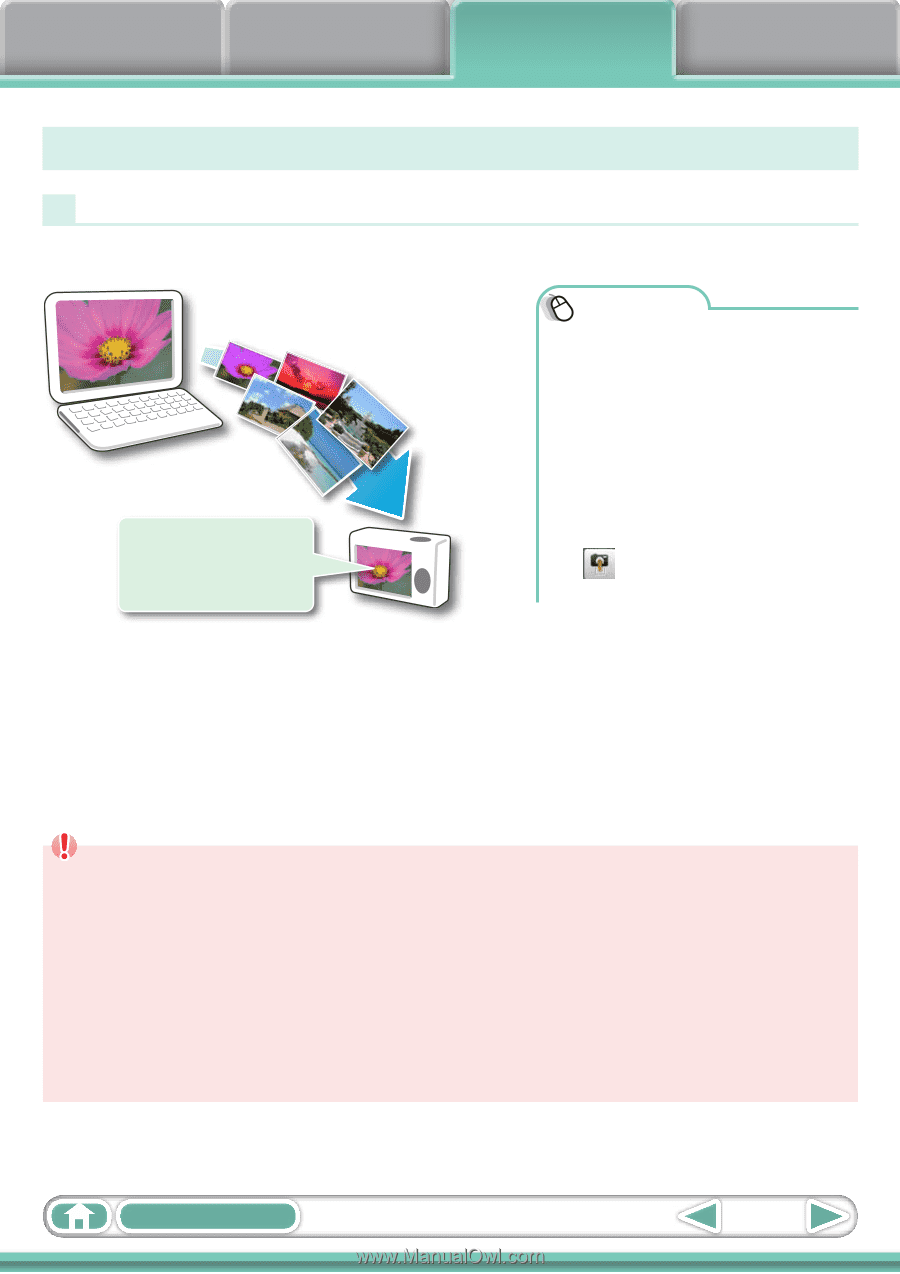
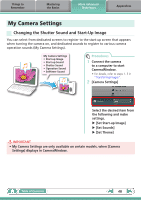
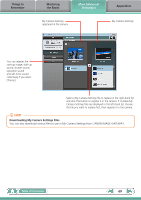
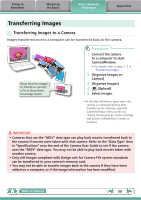
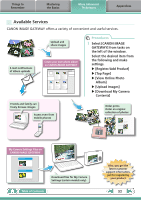
Things to Remember Mastering the Basics More Advanced Techniques Appendices Transferring Images Transferring Images to a Camera Images transferred once to a computer can be transferred back to the camera. Show favorite images to friends or connect a TV to show them on a large screen. Procedures 1 Connect the camera to a computer to start CameraWindow. • For details, refer to steps 1- 3 in "Transferring Images". 2 [Organize Images on Camera] 3 [Organize Images] 4 (Upload) 5 Select images. • If the Main Window is open when the camera is connected (directly after transferring for instance), open the CameraWindow (menu screen) by clicking the [Acquire & Camera Settings] task button, followed by [Connect to Camera]. IMPORTANT • Cameras that use the "MOV" data type can play back movies transferred back to the camera if movies were taken with that camera. Refer to the "Data Type" item in "Specifications" near the end of the Camera User Guide to see if the camera uses the "MOV" data type. You may not be able to play back movies taken with another camera. • Only still images compliant with Design rule for Camera File system standards can be transferred to your camera's memory card. • You may not be able to transfer images back to the camera if they have been edited on a computer, or if the image information has been modified. Table of Contents 50
-
 1
1 -
2
-
3
-
4
-
5
-
6
-
7
-
8
-
9
-
10
-
11
-
12
-
13
-
14
-
15
-
16
-
17
-
18
-
19
-
20
-
21
-
22
-
23
-
24
-
25
-
26
-
27
-
28
-
29
-
30
-
31
-
32
-
33
-
34
-
35
-
36
-
37
-
38
-
39
-
40
-
41
-
42
-
43
-
44
-
 45
45 -
 46
46 -
 47
47 -
 48
48 -
 49
49 -
 50
50 -
 51
51 -
 52
52 -
 53
53 -
 54
54 -
 55
55 -
56
-
57
-
58
-
59
-
60
-
61
-
62
 |
 |