Canon VIXIA HF R11 VIXIA HF R10/HF R11/HF R100 Instruction Manual - Page 113
Saving Movie, onto High-Definition Di, AVCHD/Bl, ray Di
 |
View all Canon VIXIA HF R11 manuals
Add to My Manuals
Save this manual to your list of manuals |
Page 113 highlights
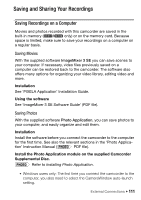
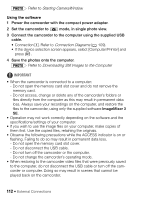
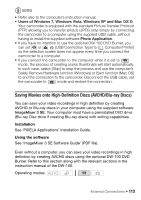
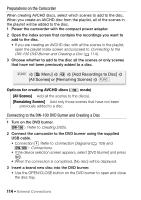
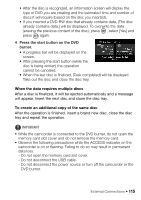
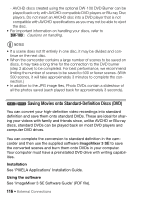
NOTES • Refer also to the computer's instruction manual. • Users of Windows 7, Windows Vista, Windows XP and Mac OS X: Your camcorder is equipped with the standard Picture Transfer Protocol (PTP) allowing you to transfer photos (JPEG only) simply by connecting the camcorder to a computer using the supplied USB cable, without having to install the supplied software Photo Application. • If you have no intention to use the optional DW-100 DVD Burner, you can set or [USB Connection Type] to [ Computer/Printer] so the selection screen does not appear every time you connect the camcorder to a computer. • If you connect the camcorder to the computer while it is set to mode, the process of creating scene thumbnails will start automatically. In such case, select [Skip] to stop the process and use the computer's Safely Remove Hardware function (Windows) or Eject function (Mac OS) to end the connection to the camcorder. Disconnect the USB cable, set the camcorder to mode and restore the connection. Saving Movies onto High-Definition Discs (AVCHD/Blu-ray Discs) You can save your video recordings in high definition by creating AVCHD or Blu-ray discs in your computer using the supplied software ImageMixer 3 SE. Your computer must have a preinstalled DVD drive (Blu-ray Disc drive if creating Blu-ray discs) with writing capabilities. Installation See 'PIXELA Applications' Installation Guide. Using the software See 'ImageMixer 3 SE Software Guide' (PDF file). Even without a computer, you can save your video recordings in high definition by creating AVCHD discs using the optional DW-100 DVD Burner. Refer to this section along with the relevant sections in the instruction manual of the DW-100. Operating modes: External Connections Š 113
-
 1
1 -
2
-
3
-
4
-
5
-
6
-
7
-
8
-
9
-
10
-
11
-
12
-
13
-
14
-
15
-
16
-
17
-
18
-
19
-
20
-
21
-
22
-
23
-
24
-
25
-
26
-
27
-
28
-
29
-
30
-
31
-
32
-
33
-
34
-
35
-
36
-
37
-
38
-
39
-
40
-
41
-
42
-
43
-
44
-
45
-
46
-
47
-
48
-
49
-
50
-
51
-
52
-
53
-
54
-
55
-
56
-
57
-
58
-
59
-
60
-
61
-
62
-
63
-
64
-
65
-
66
-
67
-
68
-
69
-
70
-
71
-
72
-
73
-
74
-
75
-
76
-
77
-
78
-
79
-
80
-
81
-
82
-
83
-
84
-
85
-
86
-
87
-
88
-
89
-
90
-
91
-
92
-
93
-
94
-
95
-
96
-
97
-
98
-
99
-
100
-
101
-
102
-
103
-
104
-
105
-
106
-
107
-
 108
108 -
 109
109 -
 110
110 -
 111
111 -
 112
112 -
 113
113 -
 114
114 -
 115
115 -
 116
116 -
 117
117 -
 118
118 -
119
-
120
-
121
-
122
-
123
-
124
-
125
-
126
-
127
-
128
-
129
-
130
-
131
-
132
-
133
-
134
-
135
-
136
-
137
-
138
-
139
-
140
-
141
-
142
-
143
-
144
-
145
-
146
-
147
-
148
-
149
-
150
-
151
-
152
-
153
-
154
-
155
-
156
-
157
-
158
-
159
-
160
-
161
-
162
-
163
-
164
-
165
-
166
-
167
-
168
-
169
-
170
-
171
-
172
-
173
-
174
-
175
-
176
-
177
-
178
-
179
-
180
-
181
-
182
-
183
-
184
 |
 |